72 undo/redo erase, Selecting a program to erase, Executing erase – Fostex D-108 User Manual
Page 72: D-108 owner’s manual (editing tracks), Press the execute/yes key
D-108 Owner’s Manual (Editing Tracks)
72
Undo/Redo Erase
You can undo or redo the Erase operation.
• To restore the data that existed before you erased it, press
the UNDO key.
• To restore the data after you undo the Erase operation, press
the REDO key again.
When you press the UNDO or REDO key, the D-108 will
undo
or redo the operation immediately, and display [Undo !]
or
[Redo !] and [COMPLETED !].
Note:
The Undo/Redo function is effective only when the
D-108 is stopped.
Note:
If you perform one of the following operations after
you use the Copy & Paste or Move and Paste operation,
the Undo/Redo function will no longer be effective.
1. When a new recording is made.
2. When a new editing is executed (such as Copy & Paste,
Move & Paste, Erase).
3. While in the AUTO PUNCH ON mode, when the AUTO
PUNCH IN point is passed in the PLAY (or RECORD)
mode.
4. When the power is momentarily switched off.
5. When the program is changed.
6. When ejecting a removable SCSI disk that is the current
drive.
Erase all data of a voluntary program (Program Erase)
Here we will erase unnecessary data on all tracks that
are recorded on specific programs.
The erase procedure conducted here varies from the
“Erasing a Program” procedure described in “Program
Operations” mentioned earlier. Here, instead of
erasing the program itself, the data in all tracks are
erased, while the program remains intact.
After erasing the data, that program goes to the default
status as when creating a New Program.
Therefore, ABS 0=REC END, and the tempo map setting
and program title will return to the default setting.
Note:
Note that the UNDO/REDO function cannot be used
at Program Erasing.
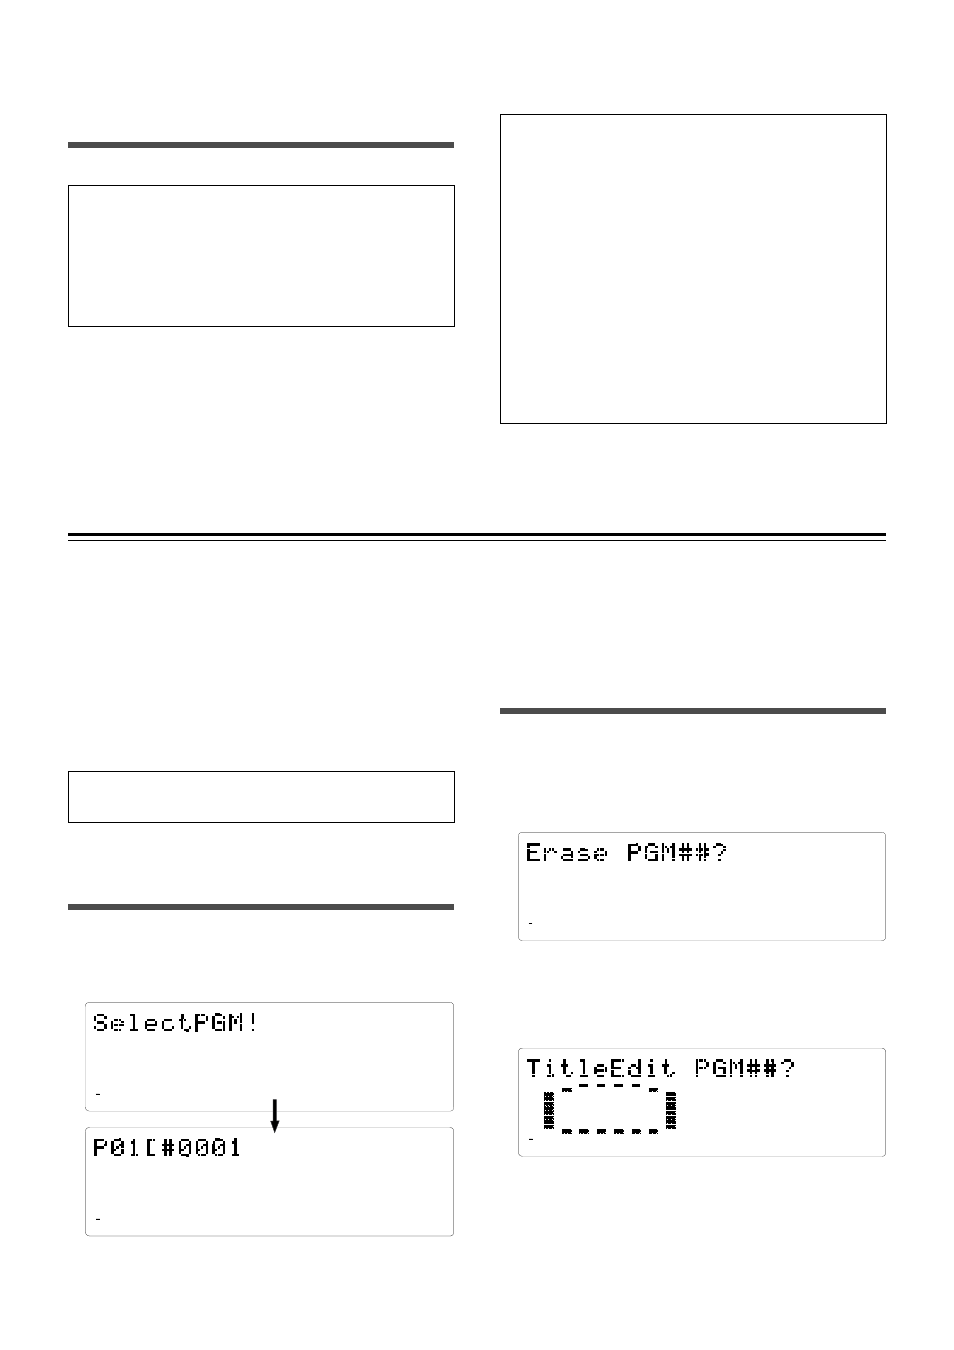
Selecting a program to erase
1. Depress the HOLD/> key then press the STORE key
while the device is stopped.
The current program number and title appears after
[Select PGM!], then the number and [SURE ?] flashes.
2. Turn the JOG dial to select the program number to
erase.
By turning the JOG dial all the program numbers currently
set will alternately appear. Fully turn the JOG dial
clockwise. [New Program ?] will appear. This is used to
create a new program.
44.1kHz
8
7
6
5
4
3
2
1
42
OL
0
30
24
18
12
9
6
3
∞
Executing erase
3. Press the ERASE key after selecting the program
to erase.
[Erase PGM **?] (** represents the program number and
[?] flashes) appears, and [SURE?] flashes. This display
indicates that the system is standing by to erase the
program data selected.
4. Press the EXECUTE/YES key.
When erase is completed, [COMPLETED!] will light up, then
automatically display the [Title Edit PGM**?] (title edit)
menu of the SETUP mode.
44.1kHz
PGM
SURE?
8
7
6
5
4
3
2
1
42
OL
0
30
24
18
12
9
6
3
∞
44.1kHz
SURE?
8
7
6
5
4
3
2
1
42
OL
0
30
24
18
12
9
6
3
∞
44.1kHz
SETUP
8
7
6
5
4
3
2
1
42
OL
0
30
24
18
12
9
6
3
∞