Leveling the appliance, Reversing the door, Checking the level – LG 27 Inch Electric Smart Dryer Owners Guide User Manual
Page 16: Adjusting the leveling feet, Tools required, Door reversal instructions
16
INSTALLATION
Leveling the Appliance
WARNING
• Use long-sleeved gloves and safety glasses.
• The appliance is heavy. Two or more people are
required when installing the appliance.
Checking the Level
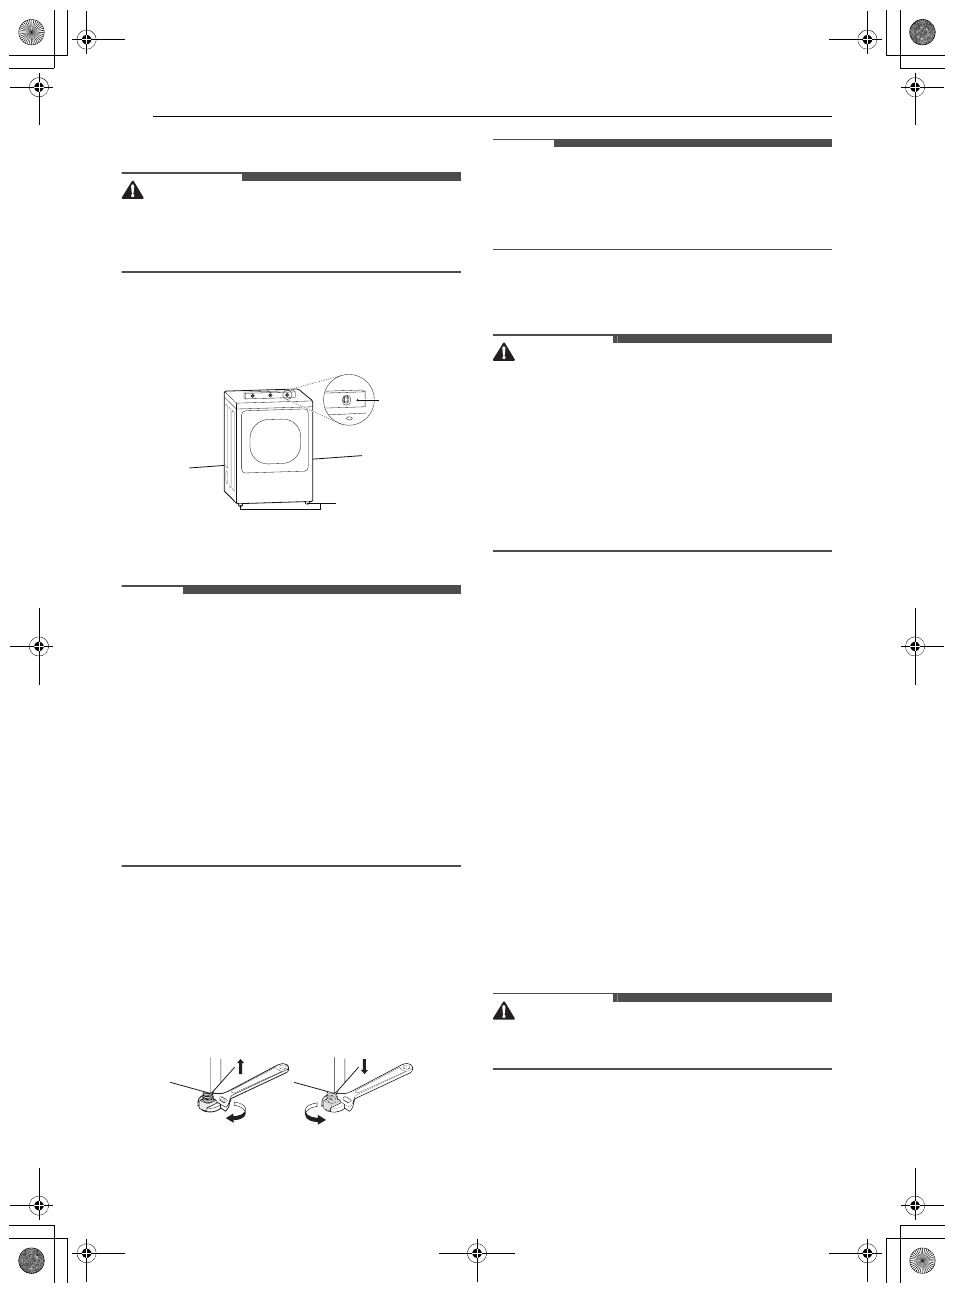
Position the appliance in the final location and
place a level across the top of the appliance.
a
Level
b
Leveling Feet
NOTE
• All four leveling feet must rest solidly on the
floor. Gently push on the top corners of the
appliance to make sure that the appliance does
not rock from corner to corner.
• Adjust the leveling feet only as far as necessary
to level the appliance. Extending the leveling feet
more than necessary may cause the appliance to
vibrate.
• To ensure that the appliance provides optimal
drying performance, it must be level. To
minimize vibration, noise, and unwanted
movement, the floor must be a perfectly level,
solid surface.
Adjusting the Leveling Feet
Use an adjustable wrench to turn the leveling feet.
Unscrew the legs to raise the appliance or screw in
the legs to lower it. Raise or lower with the leveling
feet until the appliance is level from side to side
and front to back. Make sure that all four leveling
feet are in firm contact with the floor.
NOTE
• If you are installing the appliance on the optional
pedestal, you must use the leveling feet on the
pedestal to level the appliance. The appliance
leveling feet should be fully retracted.
Reversing the Door
WARNING
• Support the door with a stool or box that fits
under the door, or have an assistant support the
weight of the door.
• Avoid dropping the door.
• Unplug the appliance or turn off power at the
main circuit breaker before beginning door
reversal.
• Always reverse the door BEFORE stacking the
appliance on top of the washer.
Tools Required
• Phillips screwdriver
• Large flat blade screwdriver (recommended for
hinge screws if they are tight or your Phillips
screwdriver is worn)
• Small flat blade screwdriver (for lifting out parts)
Door Reversal Instructions
The instructions here are for changing the door
swing from a right to a left side hinge. If the door
has been reversed, and it is necessary to change it
back, use care when following these instructions.
Some of the illustrations and the left/right
references will be reversed, and you will need to
read the instructions carefully.
1
Open the door and remove the 2 decorative
screws, 2 latch screws, and the latch on the
catch side with a screwdriver. Save these for
step 4.
WARNING
• Be sure to support the weight of the door before
removing the hinge screws.
a
b
en-us_main.book.book Page 16 Wednesday, December 7, 2022 8:18 AM