Changing advanced closed caption options, Changing picture settings, Changing the tv settings – Dynex DX-LTDVD22-09 User Manual
Page 18
18
Changing the TV settings
If no closed caption signal is received, no captions appear, but the
television remains in the Caption mode.
Misspellings or unusual characters may occasionally appear during closed
captioning. This is normal with closed captioning, especially with live
programs. This is because during live programs, captions are entered
live. These transmissions do not allow time for editing.
When captions are being shown, on-screen displays such as volume and
mute may be seen but may interfere with closed captions.
Some cable systems and copy protection systems may interfere with the
closed captioned signal.
If you use an indoor antenna, or if TV reception is very poor, the closed
caption decoder may not appear or may appear with strange
characters or misspelled words. In this case, adjust the antenna for
better reception or use an outdoor antenna.
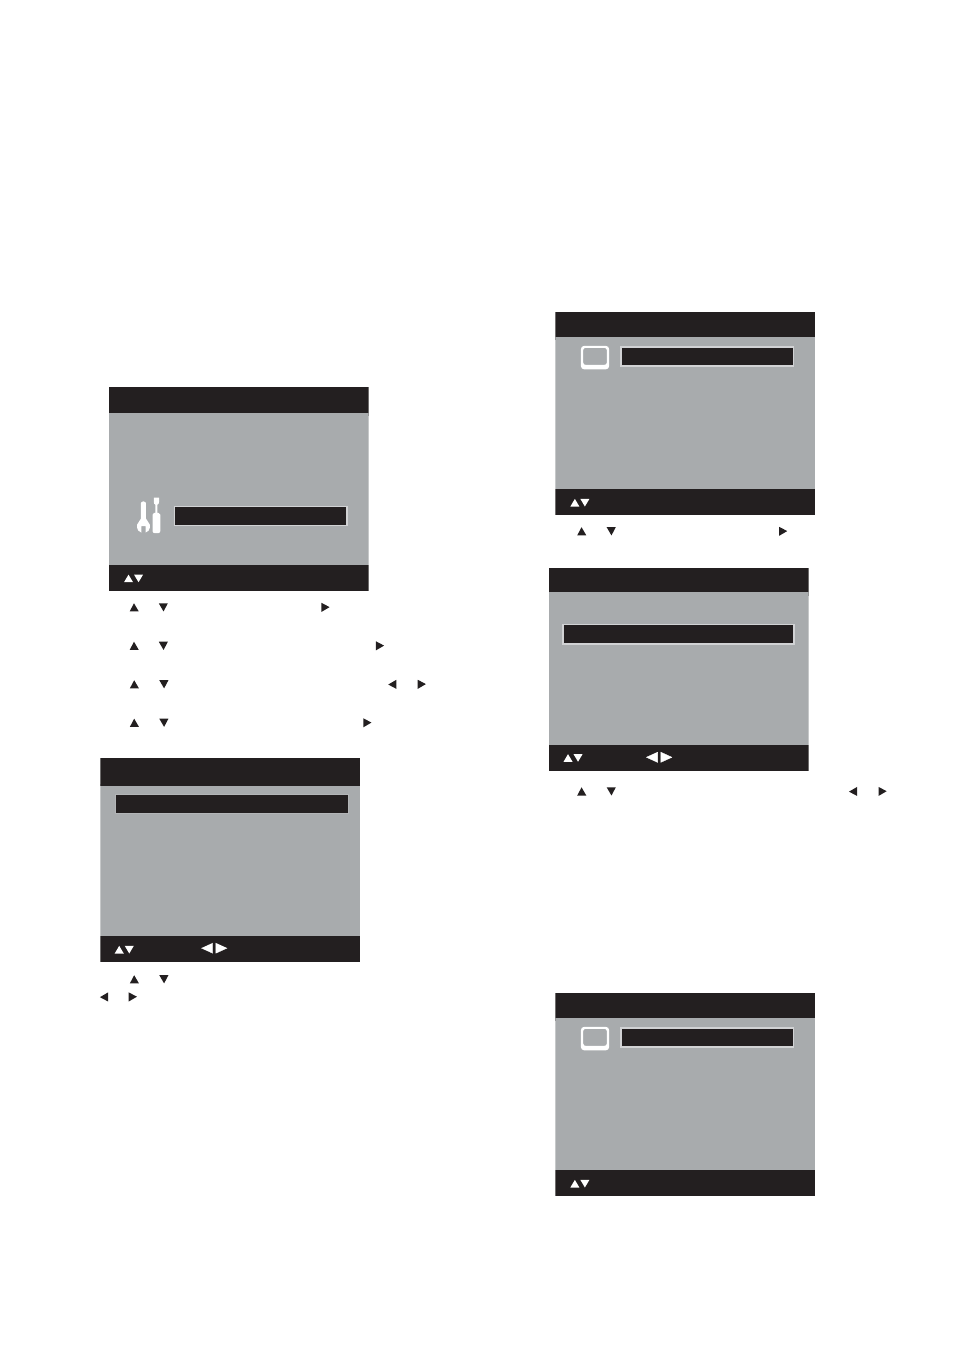
Changing advanced closed caption options
To change advanced closed caption options:
1 Press SETUP/TV MENU. The initial on-screen menu opens.
2 Press
or
to
select
Setup, then press or ENTER. The Setup
menu opens.
3 Press
or
to
select
Closed Caption, then press or ENTER.
The Closed Caption menu opens.
4 Press or to select Digital CC Preset, then
press
or
to
select Custom.
5 Press or to select CC Advanced, then press or ENTER.
The CC Advanced menu opens.
6 Press or to select the item you want to change, then press
or to change the setting. You can choose from the following
options:
• Text Size—Auto, Small, Standard, Large
• Text Type—Auto, Style1, Style2, Style3, Style4, Style5,
Style6, Style7
• Text Edge—Auto, None, Raised, Depressed, Uniform, Left
Shadow, Right Shadow
• Text Color—Auto, Black, White, Red, Green, Blue, Yellow,
Magenta, Cyan
• Text Opacity—Auto, Solid, Transparent, Translucent,
Flashing
• Background Color—Auto, Black, White, Red, Green, Blue,
Yellow, Magenta, Cyan
• Background Opacity—Auto, Solid, Transparent,
Translucent, Flashing
7 Press EXIT to return to normal viewing.
Notes:
You cannot set both the Text Color and Background Color the same
color.
You cannot set both Text Opacity and Background Opacity to
Transparent.
Changing picture settings
To set the picture mode:
1 Press SETUP/TV MENU. The initial on-screen menu opens.
2 Press
or
to
select
Picture, then press or ENTER. The
Picture menu opens.
3 Press
or
to
select
Picture Preference, then press or
to select the preset picture mode you want. Options include:
• Dynamic—A bright and dynamic picture
• Standard—Standard picture quality
• Movie—A movie-like picture setting
• Memory—Sets your personal preferences (see “To set
custom picture settings:” on page 18)
4 After you have set the picture mode, press EXIT to return to
normal viewing.
To set custom picture settings:
1 Press SETUP/TV MENU. The initial on-screen menu opens.
Main Menu
Picture
Audio
Channel
Lock
Setup
ENTER : Set
: Select
>>
CC Advanced
Text Size
Auto
Text Type
Auto
Text Edge
Auto
Text Color
Auto
Text Opacity
Auto
Background Color
Auto
Background Opacity
Auto
: Adjust
: Select
Main Menu
ENTER : Set
: Select
>>
Picture
Audio
Channel
Lock
Setup
Picture Size >>
Film Mode On
DNR On
Picture
Picture Setting >>
PC Setting >>
: Adjust
: Select
Picture Preference
Dynamic
Main Menu
ENTER : Set
: Select
>>
Picture
Audio
Channel
Lock
Setup