General set 3, Setting for control terminal output, Turn the shuttle dial clockwise – Sanyo DSR-5716P User Manual
Page 114: Press the [exit/osd] button
GENERAL SET
3
English
113
z
A maximum of 9,999,999 alarms can be displayed in the
operation display. When this number is exceeded, the
alarm count returns to 0000000.
z
When “ALARM RECORDING” is set to “OFF” on the
and type of alarm recording are not displayed.
z
When “ALARM RECORDING” is set to “ENABLED” on the
changes as follows.
z
“ALARM” is displayed when alarm video is recorded or
played back.
z
“PRE” is displayed when pre-alarm video is recorded or
played back.
z
“ARCHIV” is displayed when video is played back from
the archive area.
Next, specify setting for “CONTROL OUT”.
You can select output from the control terminal (OUTPUT 1/2)
on the rear panel.
(1) OUTPUT 1 terminal
z
NON REC (default setting):
Outputs when recording is stopped.
z
VIDEO LOSS:
Outputs when video signal is interrupted.
(2) OUTPUT 2 terminal
z
ARCHIVE FULL (default setting):
Outputs when the remaining space of archive area
reaches warning criteria.
z
TIMER REC OUT:
Outputs when timer recording is stopped.
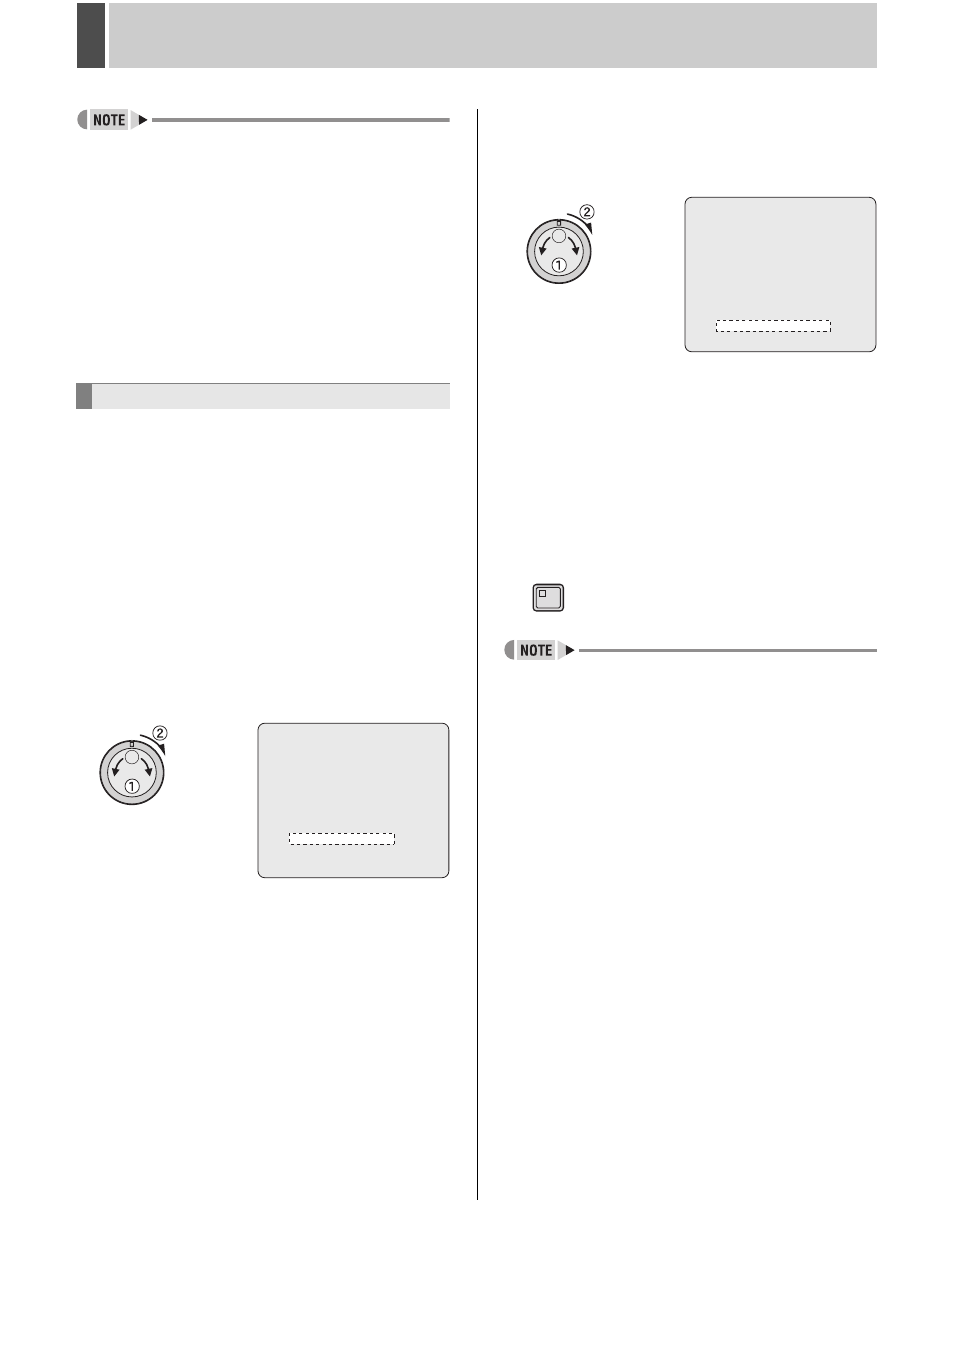
7
Turn the jog dial to select “OUTPUT 1”,
and then turn the shuttle dial clockwise.
You will see “NON REC” flash.
8
Turn the jog dial to select “NON REC” or
“VODEO LOSS,” and then turn the
shuttle dial clockwise.
The cursor moves to “OUTPUT 2”.
9
Turn the shuttle dial clockwise.
You will see “ARCHIVE FULL” flash.
10
Turn the jog dial to select “ARCHIVE
FULL” or “TIMER REC OUT”, and then
turn the shuttle dial clockwise.
11
Press the [EXIT/OSD] button.
The setting is completed and the display returns to the normal
screen.
z
After video loss is detected, the setting can be cancelled by
performing either of the following:
(1) Input the video signal.
(2) If no video input is required, use a [CAMERA SELECT]
button to select the camera for which video loss was
detected and then press the same button for
approximately 3 seconds.
z
The output of “VIDEO LOSS” is provided independently,
even if you specify “OFF” for “VIDEO LOSS” in setting data
display.
(J
P.112)
Setting for control terminal output
DATE : ON
QUALITY : ON
ALARM COUNT : ON
TITLE : ON
NO VIDEO : ON
CONTROL OUT
OUTPUT 1 : NON REC
OUTPUT 2 : ARCHIVE FULL
TIME : ON
AUDIO : ON
ALARM TYPE : ON
VIDEO LOSS : ON
DATE : ON
QUALITY : ON
ALARM COUNT : ON
TITLE : ON
NO VIDEO : ON
CONTROL OUT
OUTPUT 1 : NON REC
OUTPUT 2 : ARCHIVE FULL
TIME : ON
AUDIO : ON
ALARM TYPE : ON
VIDEO LOSS : ON
EXIT/OSD