Installation instructions – Hotpoint RGB747GER User Manual
Page 44
INSTALLATION INSTRUCTIONS
(continued)
HOW TO CONVERT THE RANGE FOR USE
WITH 1P GAS OR NATURAL GAS
(continued)
❑
CONVERT AIR ADJUSTMENT SHUTTER(S)
For
gas,
loosen the
Phillips head screw and
rotate the shutter to the
Screw
full open position. With
baffle in place, flames
Air Shutter
should have approximately
l-inch blue cones and
should not extend beyond
the edges of the burner baffle. After 30 seconds
of burner operation, check for flames lifting off
burner ports. If lifting is observed, gradually
reduce air shutter opening until flames are
stabilized.
For natural gas,
the shutter should be open
1/2” or about 3/4 of the way open.
❑
CHECK FOR LEAKS
When
all connections have been made, make sure
all range controls are in the off position and turn
on the main gas supply valve. Use a liquid leak
detector at all joints and connections to check for
leaks in the system.
CAUTION: DO NOT USE A FLAME TO
CHECK FOR GAS LEAKS.
When using test pressures greater than 1/2 psig
to pressure test the gas supply system of the
residence, disconnect the range and individual
shut-off valve from the gas supply piping. When
using test pressures of 1/2 psig or less to test the
gas supply system, simply isolate the range from
the gas supply system by closing the individual
shut-off valve.
❑
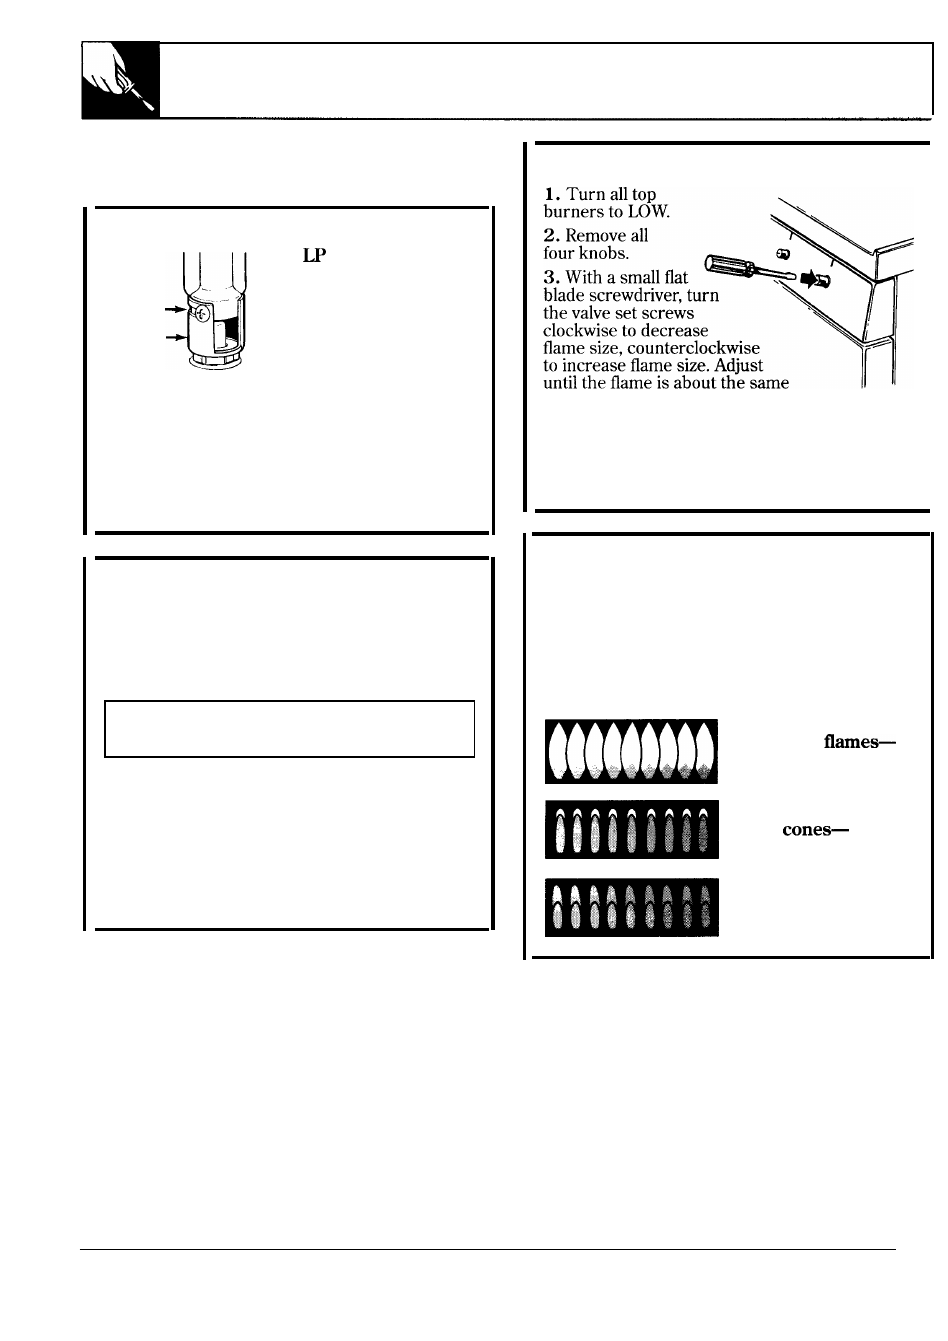
CONVERT TOP BURNER VALVES
height as the top of the burner.
4. Replace knobs.
5. Check for flame outage by opening and
closing the oven door several times. If the flame
goes out, increase the flame size.
❑
CHECK QUALITY OF FLAMES
The combustion quality of burner flames needs
to be determined visually.
If burner flames look like (A), call for service.
Normal burner flames should look like (B) or
(C), depending on the type of gas you use.
With LP gas, some yellow tipping on outer cones
is normal.
(A) Yellow
Call for service
(B) Yellow tips on
outer
Normal for LP gas
(C) Soft blue flames-
Normal for natural gas
44