Installation instructions – Hotpoint RGB747GER User Manual
Page 38
INSTALLATION INSTRUCTIONS
ELECTRICAL CONNECTIONS
(continued)
❑
Satiations where Appliance
Cord will be Disconnected Frequently.
Do not use an adapter plug in these situations
because disconnecting of the power cord places
undue strain on the adapter and leads to eventual
failure of the adapter ground terminal. The customer
should have the two-prong wall receptacle replaced
with a three-prong (grounding) receptacle by a
qualified electrician before using the appliance.
The installation of appliances designed for
mobile home installation must conform with the
Manufactured Home Construction and Safety
Standard, Title 24
Part 3280 (formerly the
Federal Standard for Mobile Home Construction
and Safety, Title 24, HUD, Part 280) or, when
such standard is not applicable, the Standard for
Manufactured Home Installations, latest edition
(Manufactured Home Sites, Communities and
Set-Ups), ANSI
latest edition, or with
local codes. In Canada, mobile home installation
must be in accordance with the current
Mobile Home Installation
Code.
Electric Disconnect
1.
Locate disconne
plug on the range b
2. Pinch sides of
connector and pull
out of range back.
❑
SEAL THE OPENINGS
Seal any openings in the wall behind the range
and in the floor under the range when hookups
are completed.
❑
CHECK SURFACE BURNER
IGNITION
Operation of all cooktop and oven burners should
be checked after range and gas supply lines have
been carefully checked for leaks.
Push in one of the surface burner controls and
turn it to the
position. You will hear a
snapping sound indicating proper operation of
the spark module. Once the air has been purged
from the supply lines, burner should light within
4 seconds. After burner lights, rotate knob out of
the LITE position. Try each burner in succession
until all burners have been checked.
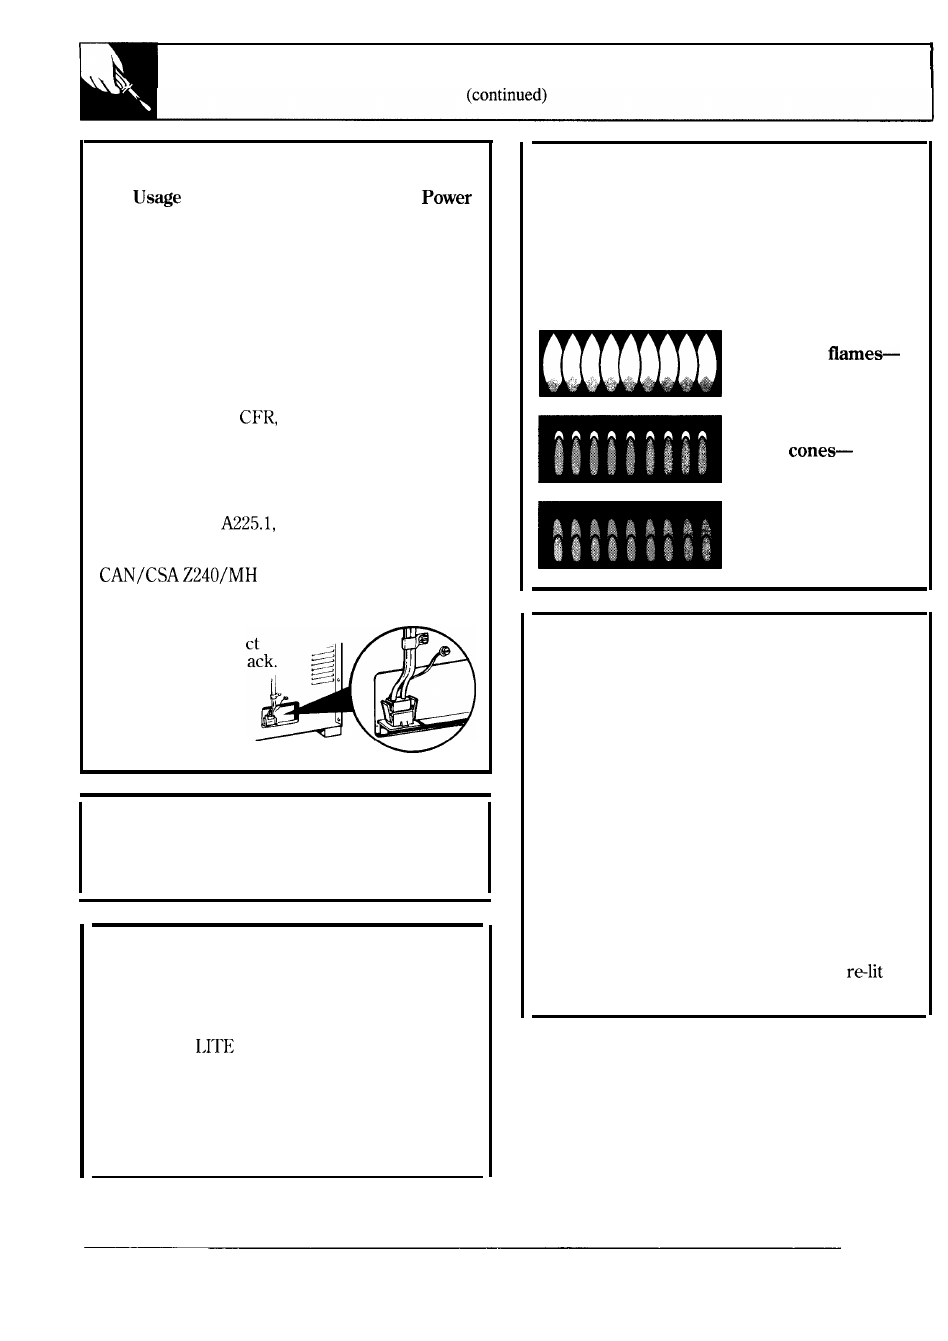
Quality of Flames
The combustion quality of burner flames needs
to be determined visually.
If burner flames look like (A), call for service.
Normal burner flames should look like (B) or
(C), depending on the type of gas you use.
With LP gas, some yellow tipping on outer
cones is normal.
(A) Yellow
Call for service
(B) Yellow tips on
outer
Normal for LP gas
(C) Soft
blue flames-
Normal for natural gas
❑
CHECK IGNITION OF OVEN
BURNER
The
oven is
designed to operate quietly and
automatically. To operate the oven, press the
BAKE pad and then press the INCREASE pad
until “350°” appears in the display. After 30-90
seconds, the oven burner will ignite and burn
until the set temperature is reached. The oven
burner will continue to cycle on and off as
necessary to maintain the oven at the temperature
indicated by the display.
To check ignition of the broil burner, press the
BROIL pad and then the INCREASE or DECREASE
pad. After 30-90 seconds, the broil burner will ignite.
The oven requires electrical power to operate. In
the case of a power outage, the oven burners on
these models cannot be lit manually with a match.
Gas will not flow unless the glow bar is hot.
If the oven is in use when a power outage occurs,
the oven burner shuts off and cannot be
until power is restored.
38