Mount gun – HP AUTOMATIC XT SPAY GUNS 311051D User Manual
Page 12
Installation
12
311051D
Mount Gun
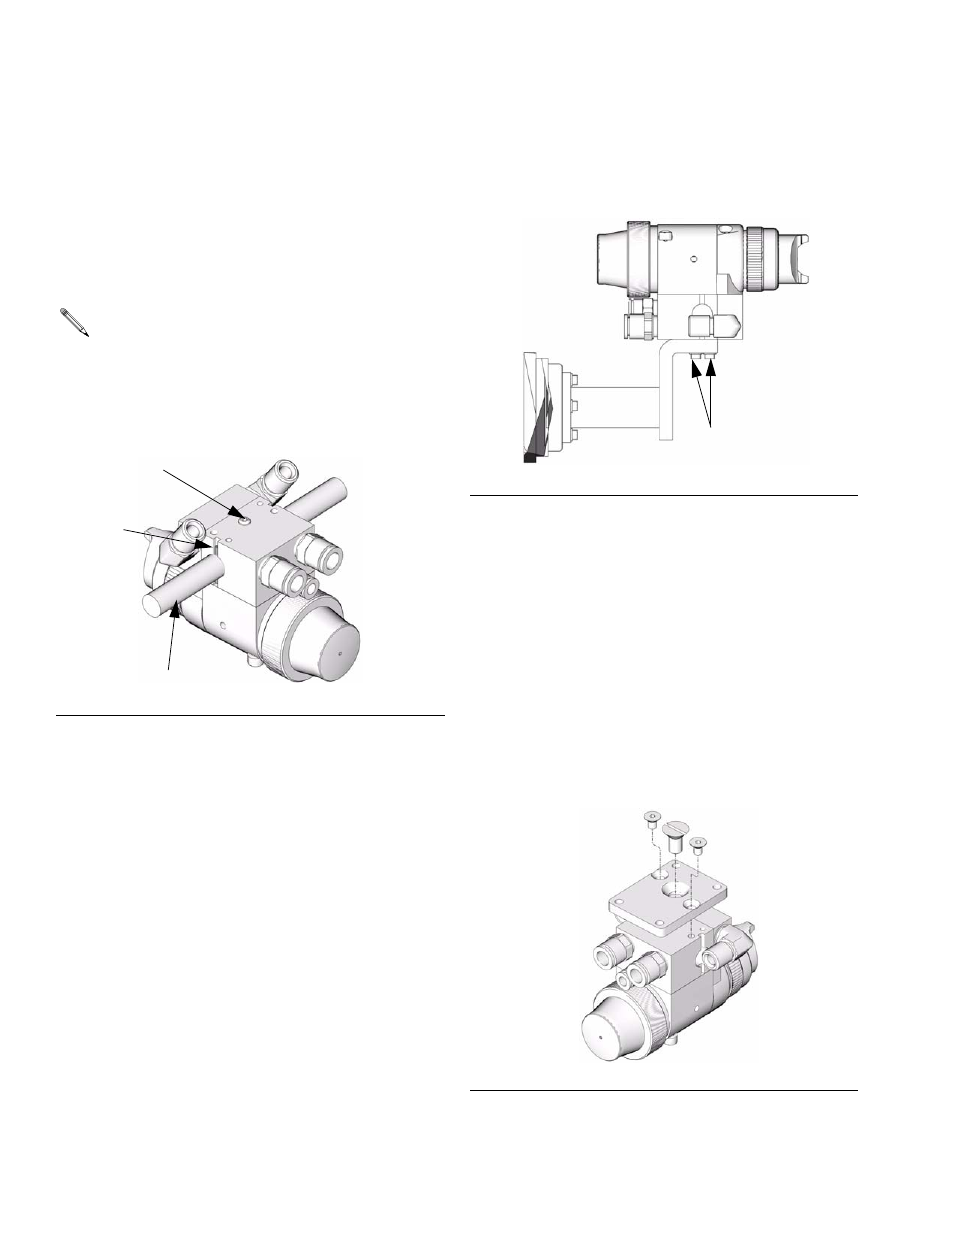
Reciprocating Arm Rod Mount
To mount the gun on a reciprocating arm rod [0.5 in. (13
mm) diameter maximum]:
1.
Insert the mounting bar (A) through the hole in the
manifold as shown in F
. 5.
2.
Secure the gun to the bar by tightening the mount-
ing screw (B).
Stationary Support
To mount the gun on a stationary support (refer to F
and Mounting Hole Layout, page 35):
1.
Align the manifold with the alignment pins. Locate
alignment pins and holes per the Mounting Hole
Layout illustration, page 35.
2.
Secure the gun to the support with two M5 x 0.8
capscrews (C). The screws must be long enough to
engage the threaded holes in the gun manifold to a
depth of 1/4 in. (6 mm).
Retrofit Adapter Plate
The retrofit adapter plate enables the manifold to be
attached to a variety of bolt patterns.
To mount the gun using the retrofit adapter plate (kit
288197):
1.
Mount adapter plate to manifold using the three
screws provided with the kit (F
. 7).
2.
Bolt plate to mounting surface using four M5 x 0.8
capscrews. Refer to the Mounting Hole Layout,
page 36.
Use the 1/8 in. alignment pin (P) to assist in orient-
ing the gun.
F
IG
. 5: Reciprocating Arm Mount
A
B
TI8094a
P
F
IG
. 6: Stationary Support Mount
F
IG
. 7: Retrofit Adapter Plate Mount
TI8095 a
C
TI8180a