Mounting the line driver, Mounting the line driver -4, Installation, cont’d – Extron Electronics CSVEQ 100 D User Manual
Page 14
CSVEQ 100 D • Installation
Installation, cont’d
2-4
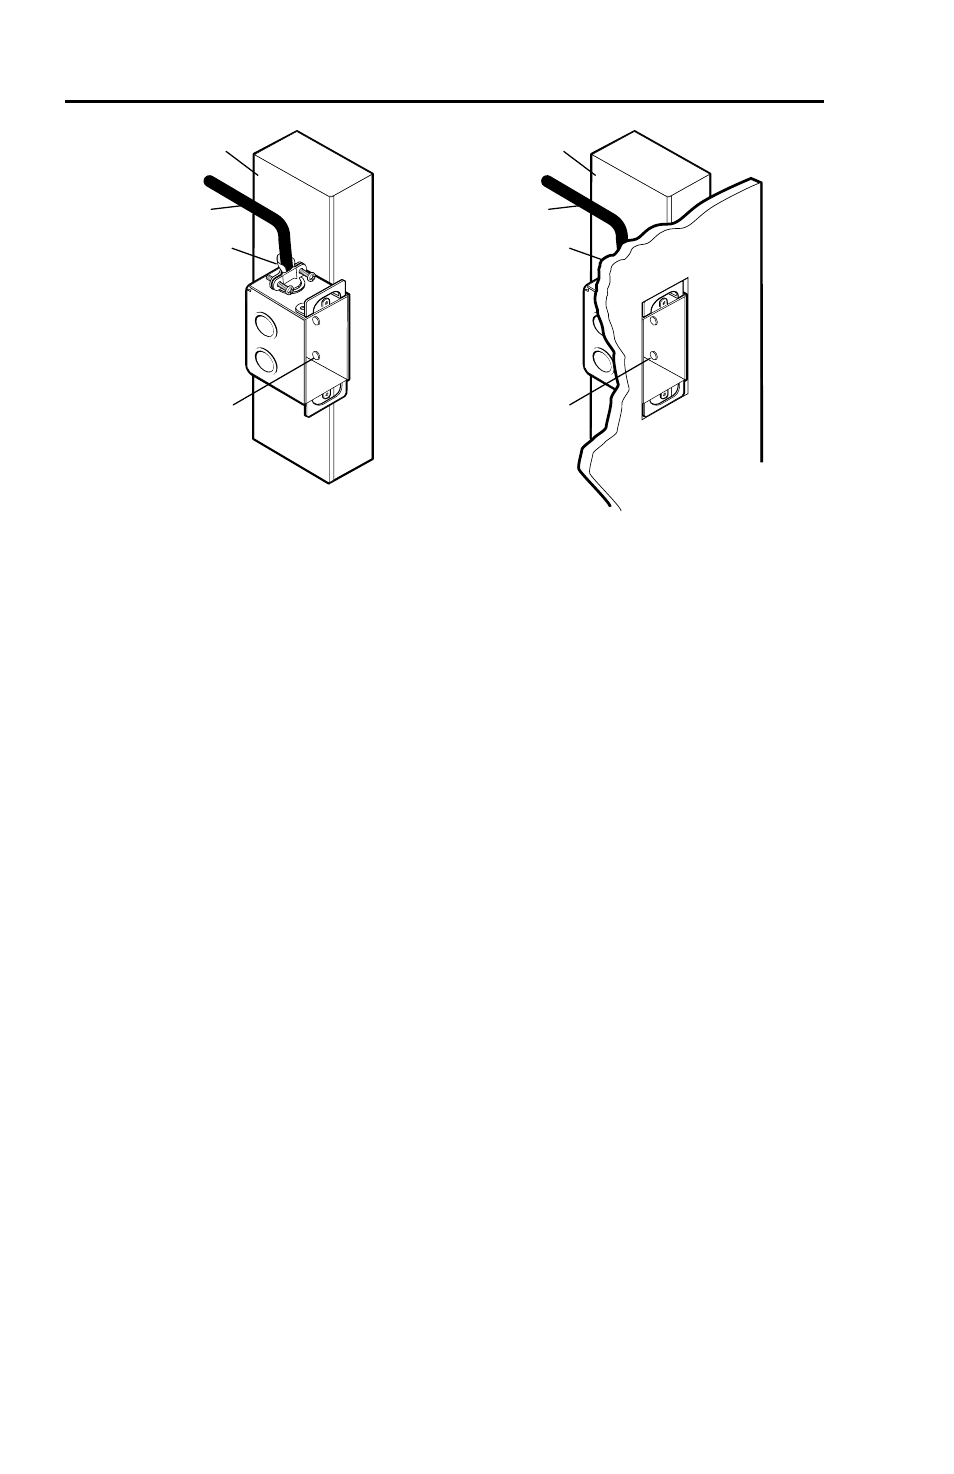
Installation Cable
Cable Clamp
Wall Stud
Installation Cable
Cable Clamp
Wall Stud
Screws or Nails
Screws or Nails
Attaching the wall box to a wall stud
If attaching the wall box to wood, use four #8 or #10
screws or 10-penny nails. A minimum of ½" (1.3 cm) of
screw threads must penetrate the wood.
If attaching the wall box to metal studs, use four #8 or
#10 self-tapping sheet metal screws or machine bolts with
matching nuts.
Mounting the line driver
Before mounting the line driver and if it has not already been
tested, test the system to make sure that the connections and
settings are correct. See "Testing and troubleshooting" in this
chapter.
If the system is operating correctly, the line driver can be
installed in the wall. Adjust the gain and equalization, and set
the Audio Out switch to Stereo or Dual Mono before fastening
the line driver into the wall box. The controls and cables will
be inaccessible after installation. See “Rear Panel Features
and Operation" in chapter 3 for details about settings and
adjustments.
Continue mounting the line driver by following the steps below.
1
.
Remove power from the line driver by disconnecting the
power supply from the AC source.
2
.
Connect the output cables to the rear of the device.
3
.
Place the line driver through the opening in the wall and
into the wall box. Take care not to damage the output
cable(s), which fit behind the line driver at the back of the
wall box.