Shooting pilottour – Labpano Pilot Era 8K 360 Camera User Manual
Page 31
Shooting PilotTour
Before shooting, make sure that the ambient light is bright enough and the scene is rich enough. A dark
environment, an open environment, or a monotonous picture environment will reduce the positioning
accuracy.
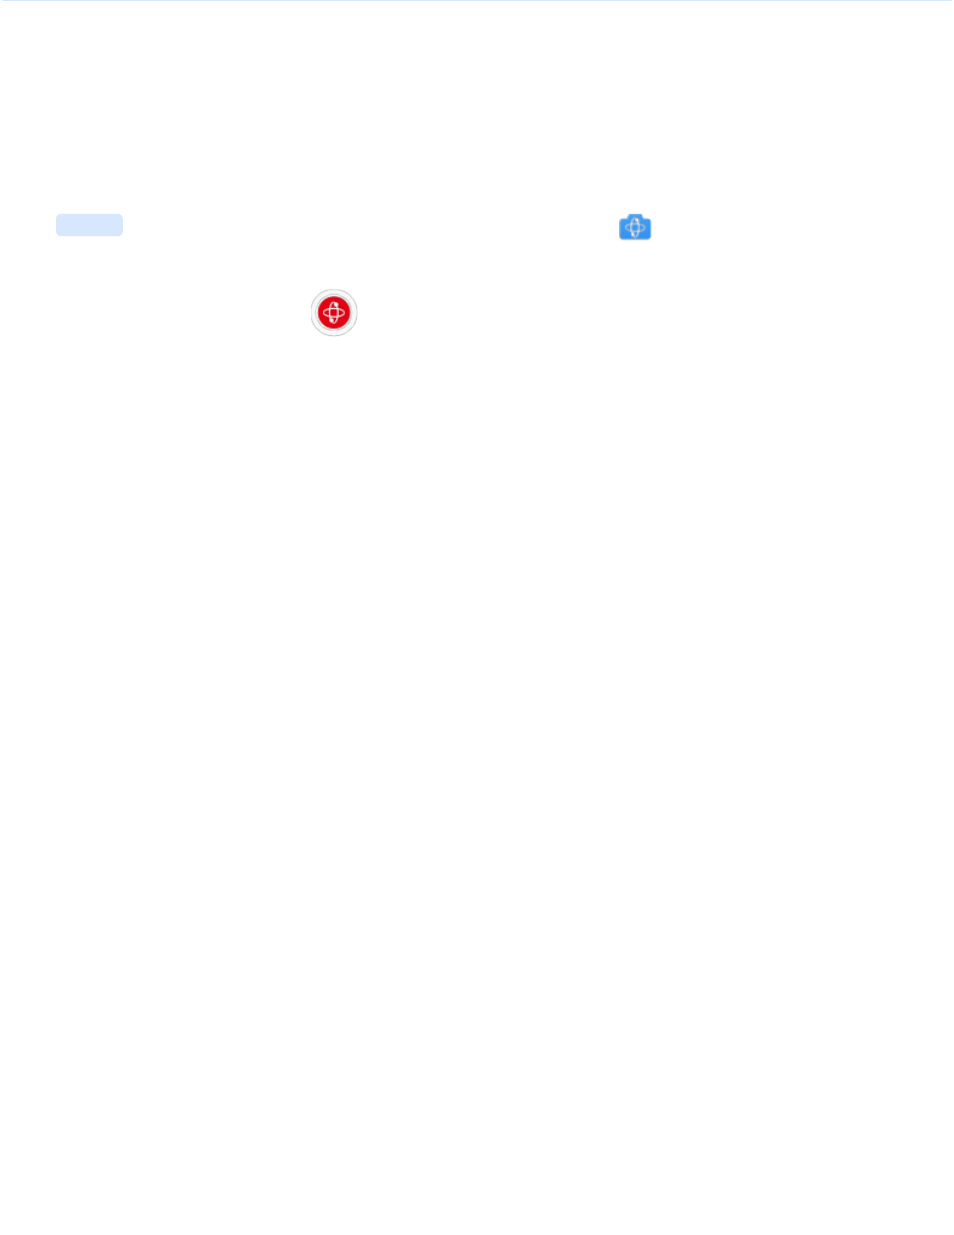
Open
Camera
and select the shooting mode. Swipe to the far left and
light up, indicating that you
have entered PilotTour mode. Tap
to start shooting . Input a scene name and camera height from
ground, then the calibration prompt box will pop up.
The Camera Height is important, it is used to accurately calculate the position.
For example, when shooting
indoors, Camera Height is the height of camera lens to the floor when shooting starts. We recommend using a
tripod to shoot PilotTour. Camera Height is about the Pilot body length + the height of tripod.
Tour Calibration is the process by which the program recognizes the surrounding environment to calculate the
position. Please move the camera slowly back, forth, left, and right. Normally, the calibration is successful within 2
seconds, and the prompt box will automatically disappear. After calibration, PilotTour will keep tracking camera and
draw a real-time path in the preview. Now you can take a photo, move the camera to the next position and
continue taking photos.
Do not move too fast, otherwise it will affect the positioning accuracy, please
control it within 2m/s.