GeChic 1102I 11.6" 16:9 Portable Touchscreen LCD Monitor User Manual
Page 13
7
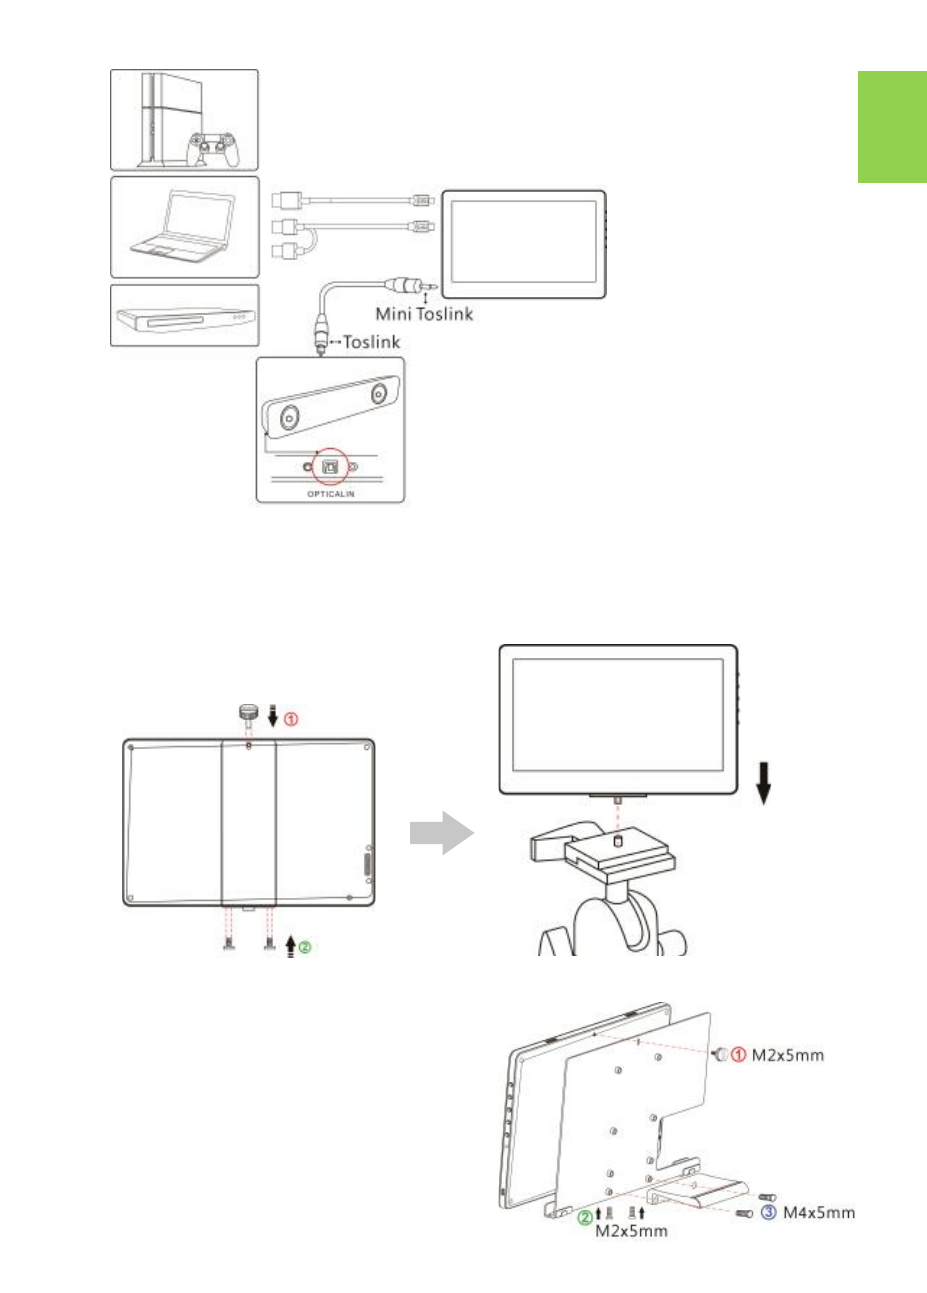
Fig.: Optical audio output
Section 5 Connect to Camera / Mount on Tripod (Only for On
-
Lap 1102H)
As the fig., firstly use three M2x5mm screws to fix the monitor to 1102 Tri-
pod Mount Kit (1/4" screw hole). Then, fasten the 1/4" screw on the camera
tripod to the 1/4" screw hole at the button of the Tripod Mount Kit.
Section 6 Lay Touch Monitor Flat with 1102 Multi Mount Kit
As the fig., firstly use three M2x5mm
screws to fix the monitor to the Monitor
Bracket. After selecting the viewing angle
of 75°,62°,42° or 25°, use two M4x5mm
screws to fix Bracing Plate to the Monitor
Bracket.