PLANET NAS-7450 User Manual
Page 8
8
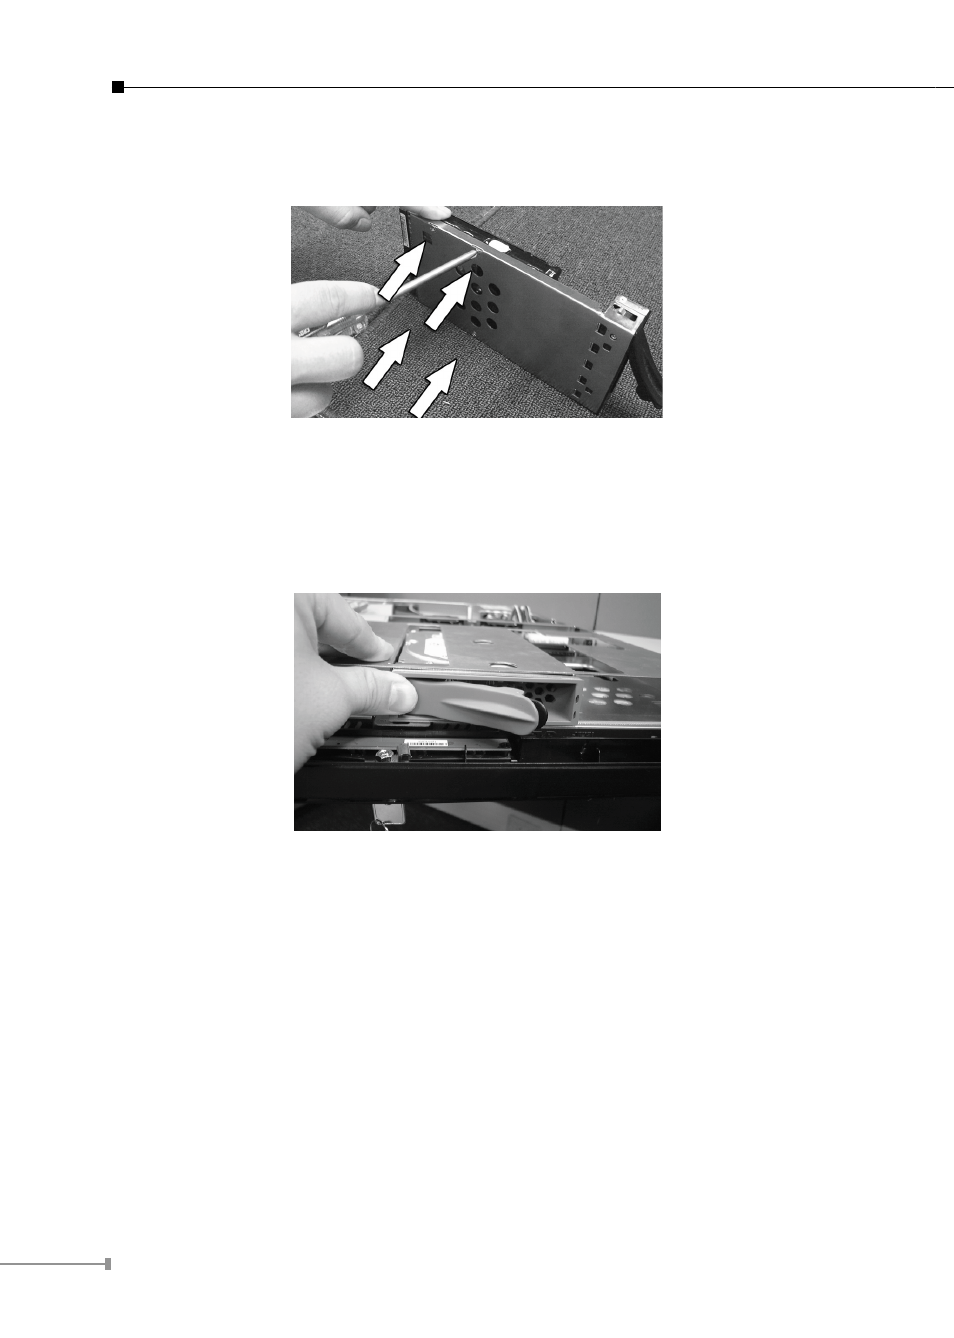
3. Attached the HDD to the hot swap hard disk tray with the screws provided
shown in Figure 2.
Figure 2
4. Slide the hot swap hard disk tray slowly into the chassis, push the outer rim
of the tray as shown in Figure 3 until the lever retract slowly toward the tray.
Then, push the level down as far as it can go to connect the hot swap hard disk
tray to the chassis.
Figure 3
NAS-7450 / NAS-7850 rack-mount server installation
1. Pull out a HDD tray from the server.
2. Secure and mount a hard disk onto the HDD tray using four screws under the
tray.
3. Insert the HDD tray back in the server. Make sure the lever of the HDD tray is
properly in place.
4. Repeat Step 1 to Step 3 if necessary for the other HDD tray.
5. Install the provide rack mounting handles at both side of the NAS server.
6. Install the NAS server in the rack. (Refer to the paragraph “Sliding Rails Installa-
tion” in Chapter 2 section 5)