Casio YC-430 User Manual
Page 50
50
Scanning Images (Scanner Mode)
1.
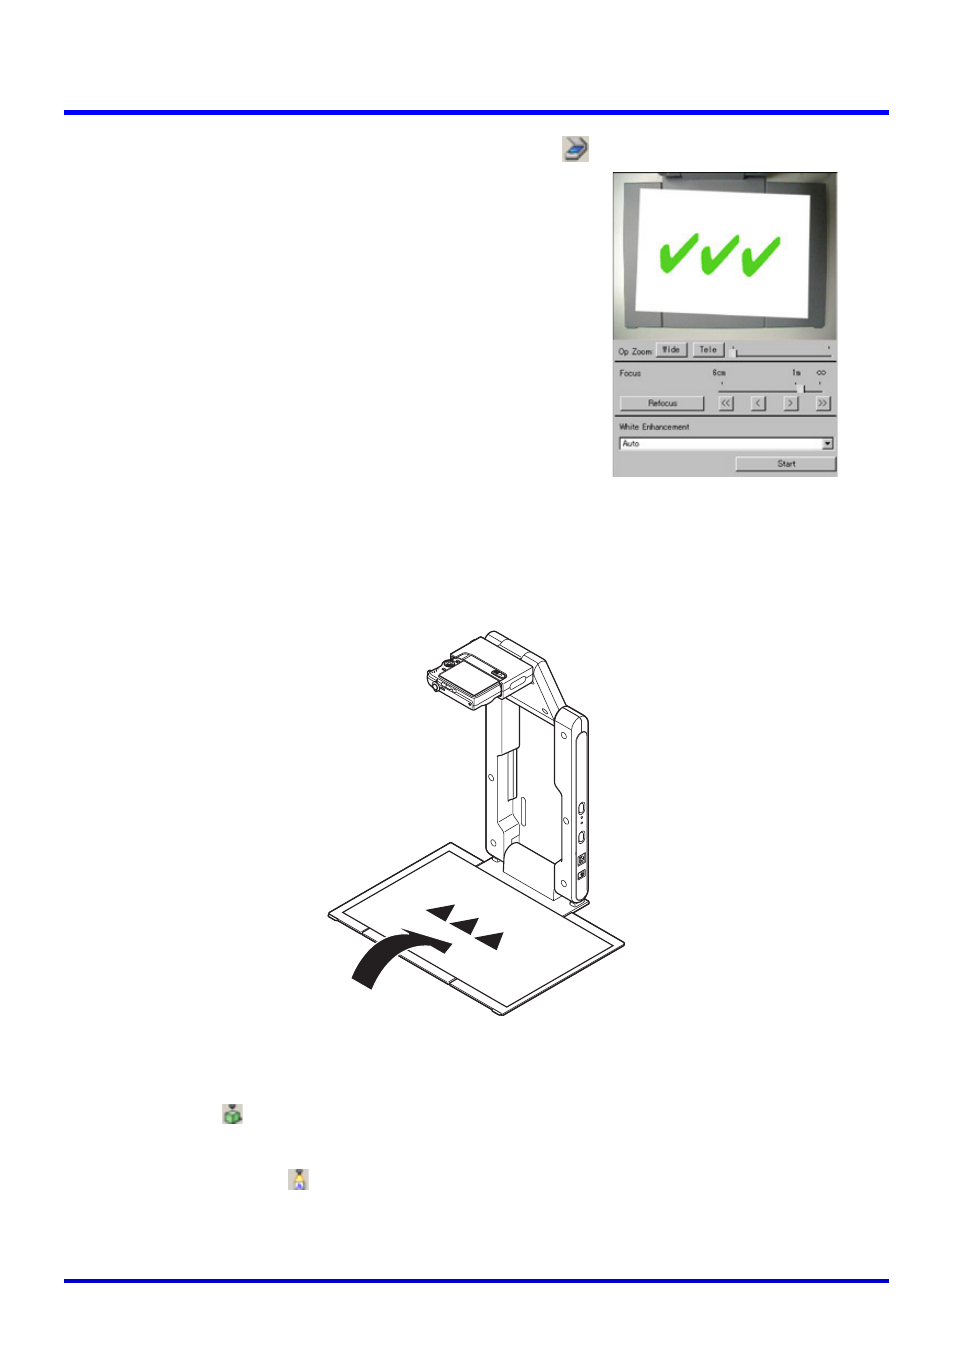
Select [Scanner] on the [File] menu or click
on the toolbar.
z If the dialog box for adjusting camera position
appears, point the PJ Camera downwards at the
document stage, and make sure there is no
document on it. For more information about
camera position adjustment, see “Adjusting the
Camera Position” (page 37).
z Entering the Scanner Mode displays the scanner
window. The image area of the scanner window
shows a rough (monitor) image of the document
on the document stage of the PJ Camera Stand.
z The preview list and playlist areas will also
appear to the right of the scanner window, but
these lists are not used for scanning operations.
All scanning operations are performed using the
scanner window.
z Nothing will be displayed on the PJ Camera
monitor screen.
2.
Place the document you want to scan onto the document stage of the
PJ Camera Stand.
3.
Focus the PJ Camera.
z Adjust focus by selecting the type of object whose image you want to project.
The toolbar
button should be depressed (on) to project the image of an object that
is not flat, and raised (off) to project the image of a document. If you want to project
the image of any small document from business card size to HLT (half-letter) size,
depress the toolbar
button to turn it on.
z You can also focus automatically by clicking the [Refocus] button on the scanner
window.