Camera] menu – Casio YC-430 User Manual
Page 128
128
Menus and Commands
[Camera] menu commands can be used in the Document Camera Mode. Some of the
commands on this menu are also available in the Scanner Mode.
[Camera] Menu
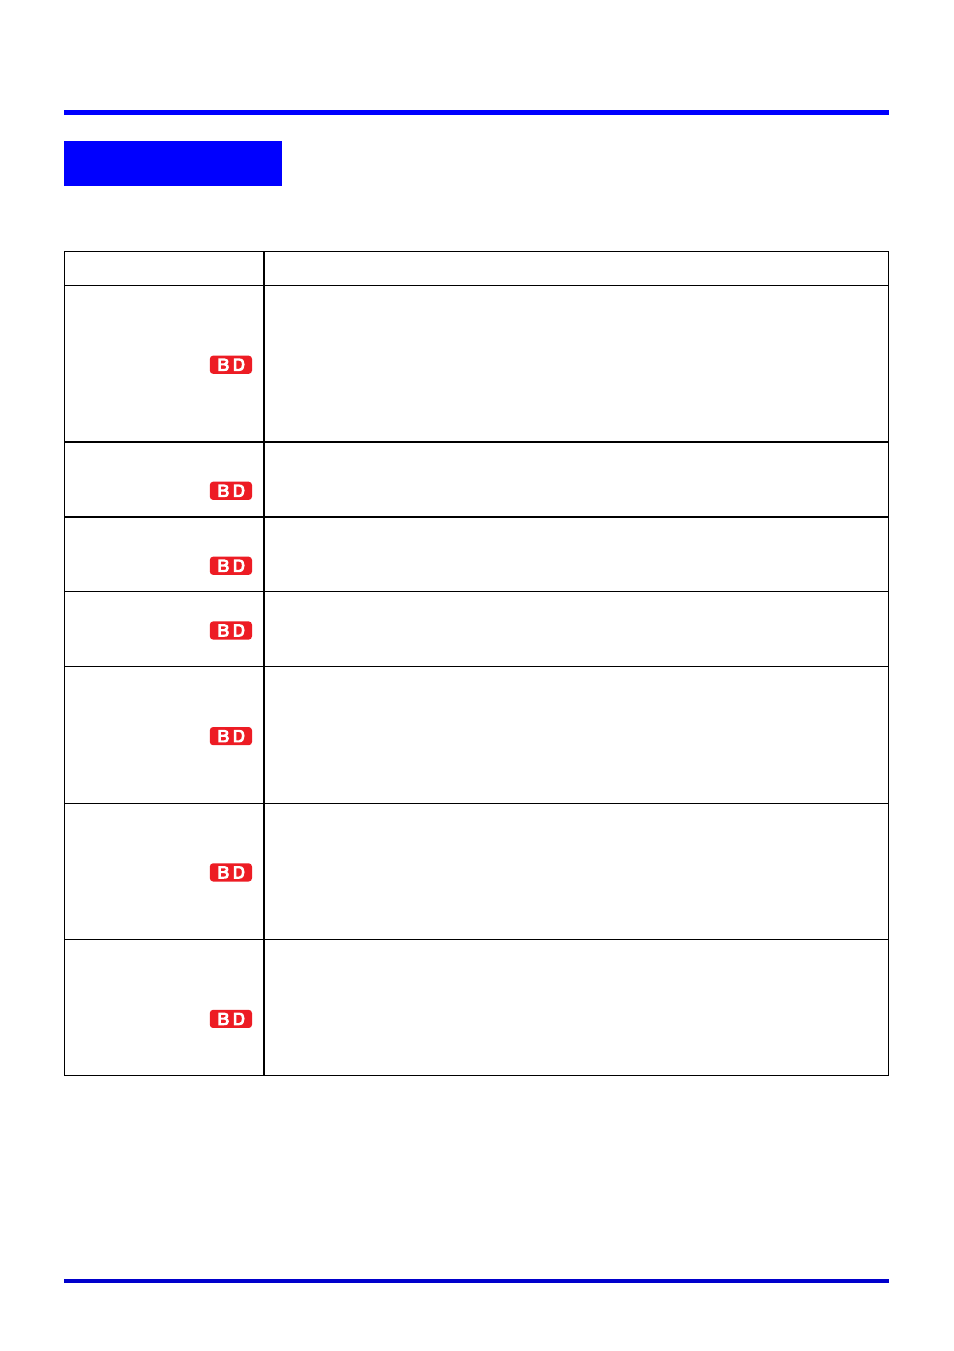
Command
Description
Shutter
Triggers the shutter release operation for recording and projecting the
image of a document on the PJ Camera Stand.
This command needs to be executed to record each page when PJ
Camera Software is configured for manual projection.
When PJ Camera Software is configured for auto projection,
executing this command overrides the auto function and forces the
record operation, followed by projection of the recorded image.
Show Document
Monitor
This command is available during manual projection only.
Executing this command during projection of a document camera
image switches to projection of a rough (monitor) image.
Adjust Document
Camera
Displays an Adjust Camera Position dialog box. The dialog box
includes the image from the camera’s monitor screen. You can use
the dialog box to adjust the PJ Camera settings (zoom, focus).
Refocus
This command can be used in the Document Camera Mode and
Scanner Mode. Executing this command adjusts the focus of the PJ
Camera.
3D Object
This command can be used in the Document Camera Mode and
Scanner Mode. Select this item (so there is a check mark next to it)
when recording a 3D object, and deselect it (so there is no check
mark next to it) when recording documents. Note that selecting this
item automatically causes the [Trapezoid Correction On] item on the
[Image] menu to be turned off (unchecked).
Small Document
This command can be used in the Document Camera Mode and
Scanner Mode. Select this item (so there is a check mark next to it)
when recording a document whose size ranges from business card
size to A5 (148
× 210mm)(5.8 × 8.3inch)/HLT (Half Letter) size, and
deselect it (so there is no check mark next to it) when recording
larger size documents.
Adjust Camera
Position
This command can be used in the Document Camera Mode and
Scanner Mode. Executing this command displays an Adjust Camera
Position dialog box for fine adjustment of the camera’s position.
Clicking the [OK] button on the Adjust Camera Position dialog box
performs automatic adjustment. Do not have anything on the
document stage when performing camera position adjustment.