Casio EW-B2000C User Manual
Page 117

115
Assigning and Deleting Photo Data
You can assign photo data to category icons on the MENU screen,
and to the power off screen.
1
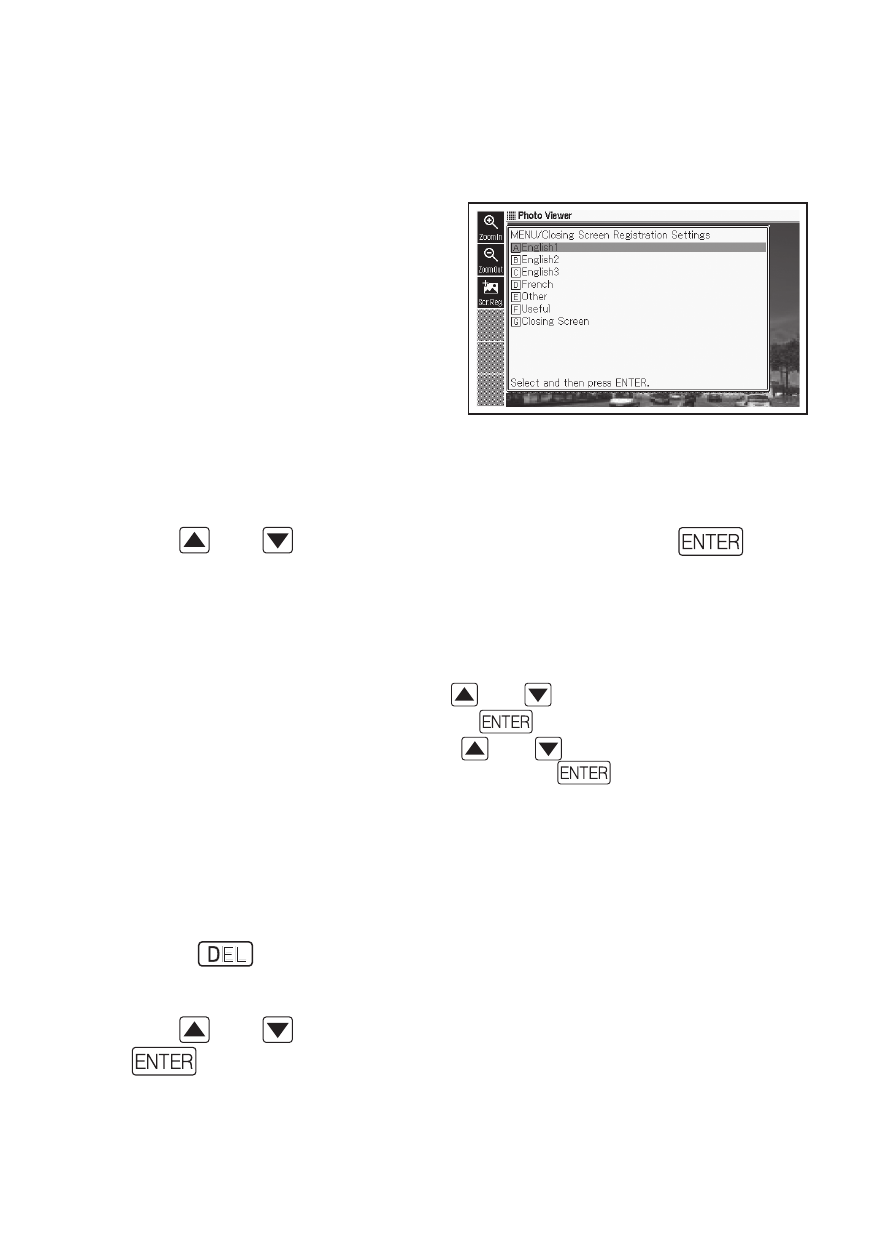
Display the photo data you
want to assign, and then
select the
icon.
This will display a “MENU/
Closing Screen Registration
Settings” screen. The fi le
names of photo data already
assigned to a category will be
displayed next to the category
name.
2
Use and
to select a category and then press
.
This displays the message “Saved” and returns to the photo data
display.
Saving a photo image stores it in electronic dictionary built-in memory,
so it is still available even if the microSD memory card is removed.
To delete saved photo data, use
and
to select the category to
which it is assigned and then press
. This will display the “Change
Screen Registration” screen. Use
and
to select “Restore the
screen of the selected item” and then press
.
To delete photo data assigned to the MENU screen
1
On the MENU screen, select the category to which photo data
is assigned.
2
Press
. This will display the “Change Screen Registration”
screen.
3
Use and
to select the necessary item and then press
.
■
•
•
•
•
■
