0 installation, 1 preliminary checks, 2 location – Emerson Liebert Remote Monitoring Panel User Manual
Page 8: 3 power supply, Figure 3 rmp electrical input plug, 4 cable specifications, Table 2 communication cable specifications, Nstallation, Preliminary checks, Location
Installation
4
2.0
I
NSTALLATION
2.1
Preliminary checks
Before beginning to install the RMP, verify that the equipment has reached site in its own packaging
and in good general condition. Please notify immediately the shipper, Emerson Network Power and
your local Liebert representative of any damage.
These items should be included in the package:
• RMP box with LCD screen
• 4 mounting screws
• 4 plastic wall anchors (6mm-by-26mm)
• 2 Phoenix connectors for connection with the UPS.
• User manual
2.2
Location
The RMP is designed for indoor use and should be installed in an environment with clean air and ade-
quate ventilation to keep the temperature within the specified operating range (see Table 17).
If the RMP is to be installed on a wall or other vertical surface, ensure that the surface can bear the
weight (see Table 16) and there is no water leakage.
2.3
Power Supply
The RMP requires a 120V/230V AC input (for detailed electrical specifications, see Table 18).
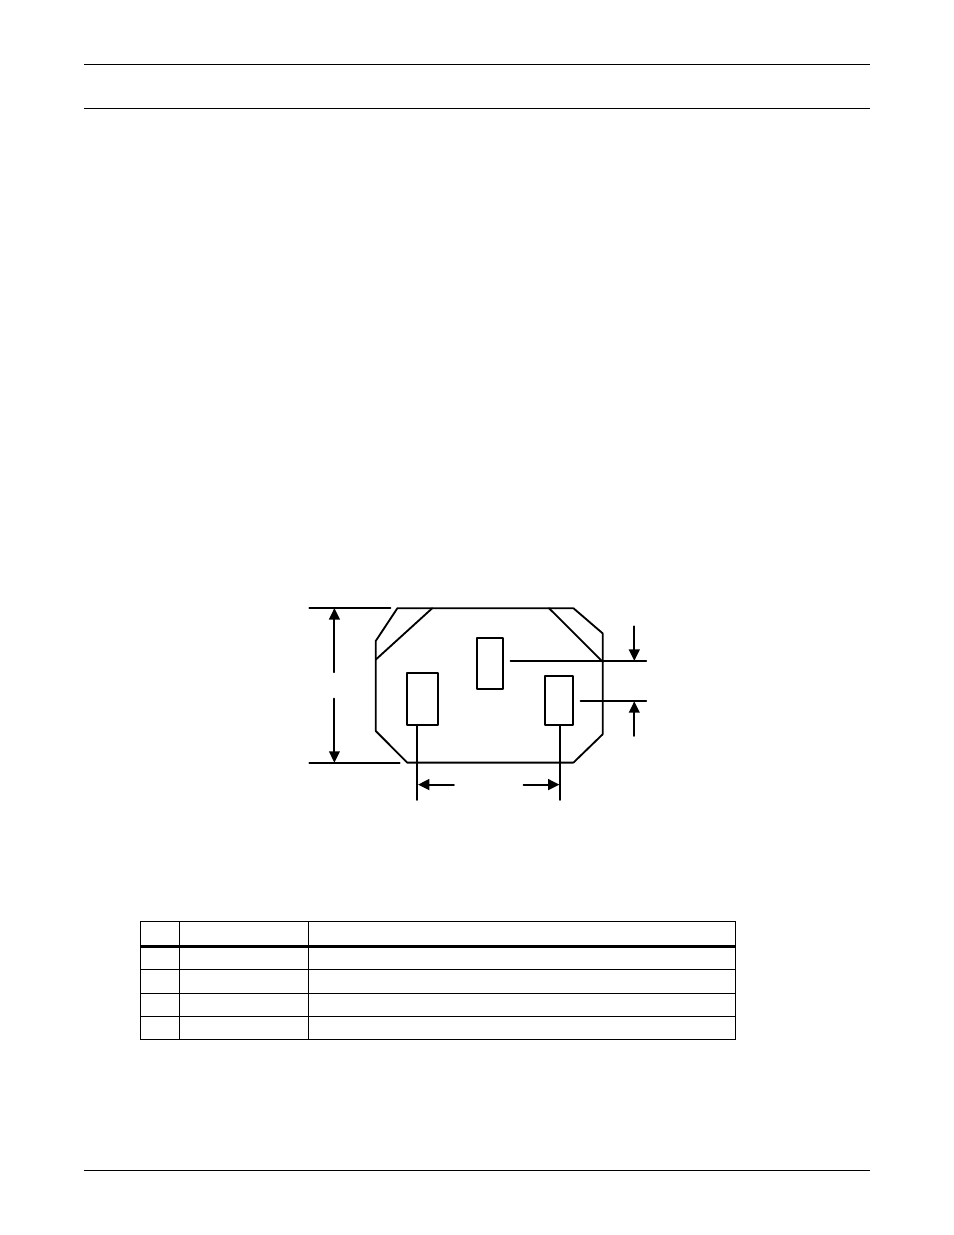
Figure 3
RMP electrical input plug
2.4
Cable Specifications
Connect the RMP to the Liebert NX with a field-supplied communication cable meeting the specifica-
tions in Table 2.
Table 2
Communication cable specifications
No
Item
Specification
1
Connector type
Both terminals are all 4-pin Phoenix terminal (supplied with RMP).
2
Cable Length
<100m
3
Cable type
a shielded and twisted pair of 0.5 to 1 mm
2
(16-20AWG) wires
4
Connection mode
See Figure 4
15.6mm
4mm
14mm