Connecting power, Wall mounting, Connecting power wall mounting – Lanner LEC-2110 User Manual
Page 22: Chapter 4, Hardware setup
22
Hardware Setup
Chapter 4
Embedded and Industrial Computing
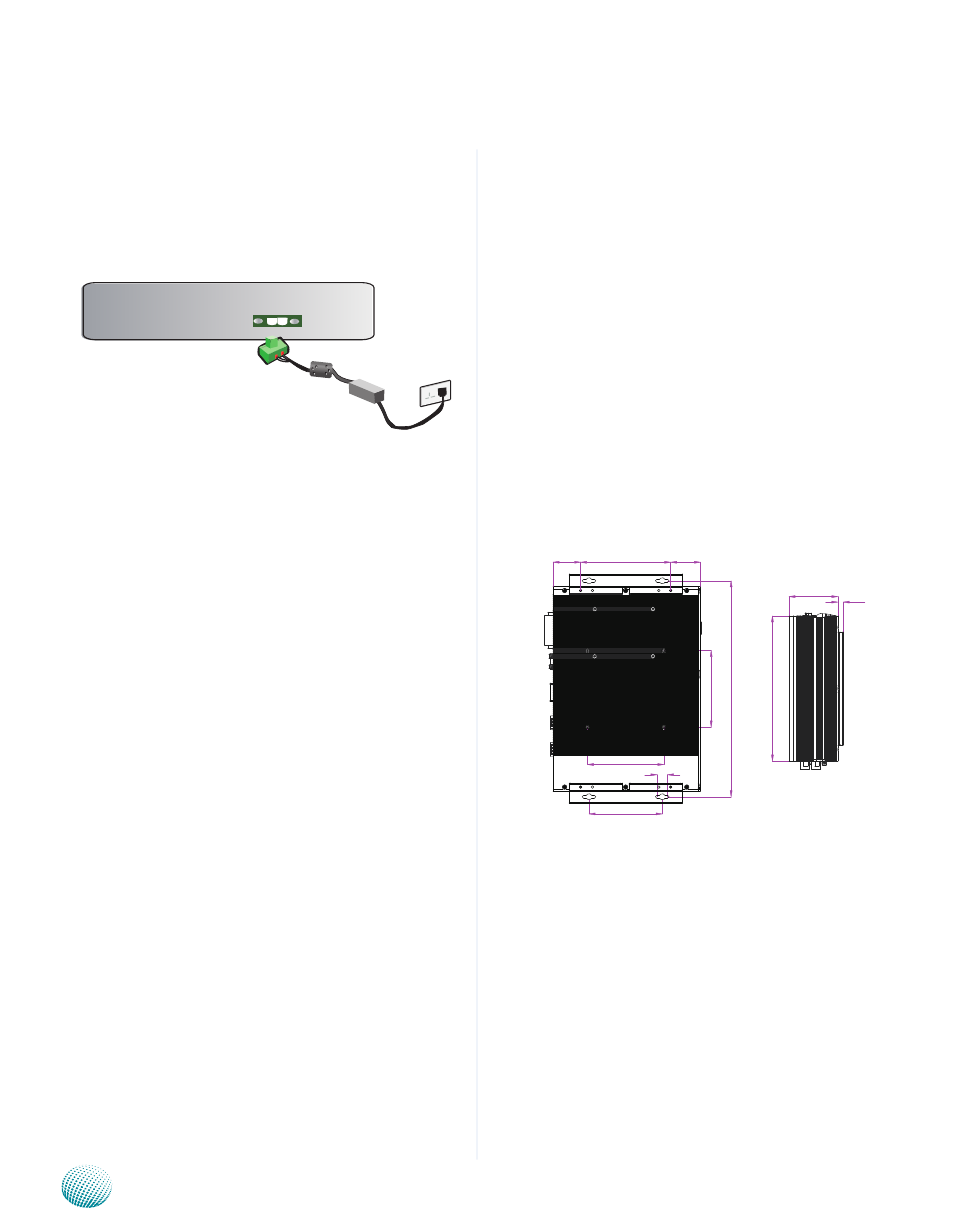
Wall Mounting
The product ships with wall mounting kit. To mount your
product on the wall, follow the instructions below:
First make a hole for the anchor in the surface on the
1.
wall. Use the following diagram as a guideline for
placing the anchors.
Then press the anchor into the hole until it is flush with
2.
the surface. You may need a hammer to tap the wall
anchor.
Use a screwdriver to screw the threaded screw into the
3.
plastic anchor.
Attach the wall mounting bracket to the back of the
4.
device, securing it in place with four of the flat-head
screws provided.
Hang the device on the wall.
5.
Connecting Power
Connect the LEC-2110 to a
+9~+30V DC-in
power source.
The DC power-in connector comes with a 2-pin terminal
block for its Phoenix contact. This power socket can only
accept the power supply with the right pin contact so be
cautious when inserting power to the system.
268
190
64
7
100
100
283
14
96
301
71
118
39
36
Unit: mm
+ -
DC IN