Lanner FW-8894 User Manual
Page 17
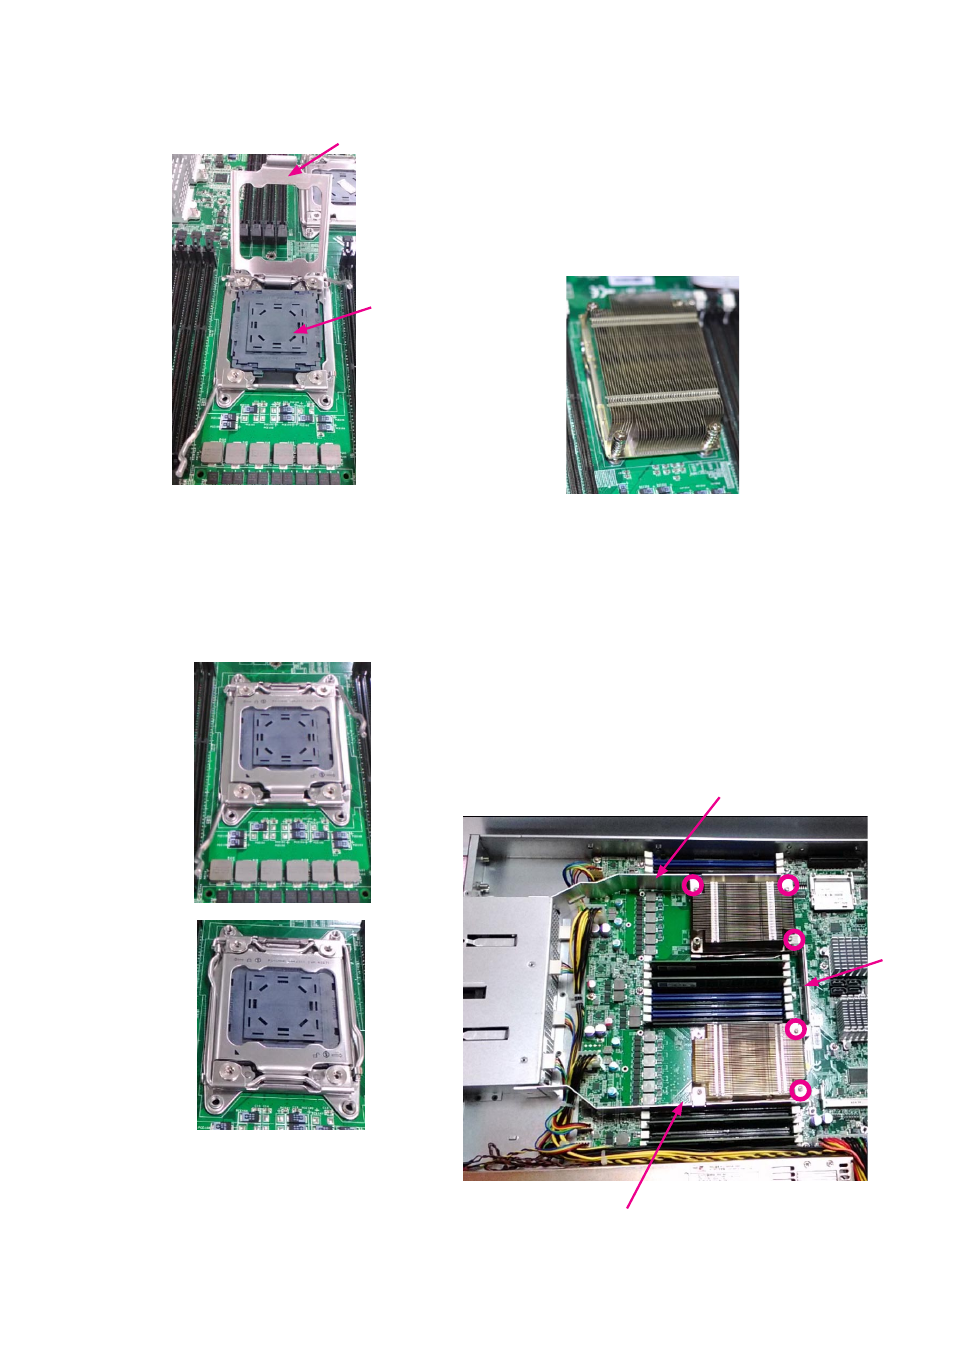
4. Open the load plate and also the protective cap.
5. Align the CPU and the notch on the socket. The CPU
should fit perfectly into the socket. Note that the CPU
fits in the socket in only one direction.
6. Put the protective cap onto the CPU. Close the load
plate and push the load lever to lock it back to the
retention tab.
Load plate
Protective cap
7. Put the heat sink on the installed CPU and match the
screws with the screw holes on the board. Fasten two
screws which are opposite to each other at a time and
then the other two. It is easier this way to avoid the force
of spring.
Place the heat sink cover on top of the installed heat sink
and fasten it with screws on the chassis.
Note:
If you have only one CPU, install it on the left
1.
side (CPU socket No.1with the front panel
facing you). Failure to do so will result in boot
failure .
To protect the CPU socket pins, retain the CPU
2.
cap when the CPU is not installed.
8. Install rediation mounting-brackets as the image below.
Make sure to lock all the necessary screws.
Rediation mounting brackets
Rediation mounting brackets
Rediation
mounting
brackets