Outer rail installation, Installing the system to the rack, Ear bracket rack mounting – Lanner FW-8760 User Manual
Page 14: Chapter 2, Introduction
9
Introduction
Chapter 2
Network Application Platforms
Outer Rail Installation
Use the following procedures to install the outer rail
Attach the rail bracket to the posts of the rack by using
1.
two screws (Rail bracket screws are not included, use
the original manufacture’s rack bracket screws.) Do
not completely tighten the screws; leave them loose
to allow for adjustment so that the middle rail can
slide.
Extend the outer back rail to the back of the rack and
2.
firmly tighten it with rack bracket screws.
Repeat step 1 and 2 above to install other brackets (2
3.
in the Front and 2 in the Back).
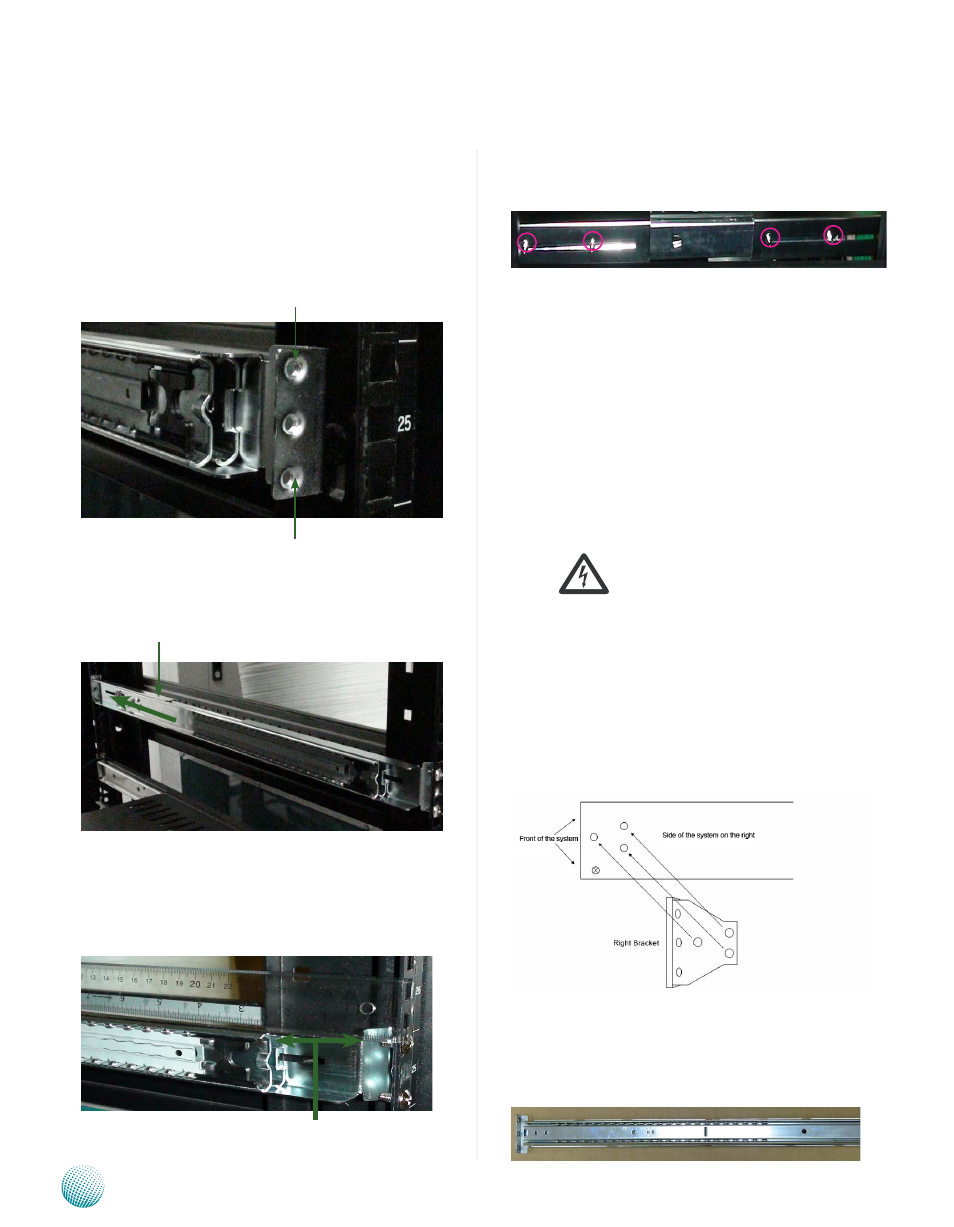
Adjust the middle rail to about 2.5 inches from the
1.
front rack post.
Adjusting the middle rail
Ear Bracket Rack Mounting
Installation and handling caution:
Installation must be performed only by a trained
1.
electrician or by a person who understands all the
installation and device specifications, including
electrical specifications, which are to be applied.
Caution: Do not use the power supply handles to
2.
carry the system.”
Attach the mounting brackets to the two sides of
1.
the system by fastening them with the black screws
included in the bracket mounting kit.
Align the holes of the ear bracket and mounting holes
2.
of the rack.
While holding the chassis in place, use appropriate
3.
screws to secure it to the rack.
Tighten the rail bracket to the rack's post with
screws
Outer back rail
Firmly tighten the Hex nut (4 on each side) on the
2.
outer rail after adjusting the middle rail to its proper
place..
Installing the system to the rack
Fully extend the left and right rails until they are locked
1.
by the extension locks firmly.
Holding the system with its front facing you, lift the
2.
chassis and carefully insert the system with the inner
rail attached to the middle rail.
Push the chassis all the way toward the back until you
3.
hear a click when the rail locks. Hold down the finger
tabs to unlock the middle extension safety locks while
sliding the system.
2.5"