Removing a disk module – Grass Valley PFR600/E User Manual
Page 45
Removing a disk module
20 February 2004
PFR600/E Instruction Manual
45
Removing a disk module
NOTE: If a disk module has been bound into a LUN, do not move it to another slot
unless you do not care about the data on the LUN. Each module has LUN
identifying information written when it is bound. Moving it to another slot can
make information on the original LUN inaccessible.
Generally, you should not remove a disk module unless it is faulty. Refer to
“Interpreting disk module LEDs” on page 41
and
“Monitoring PFR600 Series RAID
status using NetCentral” on page 40
.
NOTE: If you wish to remove an operational disk module, use the Grass Valley
Disk Utility to disable the disk before removing it.
To remove the disk module:
1. Confirm the drive location by ensuring that the disk module LED is blue or red.
NetCentral messages may report disk faults by disk module number. To locate a
disk module by number, look at the 7-segment LED display on the rear panel of the
RAID Controller or Loop Bypass Boards. It displays a single digit (0 through 9).
This indicates the chassis address of the chassis. The chassis displaying chassis
address 0 contains drives from 1 to 10; the chassis displaying chassis address 1
contains drives from 11 to 20; and so forth.
NOTE: Use the Identify Disks command in the GVG Disk Utility to flash the LED
on the drive to be removed.
2. Remove the drive support bracket, if installed (refer to
drive the support bracket” on page 34
.)
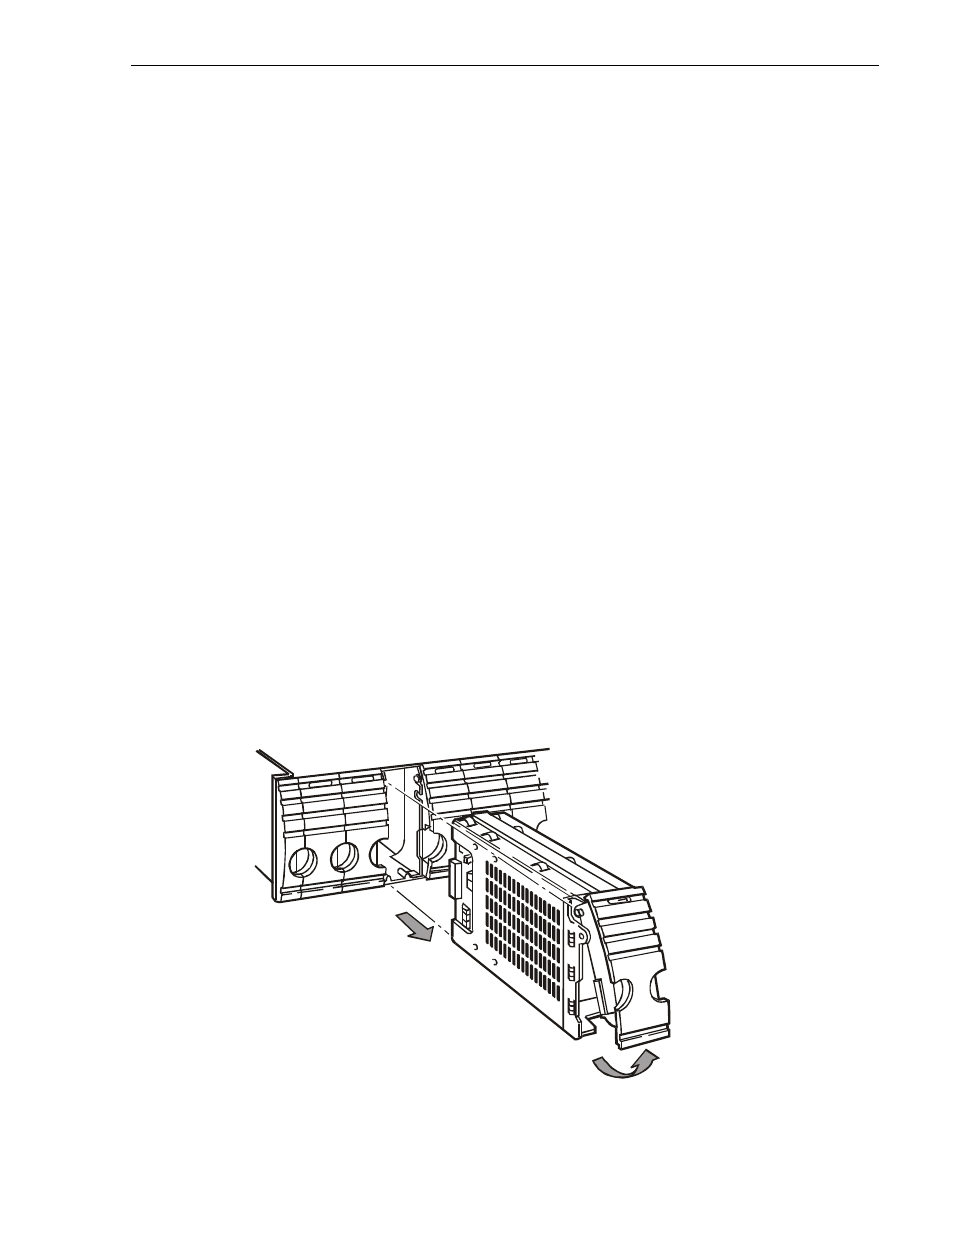
3. Grasp the release lever with your thumb and index finger and pull outward to open the
door.
4. Carefully slide the disk module out until it is free and out of its bay.
2905
2
1