Grass Valley Kayak HD Installation v.6.9.4 Jun 02 2011 User Manual
Page 188
188
Kayak HD — Installation and Service Manual
Section 4 — Maintenance
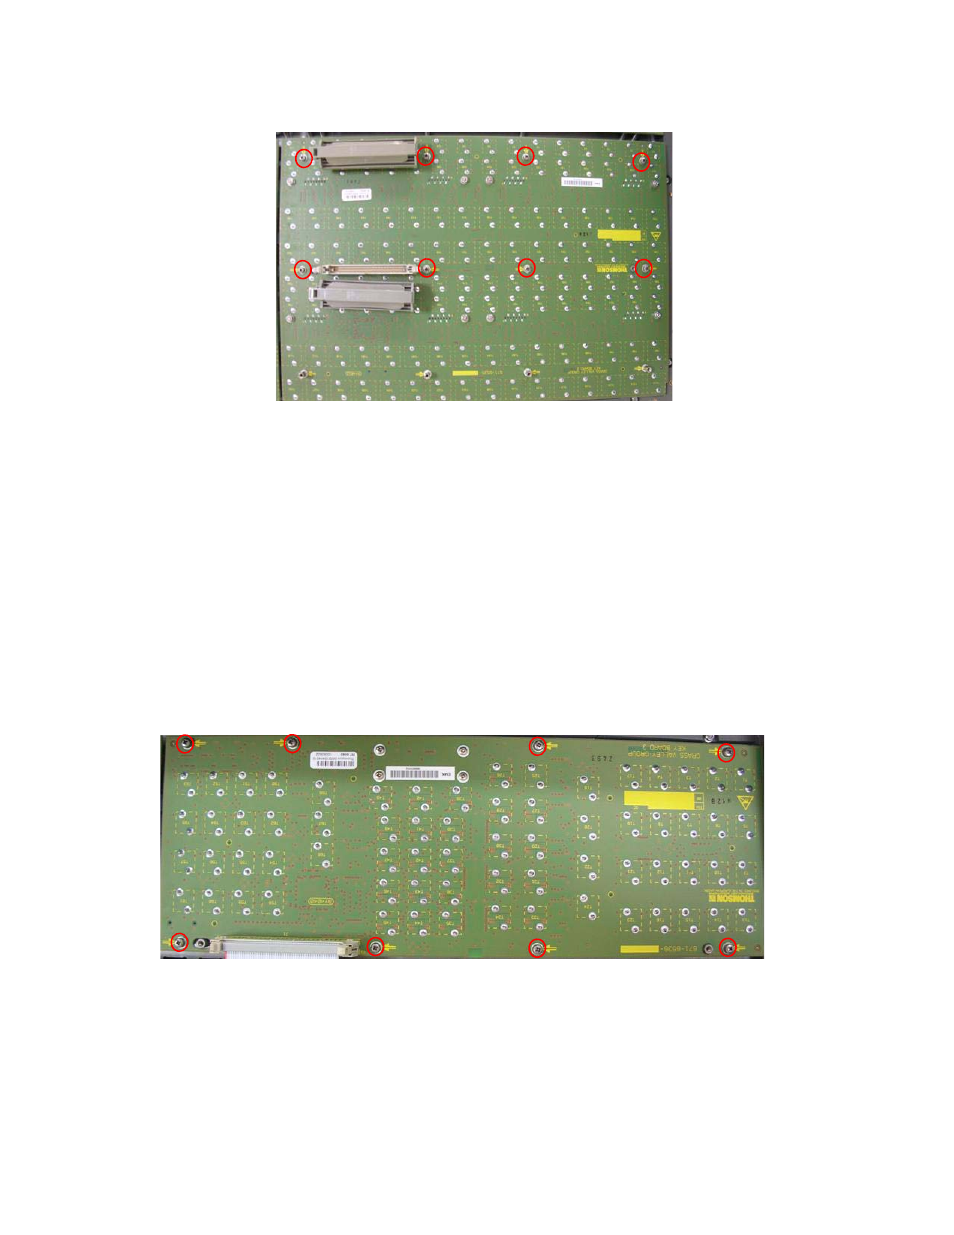
Figure 139. Kayak Keyboard 2—Screw Removal
Insert the new
Keyboard 2
and reassemble referring to these instructions (also
).
Replacing Keyboard 3 (2-M/E only)
To replace
Keyboard 3
, complete the following steps:
1.
Carefully separate the top of the control panel enclosure from the
bottom (see
Removing the Top of the Control Panel Enclosure on page 168
).
2.
Disconnect the ribbon cable connected to
J1
.
3.
Remove the eight screws fastening the
Keyboard 3
to the Control Panel
.
Figure 140. Kayak X-Bar Transition Module—Screw Removal
4.
Insert the new
Keyboard 3
and reassemble referring to these instructions.
This manual is related to the following products: