Using the densité frame control panel, Es (see, Using the densité frame – Grass Valley Kaleido-MX 4K (1RU) v.7.80 User Manual
Page 36: Control panel, Using the densité, Frame control panel
22
Operation
Using the Densité Frame Control Panel
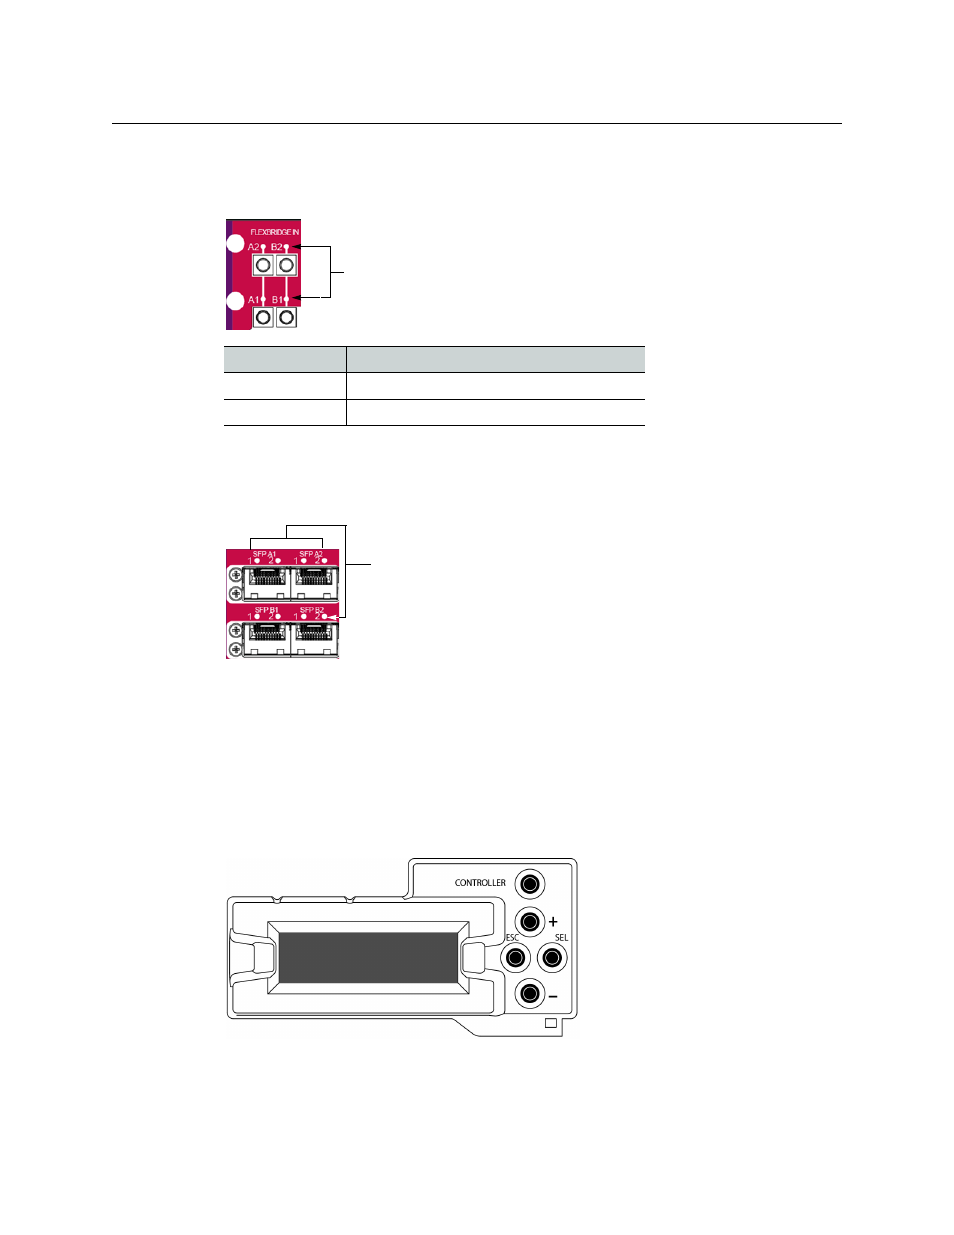
Output module FlexBridge input LEDs
The Kaleido-MX 4K (1RU) has 4 LEDs monitoring the status of the FlexBridge inputs located
on its rear connector panel. The FlexBridge inputs are reserved for future expansion.
SFP LEDs
The Kaleido-MX 4K (1RU) has 8 SFP LEDs located on its rear connector panel. These LEDs are
always OFF, and currently not relevant.
Using the Densité Frame Control Panel
All of the cards installed in a Densité frame are connected to the frame’s controller card,
which handles all interaction between the cards and the outside world. There are no
operating controls located on the cards themselves. The controller supports remote
operation via its Ethernet ports, and local operation using its integrated control panel.
The local control panel is fastened to the controller card, and consists of a display unit
capable of displaying two lines of text, each 16 characters in length, and five buttons.
Densité CPU-ETH2 local control panel
The panel is assigned to operate any card in the frame by pressing the Select button on the
front edge of that card. The Status LED on the selected card will then be blinking orange.
LED
Meaning
Green
HD-SDI or 3G-SDI signal detected
Red
No SDI signal detected
4 Flexbridge input LEDs on
Kaleido-MX 4K (1RU) rear panel
(future use)
8 SFP LEDs on Kaleido-MX 4K (1RU)
rear panel (future use)