Right autotrack view, Left autotrack view – Grass Valley 3-CCD CameraMan Rev.B User Manual
Page 21
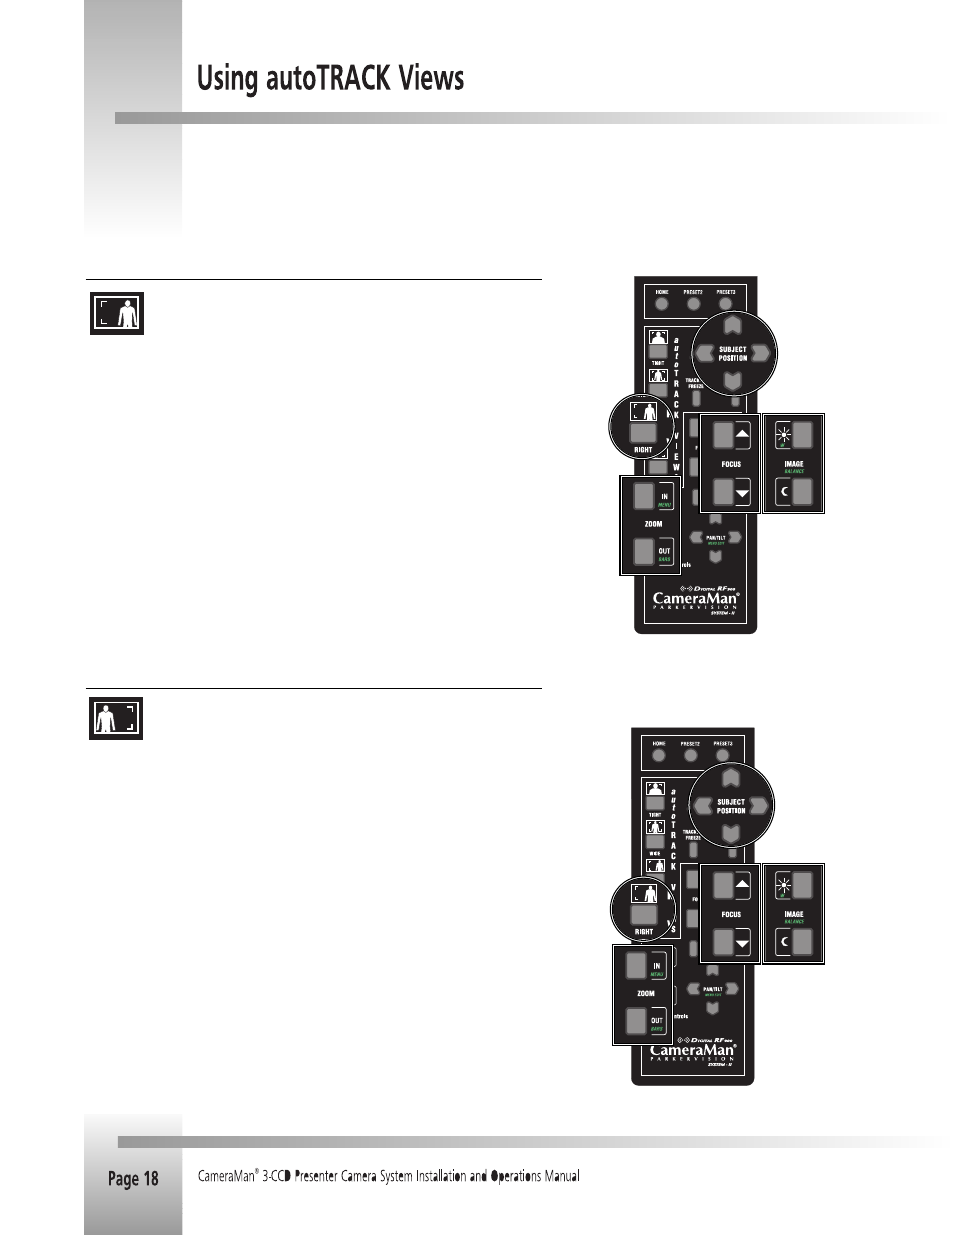
RIGHT autoTRACK View
Press the RIGHT autoTRACK View button. Your image should now be offset to
the right side of the video frame. This view is used when the presenter wants to
share the video screen with key presentation areas (a left-handed presenter may
use this view while pointing to a flipchart). If you would like to alter your image
in this view, you will need to reset the Right View.
To SET or CHANGE the right autoTRACK VIEW:
1. After pressing RIGHT View, use the SUBJECT POSITION arrows to position yourself in
the middle of the video frame.
2. Use the manual ZOOM buttons to set the needed Zoom perspective, if needed.
3. Use the manual FOCUS buttons to set the focal point, if needed.
4. Use the manual IMAGE buttons to set the needed light/dark contrast, if needed.
5. Press and hold RIGHT until you hear two beeps, indicating the new setting is stored.
To RECALL the right autoTRACK VIEW:
Press and release RIGHT View. The camera recalls the information stored in the RIGHT
button.
LEFT autoTRACK View
Press the LEFT autoTRACK View button. Your image should now be offset to the
left side of the video frame. This view is used when the presenter wants to share
the video screen with key presentation areas (a presenter who is right-handed may
use this view while pointing to a flipchart). If you would like to alter your image in
this view you will need to reset the Left View.
To SET or CHANGE the left autoTRACK VIEW:
1. After pressing LEFT View, use the SUBJECT POSITION arrows to position yourself in
the middle of the video frame.
2. Use the manual ZOOM buttons to set the needed Zoom perspective, if needed.
3. Use the manual FOCUS buttons to set the focal point, if needed.
4. Use the manual IMAGE buttons to set the needed light/dark contrast, if needed.
5. Press and hold LEFT until you hear two beeps, indicating the new setting is stored.
To RECALL the left autoTRACK VIEW:
Press and release LEFT View. The camera recalls the information stored in the LEFT
button.
Step 1
Step 2
Step 5
Step 1
Step 2
Step 5
Steps
3 and 4
Steps
3 and 4