Adding transitions to your sequences, Creating a transition – Grass Valley Aurora Edit LD v.6.3 User Manual
Page 73
September 14, 2007
Aurora Edit LD User Guide
73
Adding Transitions to Your Sequences
Adding Transitions to Your Sequences
You add transitions between clips in your sequence. You need to have handles on
your clips in order to apply a transition.
Creating a Transition
You add transitions between clips in your sequence. You need to have
handles
on
your clips in order to apply a transition.
You create each of the 3 transitions in the same way.
To create a transition:
1. Press
5
on your keyboard, or click
,
to select the Transition Tool.
2. Click on the transition type and then on the icon for the effect you want.
3. In the Settings area, choose the
Position
of the transition from these choices:
•
Centered
—Centers the transition across the cut point (default)
•
End at Cut
—Ends the transition at the cut point between clips
•
Start at Cut
—Starts the transition at the cut point between clips
•
Custom
—Lets you set the position by typing it in the Cut Point field. If you
don’t have enough handle material to complete the custom position you set,
Aurora Edit LD completes as much of the positioning as it can.
4. Enter the duration of the transition (the default is 15 frames).
5. Move the mouse over the cut point between the two clips. The cursor becomes a
red X.
6. Click the mouse once to place the effect.
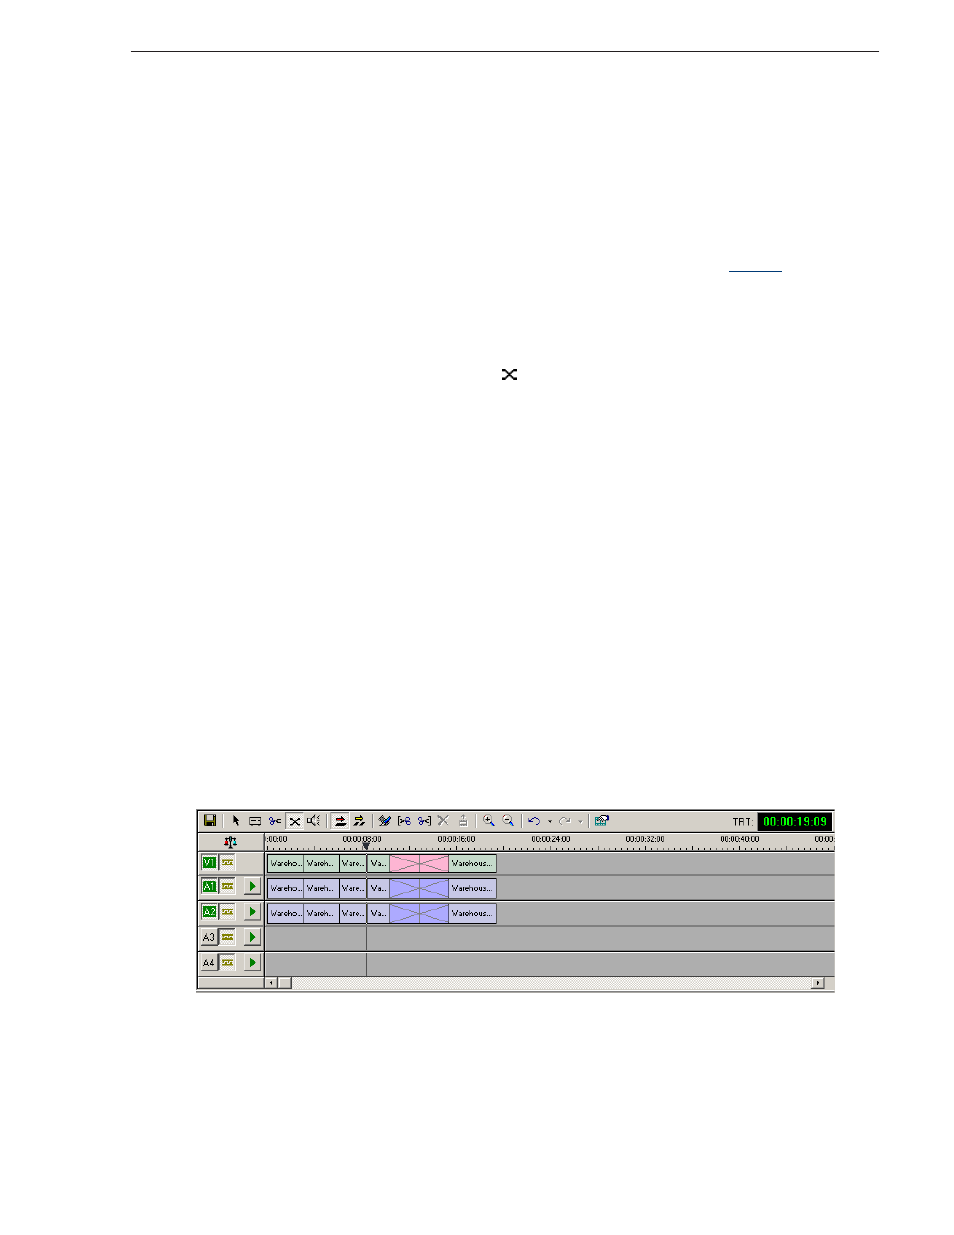
The transition appears on the Timeline as a pink box with diagonal lines in it,
indicating the transition is unrendered. When you export a sequence as an EDL,
Aurora Edit LD automatically renders the transition.
When you play the sequence in the Timeline, you see the transitions in the Video
window.