Using the transition tool, Transition types, Using the transition tool transition types – Grass Valley Aurora Edit LD v.6.3 User Manual
Page 72
72
Aurora Edit LD User Guide
September 14, 2007
Chapter 7 Adding Transitions
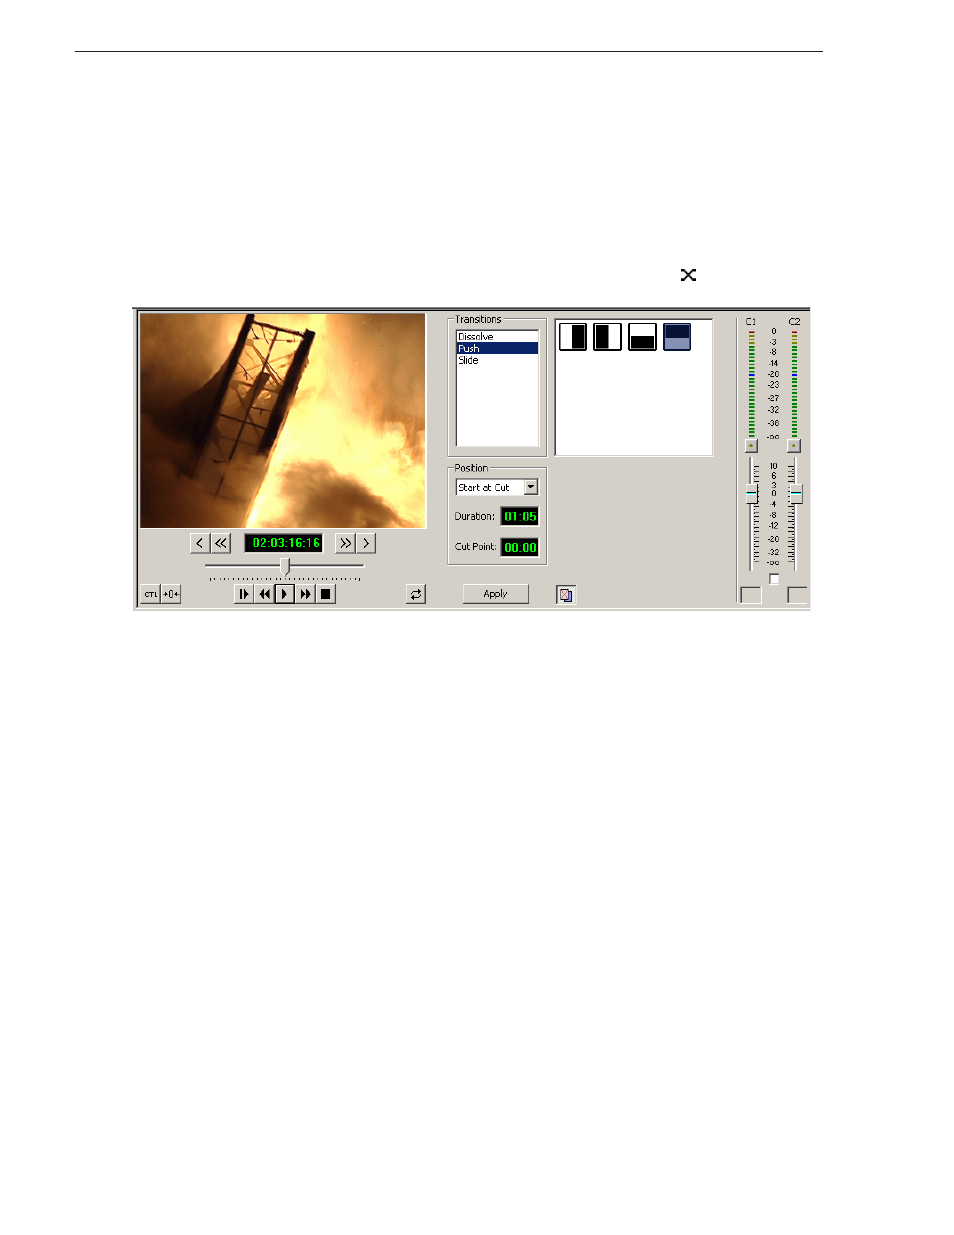
Using the Transition Tool
Aurora Edit LD lets you create a variety of transitions between clips in your sequence.
Adding transitions to your sequences can add visual interest, avoid a bad edit between
shots, or slow a change between two shots for a pacing effect.
To create transitions or audio crossfades, you use the Transition Tool.
To select the Transition Tool, press
5
on your keyboard or click the
Transition Tool
button in the Timeline toolbar.
Transition Types
Aurora Edit LD has 3 types of transitions:
• Dissolve—Fades the existing image as the new image becomes visible in its place.
You cannot specify the direction or kind of dissolve.
You can create fades using the Dissolve transition. A fade is the gradual
appearance of a new picture from black (fade-in) or the gradual disappearance of a
picture to black (fade-out). To gradually fade the video in, place a dissolve
transition at the beginning of a sequence. To fade the video off the screen, place a
dissolve transition at the end of the sequence.
• Push—Moves the second image in the direction chosen onto the screen, looking
like the first image is "pushed" out of the way.
• Slide—Moves either the old image or the new image. The old image moves to
reveal the new image or the new image moves to conceal the old image. A black
arrow indicates the direction and path the second image takes moving into the
frame. A white arrow indicates a reverse slide, where the first image slides to reveal
the second image.
To read a description of each transition, double-click its effect icon in the Transition
Tool.