Inserting filler between clips – Grass Valley Aurora Edit LD v.6.3 User Manual
Page 66
66
Aurora Edit LD User Guide
September 14, 2007
Chapter 6 Fine Tuning
2. Select the area to delete by marking an In and an Out point.
3. Press
Ctrl + Delete
on the keyboard or hold down the
Ctrl key while clicking the
Delete
button.
You can also right-click in the Timeline and choose Delete Area.
Inserting Filler Between Clips
With Aurora Edit LD, you use filler to place a gap between two shots or to create a
dip to silence in the sequence. You can also use filler to serve as a placeholder for
late-arriving material. Inserting filler is both track and edit mode specific.
To insert filler:
1. Press
1
on your keyboard to choose the Timeline Tool.
2. Click once on the clip, at the point before you want to insert filler.
3. Right-click and select
Insert Filler
.
The Filler Properties window appears.
4. Enter a Duration for the filler and click
OK
.
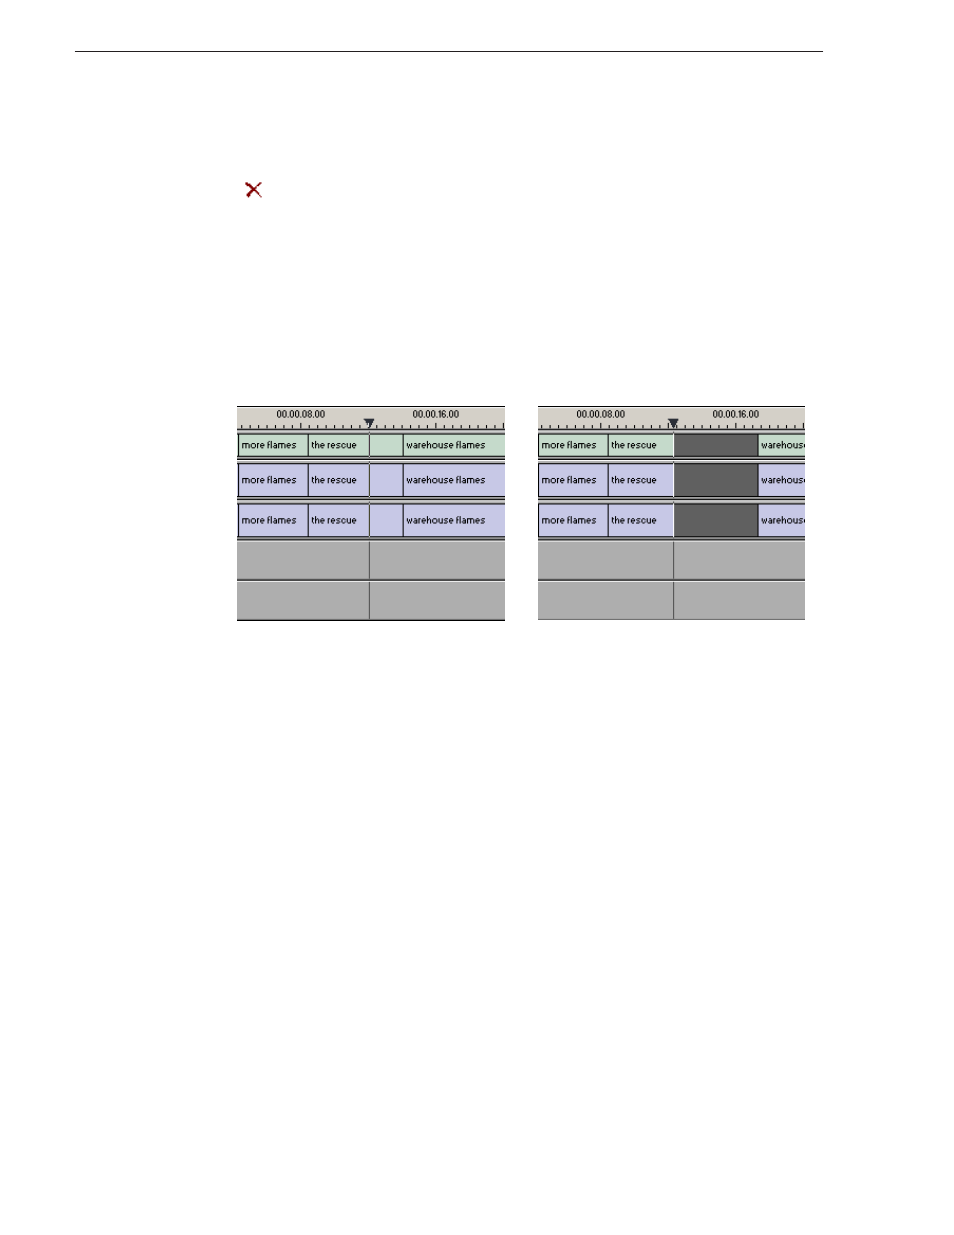
The Timeline updates with the filler inserted into the sequence.
NOTE: You can also insert filler between Mark In and Mark Out points on all tracks
that are active.
Before filler...
After filler...