Operator interfaces technical guide 25, Setting time & date – WattMaster VAV System User Manual
Page 25
Operator Interfaces
Technical Guide
25
Holiday Start/Stop Times
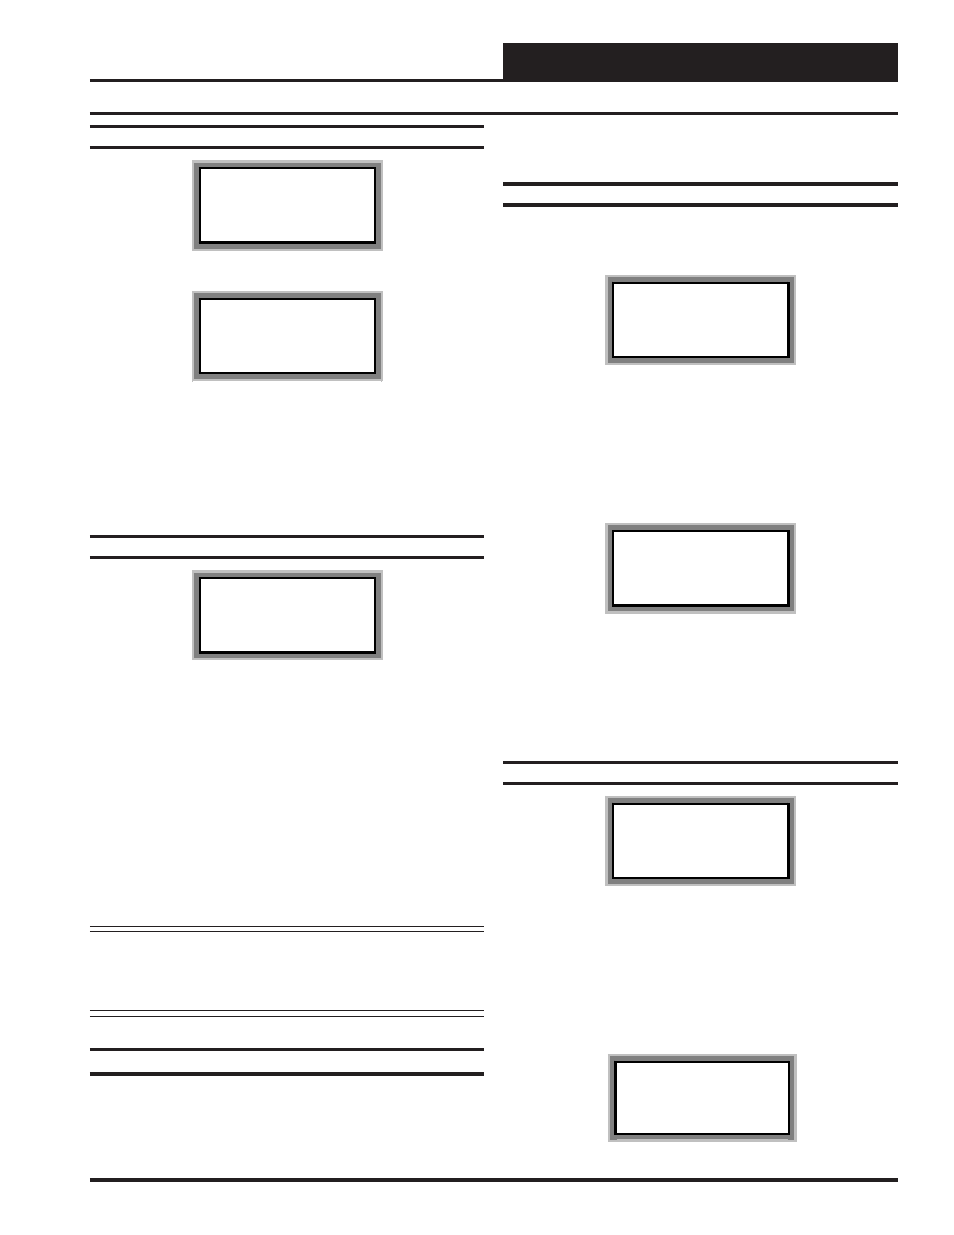
WMVAV Hldy ID 59
Holiday Schedule
Start Event #1: xxxx
Stop Event #1: xxxx
WMVAV Hldy ID 59
Holiday Schedule
Start Event #2: xxxx
Stop Event #2: xxxx
The fourteen holidays all use the same Start and Stop times which are
entered on this screen and then next. It is entered in 24-hour military
format, the same as a regular week schedule.
Normally the holidays will operate in an unoccupied mode or a reduced
schedule mode. There are two start/stop events available on holidays to
match the standard schedule number of events.
Schedule Override
WMVAV Ovrd ID 59
Schedule Override
Enter Override...: x
[0=Auto 1=ON 2=OFF]
If you want to force the unit to operate in a continuous Occupied or
Unoccupied mode, select this menu item to activate the desired method.
If a Schedule Override is active, all other methods of schedule control
are ignored. (Push-Button, Internal or Remote)
As you can see on the last line of the display you enter a ‘1’ to run
continuously in the Occupied Mode or a ‘2’ to run continuously in the
Unoccupied Mode.
To restore normal schedule operations, make sure a ‘0’ is entered here.
This override remains in effect until canceled by the user and does not
time-out like the Output Overrides do after 10 minutes of no communi-
cations.
Note: Do not use the Force OFF mode in place of setting all
the week schedules to ZERO if you are using a Remote
Signal for your scheduling since the Override has pri-
ority over the Remote Signal.
Setting Time & Date
Both the Modular Service Tool and Modular System Manager are
equipped with a real time clock chip allowing it to maintain the cor-
rect time. Once the correct time and date are entered, the information
is broadcast globally to all controllers on the entire system. The Sys-
tem Manager will also broadcast this information once every day at
midnight to synchronize all the controllers on the system.
Programming Times
From the main menu press the “Enter” key. The following screen will
appear.
1) Set Time & Date
2) Communications
->) Next Menu
ESC) Exit Menu
Press “2” on your keypad to access the “Set Time & Date” screens.
Although the times are displayed on the Main Screen in a standard 12-
hour format, they are programmed using the 24-hour military format. If
the WMVAV controller was configured to use its own Internal Sched-
ules, the Occupied/Unoccupied modes are calculated on the basis of the
current real time clock reading.
Program Time/Date
Day (Sunday=0): x
Enter Hr. (0-23): xx
Enter Minutes : xx
Day
Enter the Day of the Week (0 to 6)
Sunday = 0
Hours (Hr)
Enter Hours in 24-Hour Military Format
(1700 = 5:00 PM)
Minutes -
Enter the Minutes
(0 to 59)
Programming Date
Program Time/Date
Month (1-12): xx
Day (1-31): xx
Year (00-99): xx
Month
Enter the Month (1 to 12)
Day
Enter the Day of the Month (1 to 31)
Year
Enter the current Year with two digits (00 to 99)
After the date is programmed the Daylight Savings Time Auto Adjust
Screen will be displayed. If you want the time to be automatically ad-
justed for daylight savings time select yes, if not select no.
Daylight Savings
Auto Adjustment: Yes
Use Left/Right Arrow