Settings (introduction) – Teac D-02 User Manual
Page 11
11
EN
G
LIS
H
11
Setting items and their explanations
UPCONV>
***
Upconversion setting
Sets the upconversion sampling frequency (see page 12).
DF>
***
Digital filter setting.
Sets the digital filter of the D/A converter (see page 12).
CLK>
***
CLOCK setting
Sets the synchronization with an external clock and clock output
settings sent to source devices that support word sync (see page
13).
WOUT>
***
Clock output frequency setting
Sets the clock frequency output when the clock setting is “W_
OUT”, “W_IN”, “10M_IN” or “MCK_IN” (see page 14).
USB>
***
USB input setting
Sets the mode when using USB input (see page 14).
CH>
***
Playback channel setting during i.LINK input
Sets the channel played back by this unit when using an i.LINK
input (see page 15).
i_RC>
***
i.LINK remote setting
Sets coordinated functions when multiple D-02 units are
connected by i.LINK cables (see page 15). This is typically used
for multi-channel SACD applications only.
RC>
***
REMOTE control setting
Sets remote control settings when using this unit simultaneously
with an Esoteric amplifier (see page 15).
A_OUT>
***
Analog output setting
Sets the analog output connector used (see page 15).
XLR>
***
XLR output setting
Sets the XLR output gain level (see page 16).
DP>
***
Display setting
Sets what is shown on the display (see page 16).
FLaOFF>
***
Automatic fluorescent display off setting
Sets the time until the display automatically turns off (see page
17).
DIMMER>
***
Dimmer setting
Sets the brightness of the display and indicators to one of four
levels (see page 17).
Settings (introduction)
1
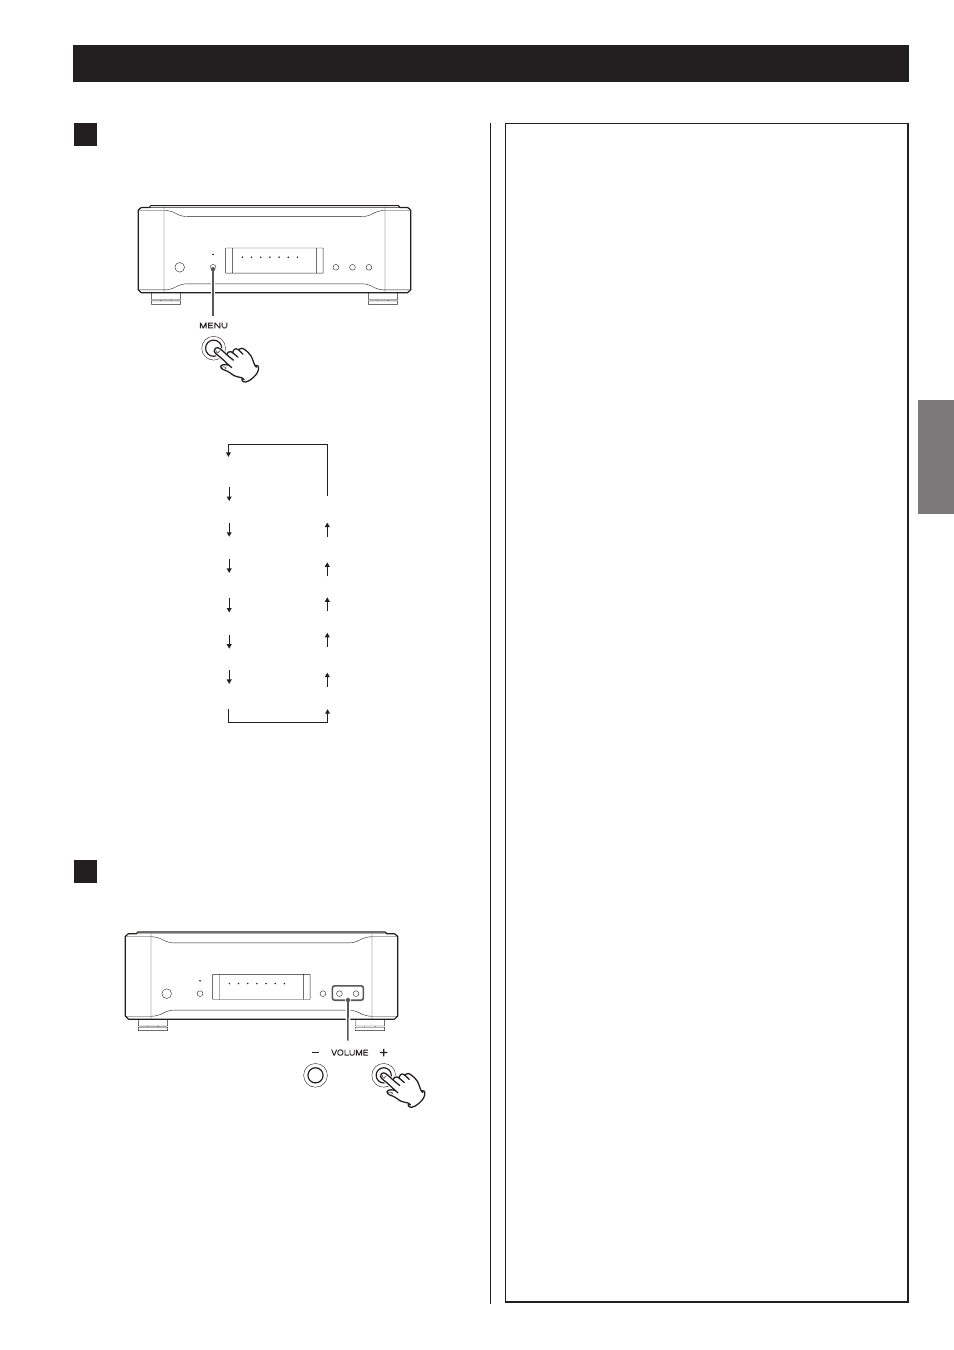
Repeatedly press the MENU button to select
the menu item to be changed.
Each time you press the MENU button, the item shown on the
display changes as follows.
UPCONV>
DF>
CLK>
WOUT>
USB>
CH>
DIMMER>
FLaOFF>
DP>
XLR>
A_OUT>
RC>
i_RC>
If no button is pressed for more than 10 seconds, the unit will
exit setup mode
< The SETUP button on the remote control unit of the P-02 can
also be used for this.
2
Use the VOLUME (–/+) buttons to select the
options within the menu item.
Individual menu functions are described on pages 12-17.
< The INPUT () buttons on the remote control unit of the
optional P-02 can also be used for this function.
< Settings are stored even when power is turned off and the unit
is unplugged. If left unplugged for an extended period, the
settings may be lost.