Tightness check – REMKO MVT 600 DC User Manual
Page 15
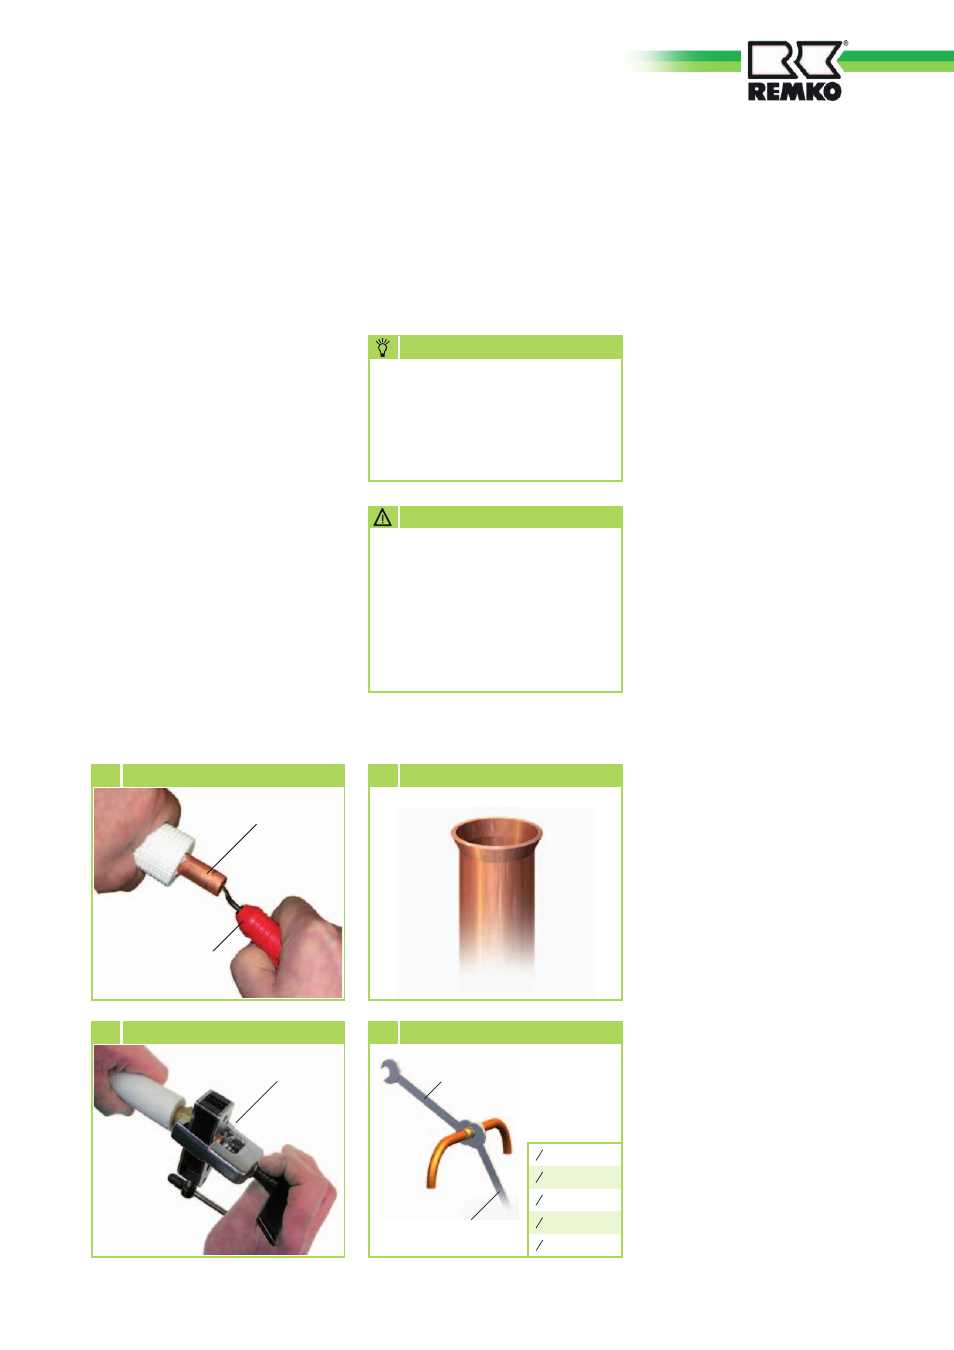
Use only tools which are
approved for use in an HVAC
environment.
Bending pliers, pipe cutter,
deburrer and flanging tool.
NOTE
Flanging tool
6 Flanging the refrigerant pipe
Refrigerant pipe
Deburrer
5 Deburring the refrigerant pipe
7 Correct flange shape
Check the connected injection
and suction pipes for correct
affiliation. Observe the letters
on the labels!
The connections of the
individual circuits may not be
mixed up.
CAUTION
12. First connect and hand-tighten
the refrigerant connections
to ensure they are correctly
seated.
13. Now fully tighten the fittings
using 2 suitably sized open-
ended spanners.
Use one spanner to counter
the force when tightening the
fitting (Figure 8).
14. Fit appropriate heat insulation
to both installed refrigerant
pipes, including the connectors.
15. Only use insulation hoses
which are designed for this
temperature range and
diffusion tight.
16.Proceed as described above for
all of the subsequent refrigerant
connections to the stop valves.
Always observe the labelling
and circuit affiliation of the
injection and suction pipes!
Supplementary information
for Installation
■
When combining the outdoor
unit with indoor unit MXW
350, the connection of the
refrigerant pipes differs.
In this case, install the
expansion fittings to the
outdoor unit provided in the
outdoor unit's scope of delivery.
■
If the basic length of the
connection pipe exceeds
5 m, add refrigerant when
commissioning the system for
the first time.
(See chapter „Add
refrigerant“).
Tighten 1. spanner
Counter
2. spanner
8 Tighten the fitting
Tightening
torque:
1 4
“ 15-20 Nm
3 8
“ 32-40 Nm
1 2
“ 50-60 Nm
5 8
“ 65-75 Nm
3 4
“95-105 Nm
Tightness check
Once all the connections have
been established, the pressure
gauge station is attached as
follows to the Schrader valve (if
fitted):
red = small valve
= injection pressure
blue = large valve
= suction pressure.
Once connected, perform a
tightness test using dried nitrogen.
The tightness test involves
spraying a leak detection spray
onto the connections. If bubbles
are visible, the connections have
not been properly made.
Re-tighten the connection or
prepare a new flange.
If the tightness test is successfully
completed, depressurise the
refrigerant pipes and start
a vacuum pump with an absolute
final partial pressure of min.
10 mbar to remove the air in the
pipe. Any humidity present in the
pipes is also removed.
15