Jib crane assembly (optional accessory) – Greenheck Vektor-MH, Vektor-MD, and Vektor-MS (464652) User Manual
Page 17
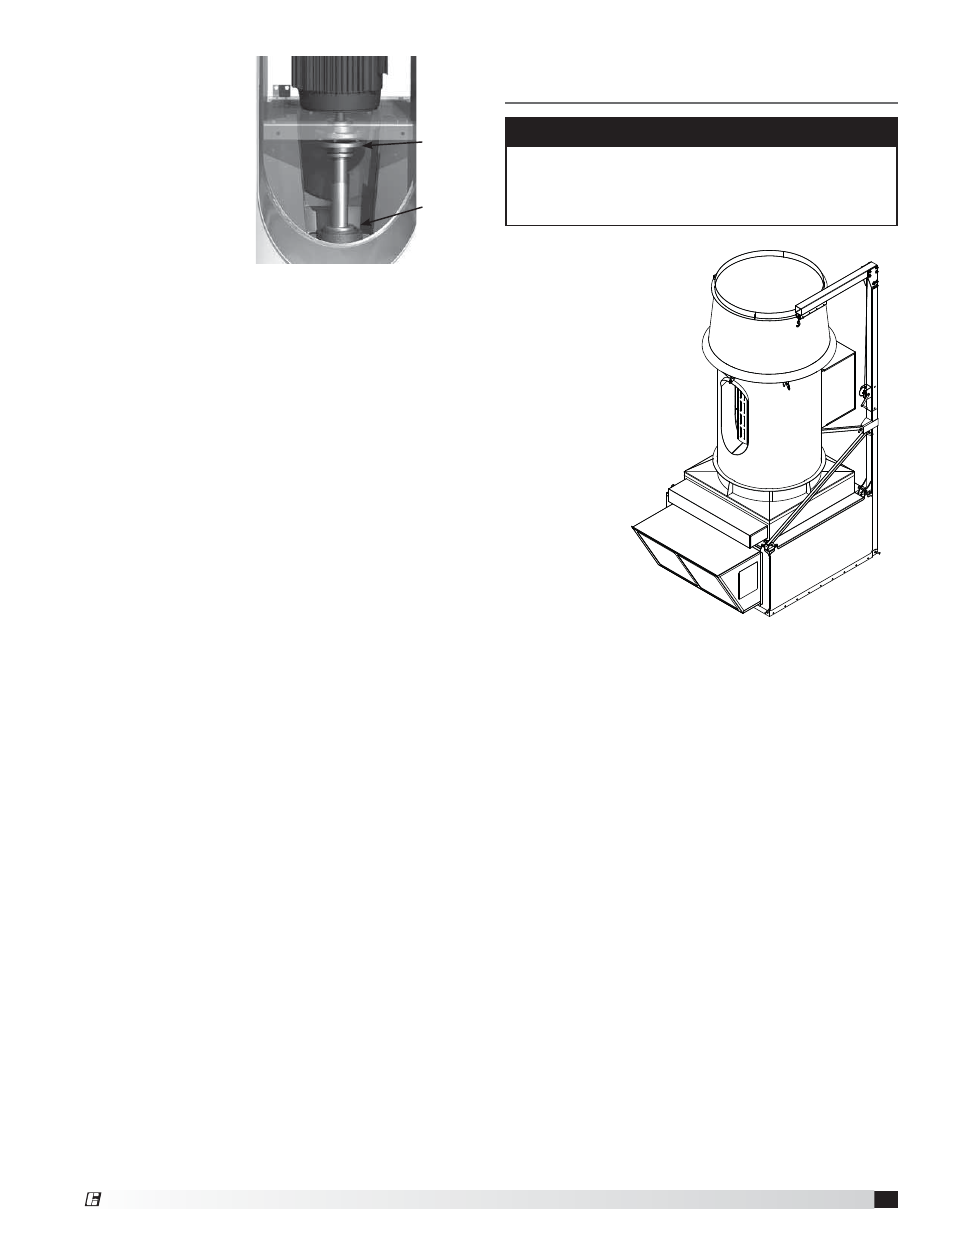
Jib Crane Assembly
(Optional Accessory)
The jib crane is mounted
to sockets provided on
the plenum housing.
When assembling the jib
crane, use the socket
closest to the fan
which is to be serviced
(multiple sockets are on
plenums consisting of
three or more fans). Jib
crane is designed to
lift windband and
motor only. Any
other use may
result in serious
injury. Jib crane
must not be
used to lift the
fan from the
plenum.
NOTE
Complete assembly instructions for the jib crane are
documented in Assembly Instruction #472081, Jib
Crane for Vektor. Instructions are shipped with the jib
crane or can be found on greenheck.com
3. Remove coupling
assembly from
fan shaft. Upper
coupling bushing
may need to be
removed and /
or motor might
also need to be
tilted to remove
old bearing
and install new
bearing. Coupling
mounting locations should be scribed on any
component loosened or removed.
4. Loosen and remove bearing from fan shaft. Follow
bearing manufacturer’s instructions on removal.
Caulk seal may need to be broken around perimeter
of flange housing and bottom support plate. Use an
emery cloth to clean and remove any burrs on fan
shaft.
5. Slide new bearing onto fan shaft, but do not tighten
to fan shaft
6. Reinstall coupling bushings and flex pack to
fan shaft and motor shaft. This should be done
according to manufacturer’s instructions making
sure the components line up with scribed mark(s)
indicating the correct mounting location.
7. Remove blocking from under fan wheel.
8. Turn the wheel approximately 20 – 30 rotations to
allow the shaft to properly set in the bearing and
alignment between motor shaft and fan shaft.
9. Finish installing bearing on fan shaft according
to bearing manufacturer’s installation procedure.
Rotate the wheel again for 20 rotations. If resistance
is felt the bearing did not set properly. Reset the
shaft in the bearing.
10. Connect extended lube lines to new bearings. Zerk
fittings from old bearings may need to be installed
in replacement bearings. Purge non-synthetic
grease from new bearing.
11. Caulk around bottom bearing flange for an
improved water tight seal.
Shaft
Bearing
Coupling
17
Laboratory Exhaust Systems
®