Configuring the dx-e401 – Dynex DX-E401 User Manual
Page 11
11
Getting Started (continued)
Network Settings
To use the DX-E401correctly, you have to properly configure the network settings
of your computers. The default IP address of the DX-E401 is 192.168.0.1, and
the default subnet mask is 255.255.255.0. These addresses can be changed
as needed, but the default values are used in this manual. If the TCP/IP
environment of your computer has not yet been configured, you can refer to
Configuring Your PCs to Connect to the DX-E401 to configure it.
For example:
Configure your computer IP as 192.168.0.3, subnet mask as
255.255.255.0 and gateway as 192.168.0.1.
Or more conveniently
Configure your computers to obtain TCP/IP settings automatically
from the DHCP server feature of the DX-E401.
Since the IP address of the DX-E401 is 192.168.0.1, the IP address of your
computer must be 192.168.0.X (where “X” is a number between 2 and 254.)
Each computer on your network must have a different IP address within that
range. The default gateway must be 192.168.0.1 (the IP address of the DX-
E401).
Configuring the DX-E401
The DX-E401 provides an embedded Web-based management utility making
it operating system independent. You can configure your DX-E401 through the
Netscape Communicator or Internet Explorer browser in MS Windows,
Macintosh, Linux or UNIX based platforms. All that is needed is a web browser
such as Internet Explorer or Netscape Navigator version 4 and higher with Java
Script enabled.
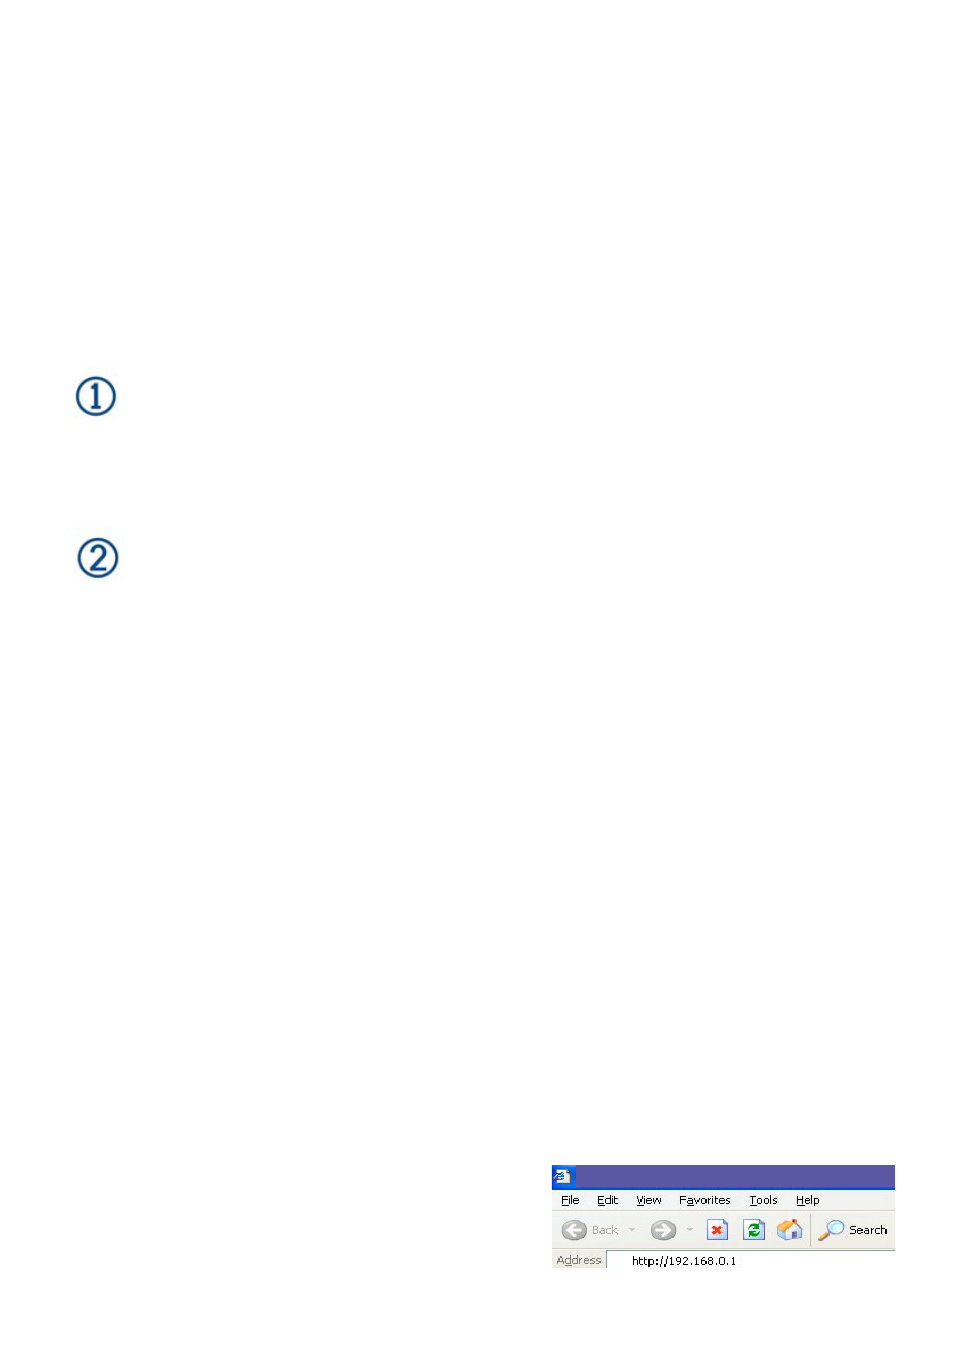
Start-up and Log in
Activate your web browser and type in the IP address of the DX-E401 into the
Location (for Netscape) or Address (for IE) field and press “Enter.” The default
IP address of the DX-E401 is 192.168.0.1
For example: http://192.168.0.1
DX-E401- Microsoft Internet Explorer