C. getting started – DNF Controls Analyst, RS422/RS232 Tester With (LOG 1) SR Data Logging Option User Manual
Page 8
Page 4 of 27
The Analyst RS422/RS232 Tester
C.
Getting Started . . .
C1. Turn On The Analyst
1)
Plug one end of the power supply into the “Power Input” connect on the
right side of the Analyst, next to the power switch.
2)
Plug the other end of the power supply into a wall outlet.
3)
Turn the power switch ON.
4)
The MAIN screen will be displayed.
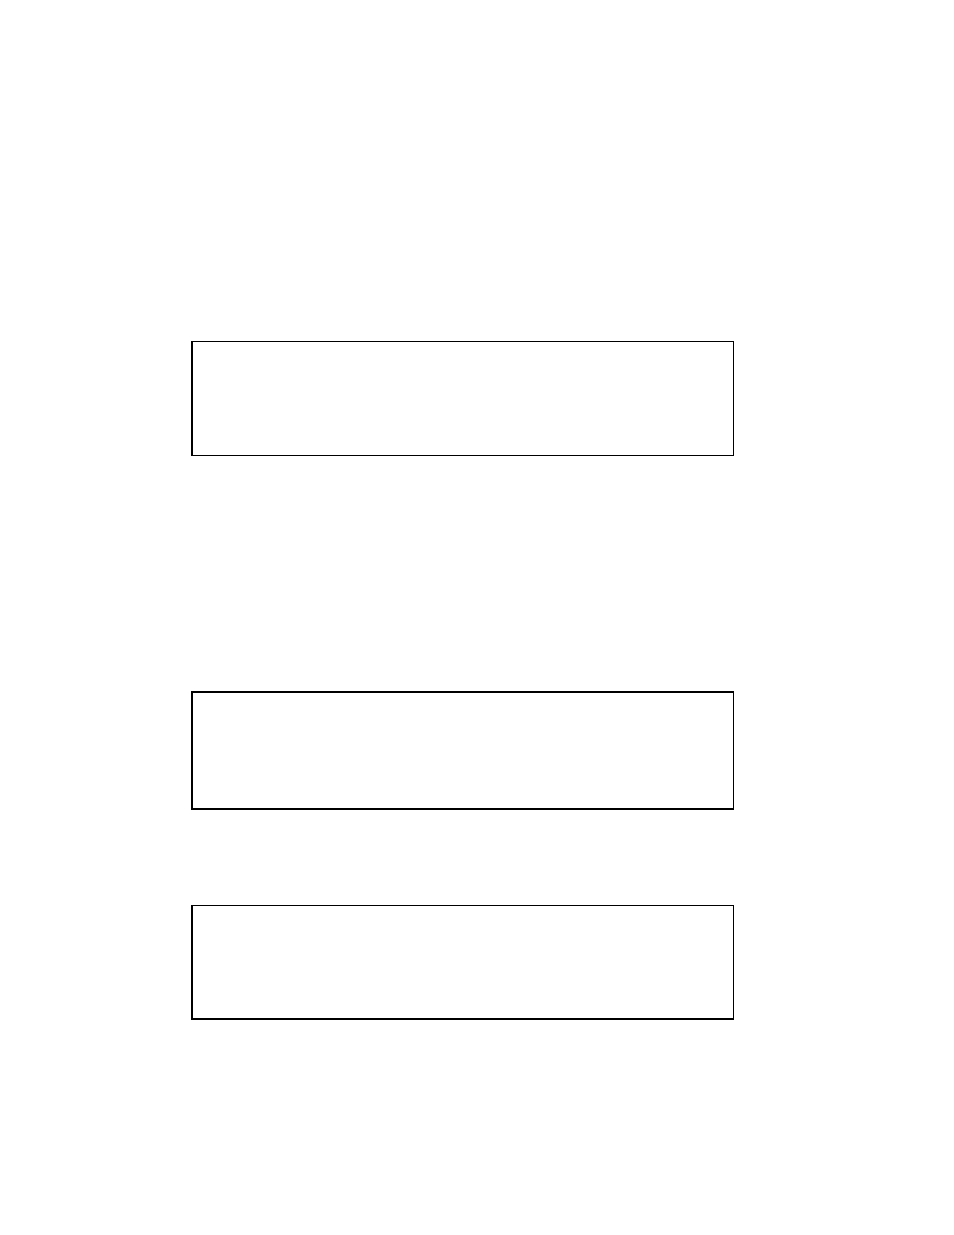
MAIN Screen
The Analyst RS422/RS232 Tester
Data Logging Option
Press key to select test mode
SEND RECV MON.
Menu
Sw #1
Sw #2
Sw #3
Sw #4
Sw #5
Sw #6
Sw #7
Sw #8
Prior to using the Analyst, enter a unique 5-character ID using the “ID Set” function
from the Menu Mode. The Analyst’s ID is helpful when testing cables and signal
paths to confirm that both ends of the cable or signal path you are testing are indeed
connected together.
C2. Enter Analyst ID
a)
From the MAIN screen, press the [Menu] key. The MENU screen will be
displayed.
MENU Screen
Software Rrev: V2.0 A050405 S050405
Press key to select mode:
In
RS42
2
ID
Set
Firmw Exit
Lcd
Adj
OUT
422
Sw #1 Sw #2 Sw #3
Sw #4
Sw #5
Sw #6
Sw #7
Sw #8
b)
Press the [ID Set] key. The ID entry screen will be displayed.
ID ENTRY Screen
Enter 5-character Analyst ID
Analyst ID: 12345
<<< >>> Next Exit
Sw #1 Sw #2 Sw #3
Sw #4
Sw #5
Sw #6
Sw #7
Sw #8
c)
The current Analyst ID will be displayed on the 2
nd
line.