2 creating a web-sync profile, 3 entering schedules, Adding teams – Daktronics School SID User Manual
Page 12: Creating a web-sync profile, Entering schedules, Section 3.2
8
DakStats Setup
3.2 Creating a Web-Sync Profile
1.
Go to Web-Sync > Setup.
2.
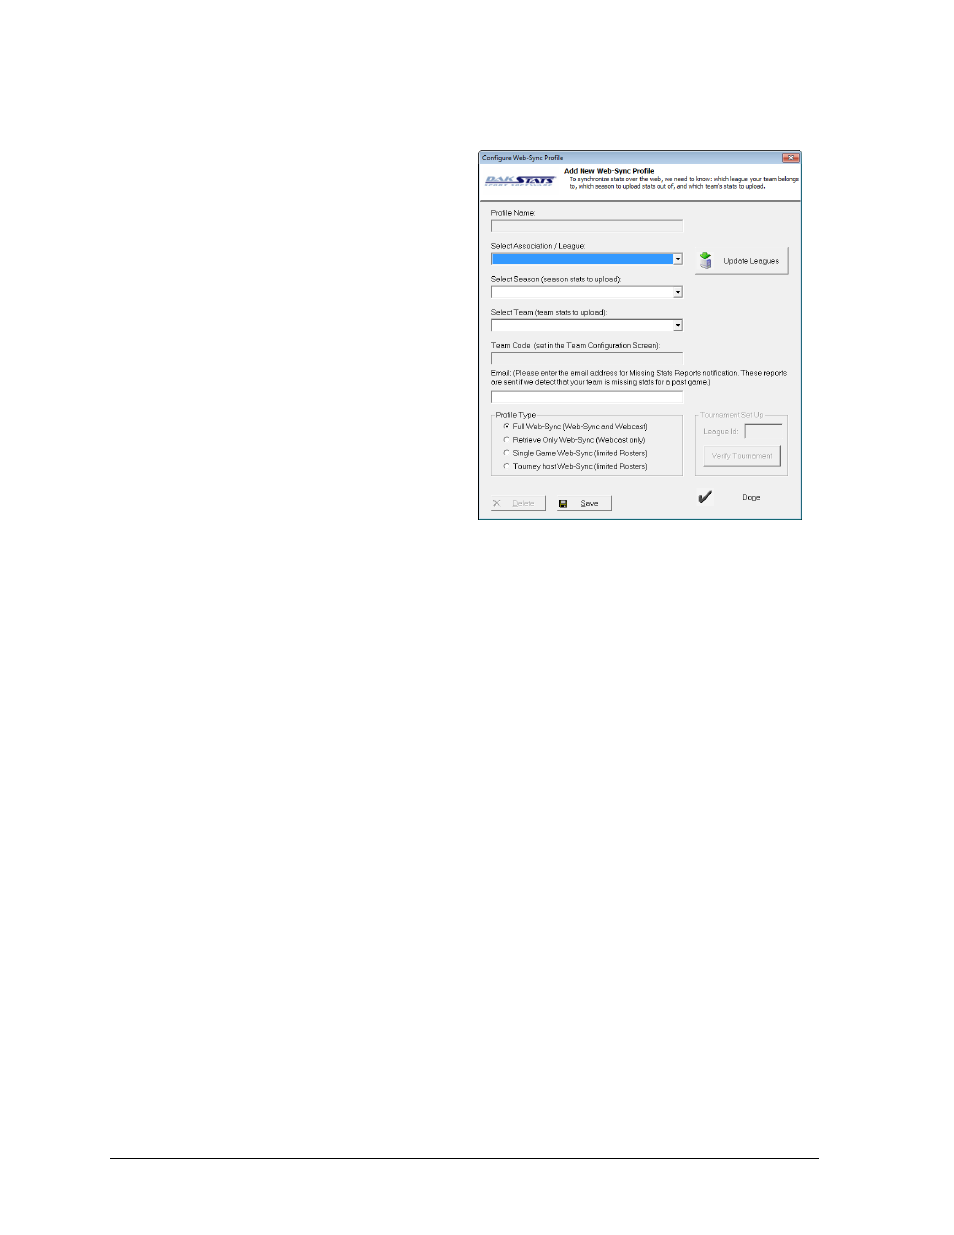
Click Add Profile (Figure 4).
3.
Select NAIA as the League.
If NAIA does not appear, click
Update Leagues.
4.
Select the home team from the
Teams list. If your team does not
appear, refer to the Adding
Teams section below.
5.
Fill in the Email field (required).
6.
Select a Profile Type:
Full Web-Sync: This profile
type gives the user full control
of a team’s Web-Sync page,
including the ability to add,
edit, and delete rosters,
games, and statistics.
Retrieve Only Web-Sync:
This profile type should only
be used to Webcast from a
secondary laptop instead of
the main Web-Sync laptop.
Single Game Web-Sync: This profile is not currently used by NAIA schools.
Tourney Host Web-Sync: This profile type is meant for tournament hosts, often
times third party schools. New games and statistics for those games may be
uploaded, but rosters cannot be edited.
7.
Click Save to save the profile, and then click Done when finished.
3.3 Entering Schedules
Schedules are used to set up each game that the team will play in a season. It is also possible
to import XML files to create a schedule.
Note: It is highly recommended to enter the team’s entire schedule and perform a Web-
Sync before the season starts so that fans and media can view the full schedule online.
Adding Teams
1.
Go to Configure > Teams.
2.
Select a Season.
3.
Under Add New Team, click Via List.
4.
On the Look Up League ID window (similar to Figure 3), select NAIA as the League,
and then select the team(s).
Note: To select more than one team at once, hold the [Ctrl] key while clicking.
5.
Click Select and the new teams will be added to the season.
6.
For each team, type in any other information as desired. Note that when a new game
is created, the Stadium, City, and State will populate based on the selected home team.
Figure 4: Creating a Web-Sync Profile