Daktronics C44 User Manual
Page 23

New Track
2-9
Installation
Intermediate One, 60'- Wiring between the isolation interface and the 60' photocell J-
boxes use multiple one pair shielded 18 awg cable. Plugs with clamping screws are used
for connection to the isolation interface. Refer to the following connection table to assist
in the installation. You may also reference the field cabling diagrams (Drawing B-
91012 and B-114631).
Intermediate Two, 330'- Wiring between the isolation interface and the 330' photocell J-
boxes use multiple one pair shielded 18 awg cable. Plugs with clamping screws are used
for connection to the isolation interface. Refer to the following connection table to assist
in the installation. You may also reference the field cabling diagrams (Drawings B-
91012 and B-114631).
1/8 mile, 660' (Speed Trap)- Wiring between the isolation interface and the 660' speed
trap photocell J-boxes use multiple one pair shielded 18 awg cable. Plugs with clamping
screws are used for connection to the isolation interface. Refer to the following
connection table to assist in the installation. You may also reference the field cabling
diagrams (Drawings B-91012 and B-114631).
Intermediate 990'- Wiring between the isolation interface and the 990' photocell J-boxes
use multiple one pair shielded 18 awg cable. Plugs with clamping screws are used for
connection to the isolation interface. Refer to the following connection table to assist in
the installation. You may also reference the field cabling diagrams (Drawings B-91012
and B-114631 in Section 2.5).
1/4 mile, 1320' (Speed Trap)- Wiring between the isolation interface and the finish line
photocell J-boxes use multiple one pair shielded 18 awg cable. Plugs with clamping
screws are used for connection to the isolation interface. Refer to the following
connection table to assist you in the installation. You may also reference the field cabling
diagrams (Drawings B-56301 and B-114631).
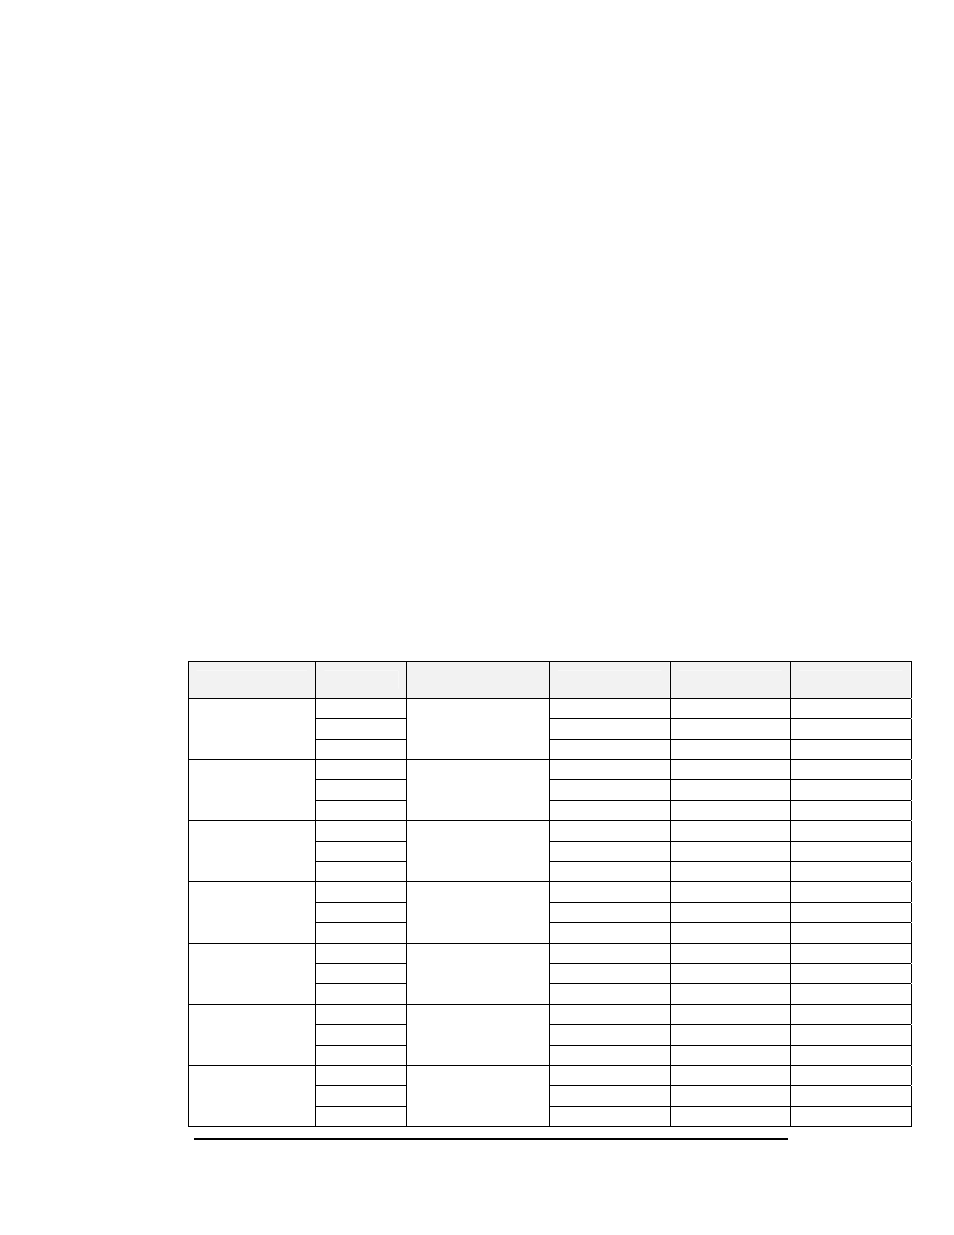
Description
To (I/I)*
Cable
Specifications
Wire Color
From (Cell)**
Function
TB8-1 Red
J1-1
SIGNAL-P
TB8-2 Black
J1-3
GND
60
N Left Lane
TB8-3
Beldon 8760
(Dak W-1117)
Shield Not
Connected EARTH
TB2-1 Red
J1-1
SIGNAL-P
TB2-2 Black
J1-3
GND
60
N Right Lane
TB2-3
Beldon 8760
(Dak W-1117)
Shield Not
Connected EARTH
TB8-4 Red
J1-1
SIGNAL-P
TB8-5 Black
J1-3
GND
330
N Left Lane
TB8-6
Beldon 8760
(Dak W-1117)
Shield Not
Connected EARTH
TB2-4 Red
J1-1
SIGNAL-P
TB2-5 Black
J1-3
GND
330
N Right Lane
TB2-6
Beldon 8760
(Dak W-1117)
Shield Not
Connected EARTH
TB9-1 Red
J1-1
SIGNAL-P
TB9-2 Black
J1-3
GND
Start of Speed
Trap #1 Left Lane
(594
N)***
TB9-3
Beldon 8760
(Dak W-1117)
Shield Not
Connected EARTH
TB3-1 Red
J1-1
SIGNAL-P
TB3-2 Black
J1-3
GND
Start of Speed
Trap #1 Right
Lane (594
N)***
TB3-3
Beldon 8760
(Dak W-1117)
Shield Not
Connected EARTH
TB9-4 Red
J1-1
SIGNAL-P
TB9-5 Black
J1-3
GND
1/8 Mile Left
Lane (660
N)
TB9-6
Beldon 8760
(Dak W-1117)
Shield Not
Connected EARTH
