Cybex 625A Arc Trainer User Manual
Page 19
Cybex Arc Trainer 625A/625AT Owner’s Manual
19
Lift and move unit
1. Remove large bolts and shipping supports. Keep package material on linkage arms at this
time. This will protect the paint from scratching during assembly.
2. Grasp each rear support leg firmly and lift with one person on each side.
3. Lift the lower rear support legs using proper lifting methods so the front transport wheels are
able to roll on floor.
4. Move unit to intended location.
5. Lower rear support legs.
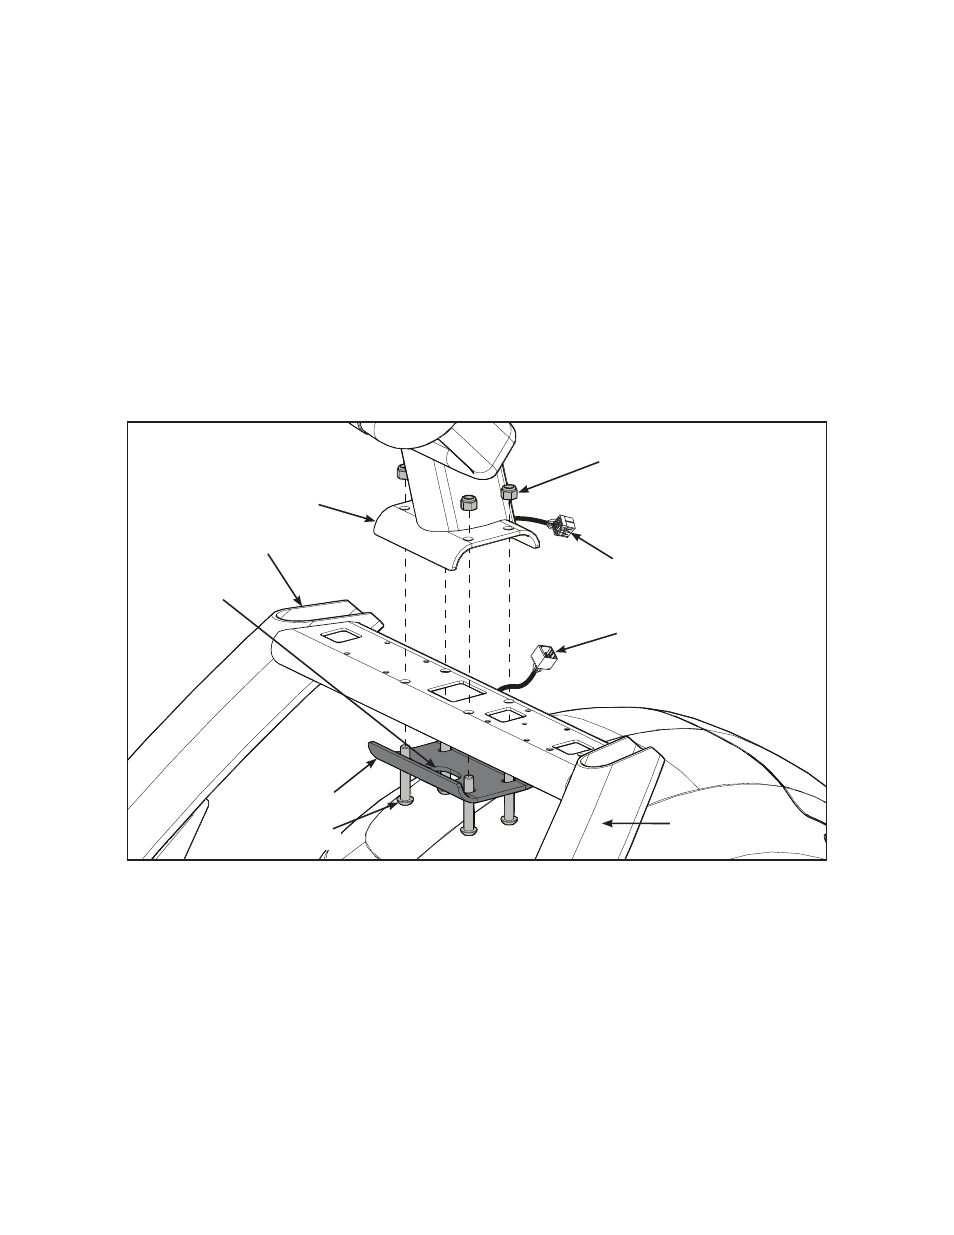
Attach 625A console assembly
1. Place the console into position on the frame. Do not pinch cables while lowering the console.
Upper Display
Cable
Console
Locknuts (4)
Bolts (4)
Lower
Bracket
Rear of Unit
Lower
Bracket
Hole
Frame
Lower Display
Cable
2. Insert (from underneath) the lower bracket and four bolts into the frame and console. Position
lower bracket with lower bracket hole towards the rear of unit.
3. Thread the four locknuts onto the bolts by hand.
4. Tighten the four bolts and locknuts with a 7/32” Allen wrench and a 9/16” open-end wrench.
5. Plug the upper display cable into the lower display cable.