Comtech EF Data DMD1050 User Manual
Page 158

DMD1050 Satellite Modem Board
Web Browser Setup Guide
MN-DMD1050
D–4
Revision 9
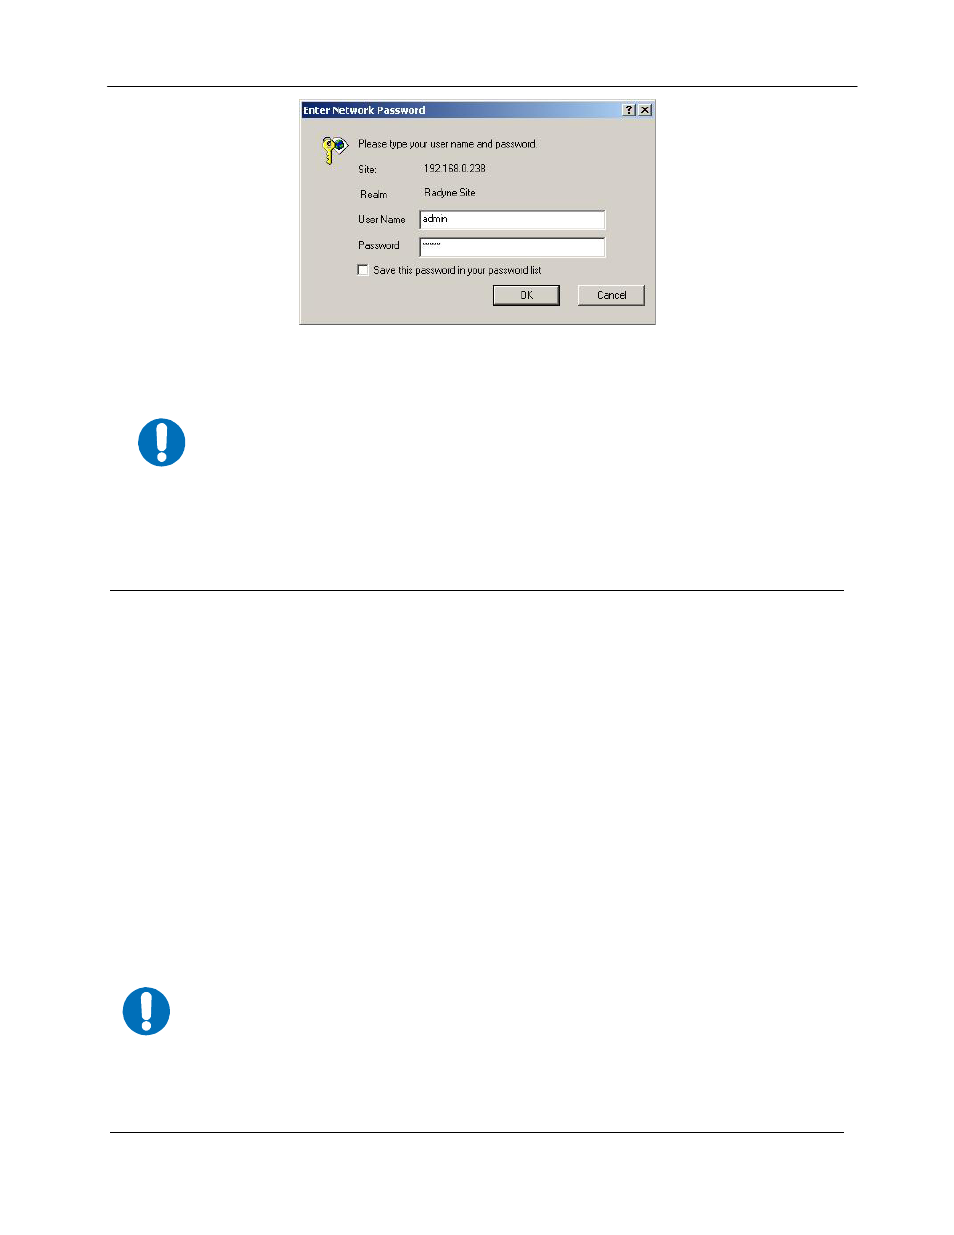
Figure D-4. Password Setup Screen
The modem offers addition features that allow for specific administrative privileges for
various users. Please refer to section 3.3 for additional information.
12. This concludes the initial set up that gives full access to the modem. If you need to change the IP
Addressing to support a different network, then proceed to section 3.1.
D.4
IP Network Change from the Initial Web Setup
D.4.1 Configuring the modem
This section is a continuation from the initial setup or can be used on an existing system that requires a
network setup change. The modem needs to be configured with the correct network settings. Please
consult with your IT manager for an IP address mask, and modem, server, and router IP addresses valid
for your network. To recognize a subnet, each system in the subnet must have the same subnet mask.
This field should be set before changes are made to the Modem or Router Address. Refer to Figure D-5.
1. Configure the modem first with the new subnet addresses. From the modem introduction page,
click the IP ADMINISTRATION tab located on the top of the screen.
2. Enter your username and password on the logon popup, and then press the Enter key.
3. Change the Boot Mode to NON-VOL. Change IP addresses, and subnet mask to the
recommended settings and click on the Save button to accept the changes
4. (refer to section 3.2.2 for Boot Mode descriptions).
NON-VOL: Stores and uses IP Mask and addresses as provided by the user.
5. Click on the Cancel button at any time to abort and reload the current modem IP network settings.
IMPORTANT
IMPORTANT
