Step 4: get the results you want – BrightSign HD2000 User Guide User Manual
Page 14
8
•
•
•
•
•
•
7
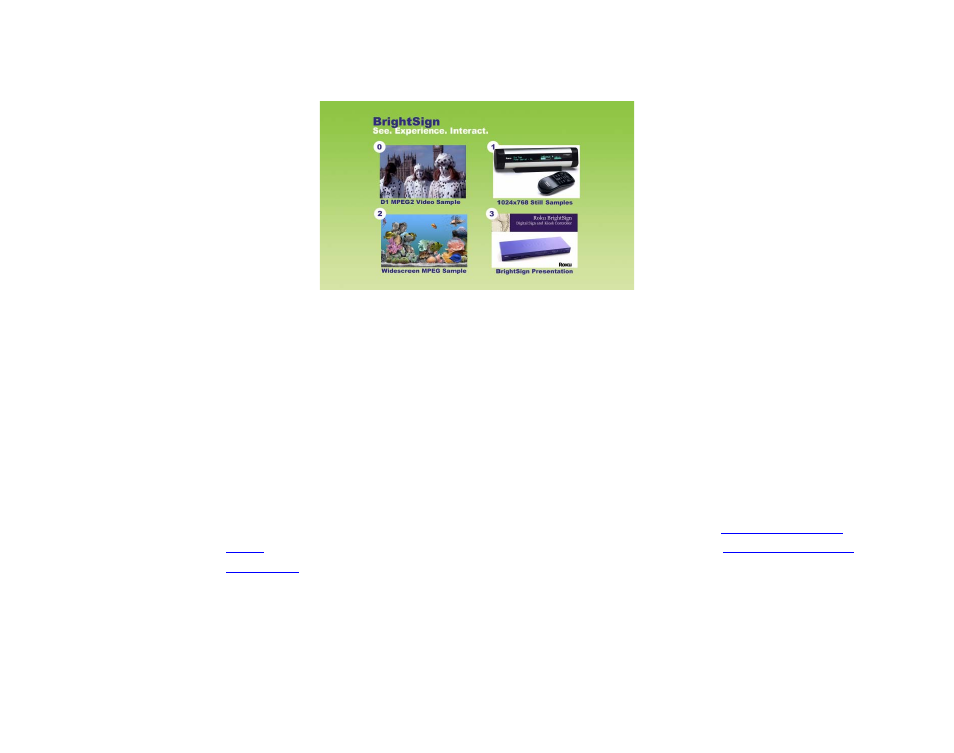
Use the touch screen, mouse, or button board to select one of the four hot spots.
You can also use the demo to try BrightSign with different types of monitors:
1
Connect your BrightSign to a monitor or TV using a VGA, component, or HDMI connection.
2
Make sure your monitor is configured to receive input from the cable you’re using.
3
Start the demo by inserting the CF/SD card you created in the previous set of steps.
You should now see the demo in various video modes. Note how BrightSign automatically scales
the images and that it supports both widescreen and 4x3 formats.
Step 4: Get the results you want
Now you’re ready to start using your BrightSign. Just add your content (see
for details on the types of files you can use) and follow the directions in
to play your presentation.