NEXCOM NISE 3140 User Manual
Page 58

Copyright © 2009 NEXCOM International Co., Ltd. All Rights Reserved.
45
Chapter 3: System Setup
NISE 3140, NISE 3140E, NISE 3140P2, NISE 3140P2E User Manual
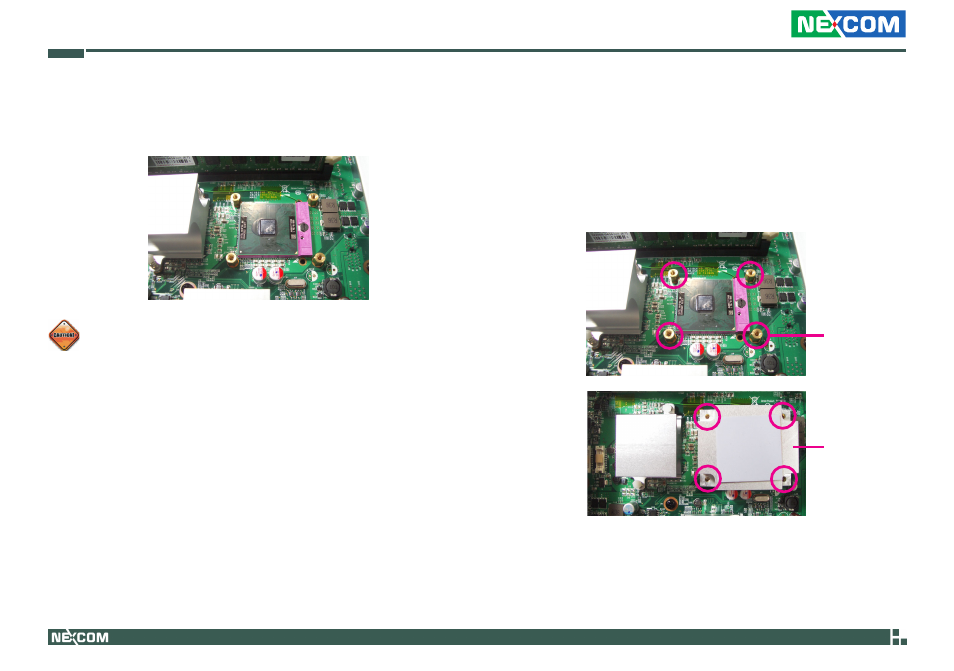
5. Insert the CPU into the socket until it is seated in place. The CPU will fit
in only one orientation and can easily be inserted without exerting any
force. Use a screwdriver to turn the screw to its locked position.
Do not force the CPU into the socket. Forcing the CPU into the
socket may bend the pins and damage the CPU.
6. Before you install the heat sink, apply thermal paste onto the top of
the CPU. Do not spread the paste all over the surface. When you later
place the heat sink on top of the CPU, the compound will disperse
evenly.
7. Align the mounting holes of the heat sink with the mounting nuts
on the board then secure the heat sink with the screws you removed
earlier.
Mounting
nut
Heat sink
