Installing a drive into the drive carrier – StorCase Technology InfoStation 5-Bay SATA 3Gbps RAID User Manual
Page 21
InfoStation 5-Bay RAID User's Guide - Rev. C00
StorCase Technology, Inc.
Installation
11
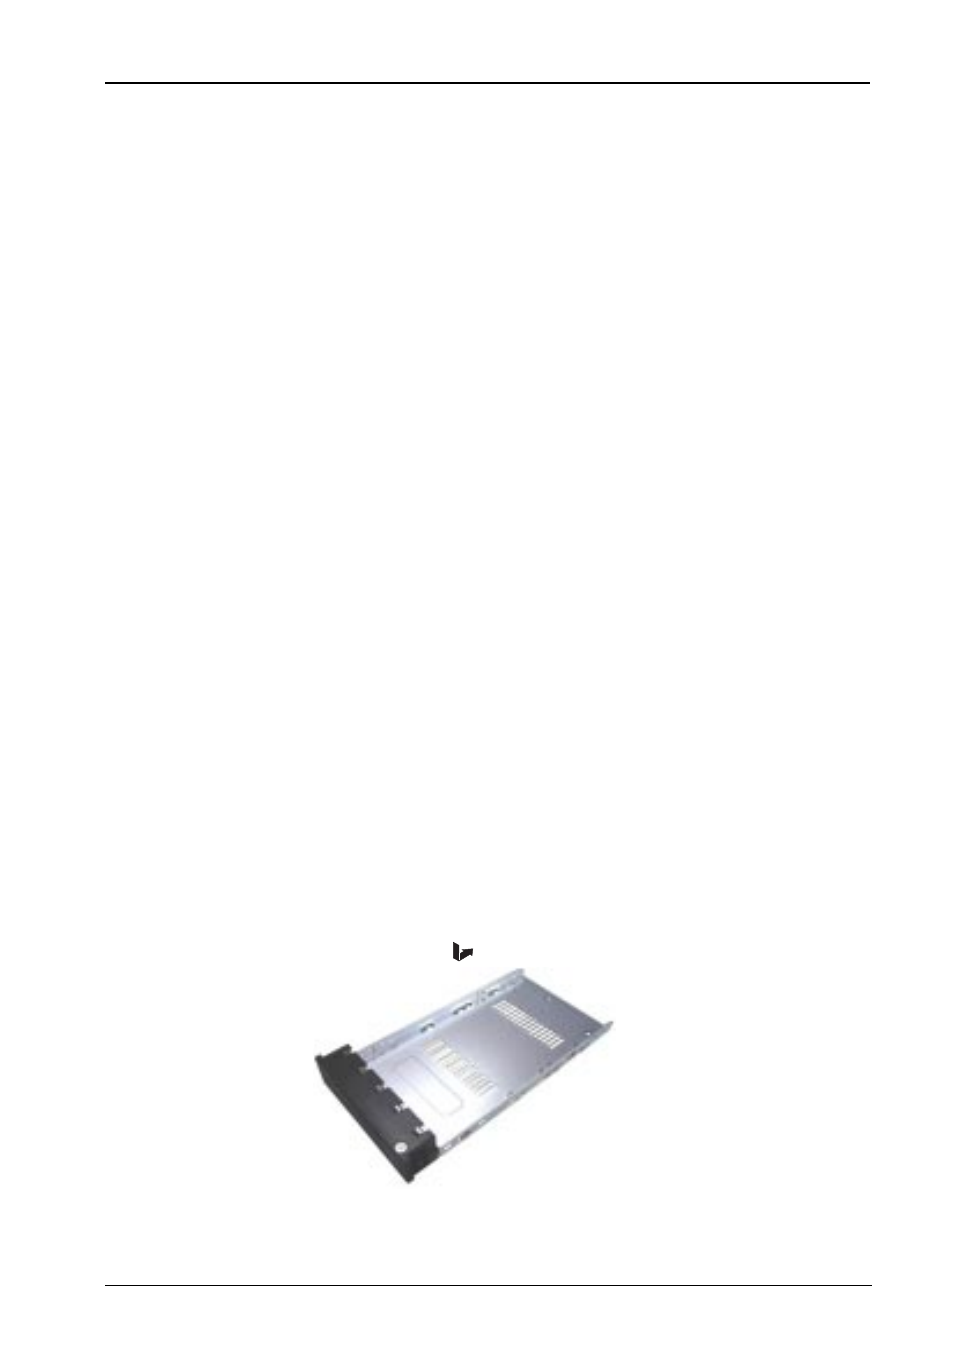
Figure 6: Drive/Carrier Installation
Drive
(Not Included)
Bottom-Mount with
Four (4) Phillips Screws
Drive Preparation
1.
Remove the drive from its protective packaging.
Carrier Preparation
The InfoStation is shipped in a container designed to provide protection and prevent damage
during shipment, as confirmed by the International Safe Transit Association (ISTA Procedure
1A).
The drive carriers are individually packed in a special foam insert within the InfoStation shipping
carton. Simply remove them from the foam insert when ready for use.
Installing a Drive into the Drive Carrier
NOTE:
A #2 Phillips screwdriver will be required for this procedure.
1.
Carefully insert the drive into the carrier. Slide the drive towards the rear of the
carrier , so that the I/O connector on the drive lines up with the rear of the carrier.
Drive(s) must be bottom-mounted into the drive carrier(s) using four (4) Phillips Flat
Hd. screws.
2.
After the drive(s) have been installed in to the drive carrier(s), carefully insert the
carrier(s) back into the chassis (refer to section "Inserting a Drive into the Chassis"
for further information).