Hanna Instruments HI 943500A User Manual
Page 20
39
38
CALIBRATION PROCEDURE OF
HI 943500 WITH HI 7638
Material needed
• HI 7638 conductivity probe
• HI 943500 conductivity controller
• Calibration solutions, according to the different models:
HI 7034 80mS/cm @25°C for HI 943500A
HI 7030 12.88mS/cm@25°C for HI 943500B
HI 7031 1413 μS/cm @25°C for HI 943500C
HI 7033 84 μS/cm @25°C for HI 943500D
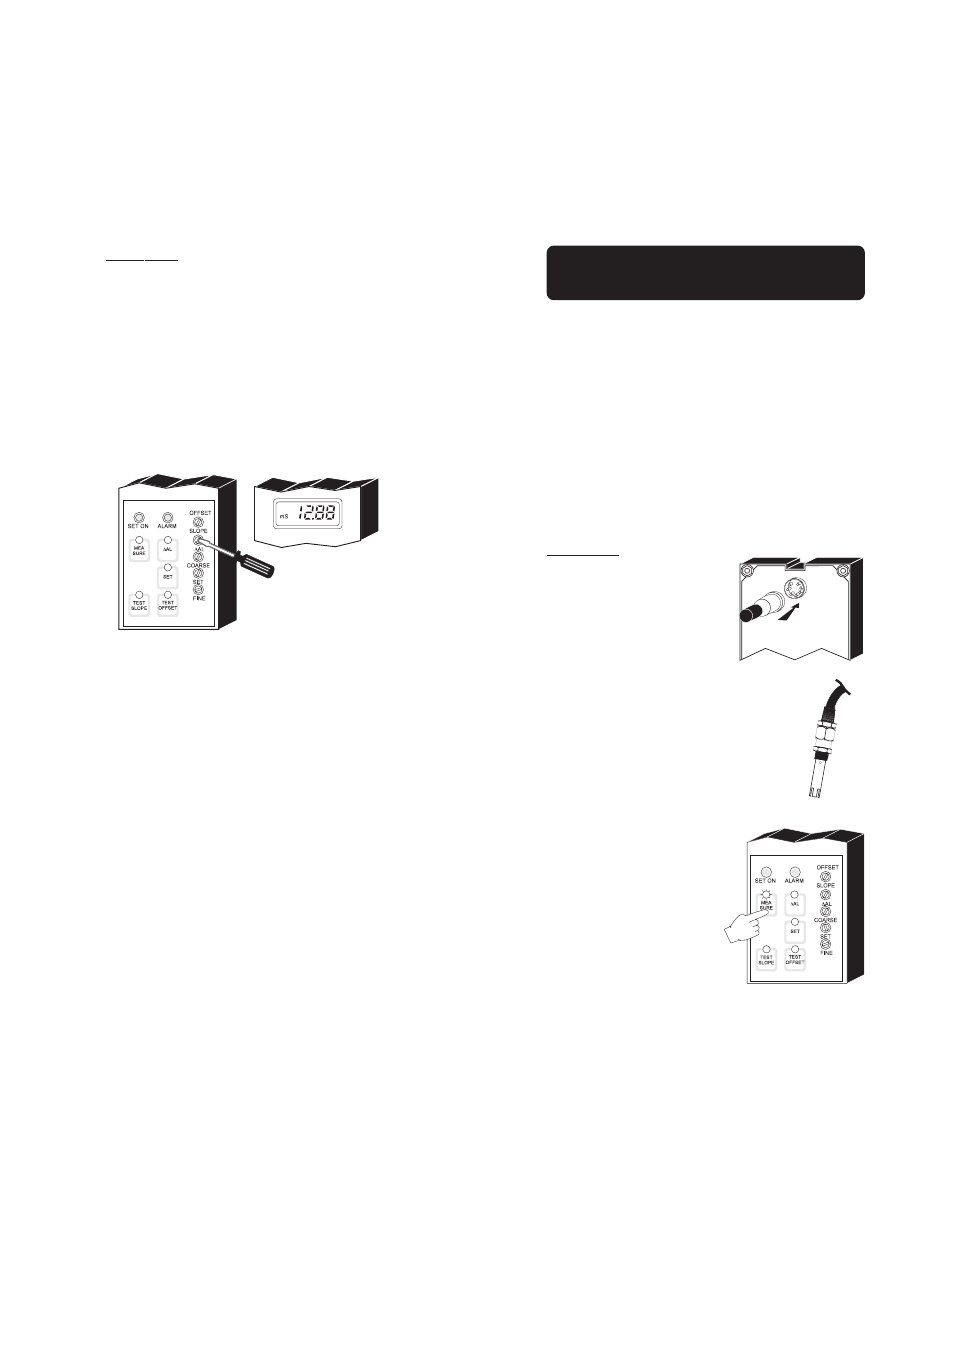
PROCEDURE
• Ensure that the probe is con-
nected to the meter securely by
aligning the pins with the
socket, pushing the plug in and
tightening the threaded ring.
• Insert the probe into the sleeve.
• With the conductivity probe in
air, press the "MEASURE" key
to set the meter to measure-
ment mode.
•
FOR HI 8931
When the reading stabilizes, turn the SLOPE trimmer on the front
of the HI 8931 until the LCD reading is the same as the
calibration solution at 25°C (77°F), i.e.
"80.0 mS" using HI 7034 with HI 8931A
"12.88 mS" using HI 7030 with HI 8931B
"1413 μS" using HI 7031 with HI 8931C
"84.0 μS" using HI 7033 with HI 8931D
• The calibration is now complete and the instrument is ready for
use. All subsequent measurements will be compensated to 25°C
(77°F).
• If the instrument will not calibrate, refer to the "Probe Mainte-
nance and Cleaning" section on page 46.
• If the HI 8936 is not used in conjunction with the HI 8931
controller, connect the transmitter to an external power supply (see
page 20), to the HI 7638 conductivity probe (see page 24) and
to an ammeter (see page 20).
The calibration of the transmitters with LCD (HI 8936L series) does
not require any ammeter.
Follow the above calibration procedure performing the operations
referred to the HI 8936 transmitter only.