Raid setup procedure, English – Eurocom Racer 3W User Manual
Page 12
6
English
Prepare the following before setting up your serial ATA
hard disks in RAID mode:
1.
The Microsoft Windows 8 OS disc.
2.
A hard disk installed in the Primary HDD bay.
3.
A second (identical) hard disk installed in the Secondary HDD
bay.
4.
The Device Drivers & Utilities + User’s Manual disc.
5.
A USB flash drive.
6.
An operable computer (to copy files from the Device Drivers &
Utilities + User’s Manual disc to the USB flash drive).
Note: All hard disks in a RAID should be identical (the
same size and brand) in order to prevent unexpected sys-
tem behavior.
RAID Setup Procedure
Before setting up the system you will need to copy a driver
folder (on the Device Drivers & Utilities + User’s Manual
disc) to a USB flash drive or external USB hard disk.
However you will need to go to an operable computer and
copy the driver folder to a USB flash drive or external
USB hard disk.
1.
Go to the operable computer and insert a USB flash drive or
external USB hard disk.
2.
Insert the Device Drivers & Utilities + User’s Manual disc into
the CD/DVD drive of the operable computer.
3.
Copy the f6flpy-x64 folder from the location below (D: denotes
your DVD drive) on the Device Drivers & Utilities + User’s
Manual disc to the USB flash drive or external USB hard disk.
• For Windows 8 32bit = D:\Options\RAID\f6flpy-x86
• For Windows 8 64bit = D:\Options\RAID\f6flpy-x64
4.
Start-up your notebook computer and press
BIOS.
5.
Go to the Boot menu, select OS Select and press
6.
Set OS Select to “Windows 8” and set UEFI Boot to
“Enabled”.
7.
Press
8.
Select SATA Mode, press
9.
Press
10. After the computer restarts press
11. Go to Intel(R) Rapid Storage Technology (in the Advanced
menu) and press
12. Select Create RAID Volume and press
13. You can now setup your RAID volume using any two installed
disks.
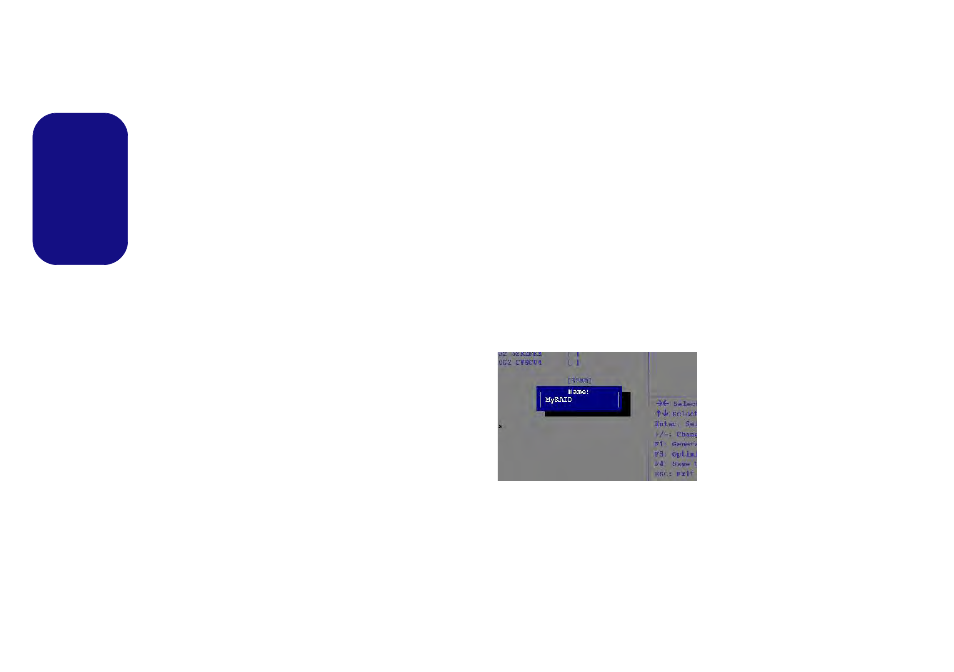
14. Go to Name: and press
15. Type a name of your choice for your RAID volume and press
16. Go to RAID Level: and press
17. Choose the RAID Level required (see
Table 2 on page 5
) and
press
• RAID0 (Stripe)/RAID1 (Mirror)/Recovery
18. Go to any of the disks listed under Select Disks: and select a
disk name and press
Figure 2
Name the RAID
Volume (Ad-
vanced > Intel(R)
Rapid Storage
Technology)