Figure 20, Seat maintenance, Battery service – Ariens 935000 User Manual
Page 13: Tires pressures - table 1
Attention! The text in this document has been recognized automatically. To view the original document, you can use the "Original mode".
To
avoid
overheating
and
possible
engine
damage,
periodically remove
the shrouding from
around the cooling fins. Figure 16, and clean the
area shown within the heavy black line of all
grass,dirt or chaff accumulation.
KEEP
AREAS
WITHIN
HEAVY LINES CLEAR
OF ALL DEBRIS
FIGURE 20
SEAT MAINTENANCE
Clean the seat regularly, using a vinyl cleaner (not a sol
vent.)
Extreme
temperatures
can
damage
the
seat
when left without protection against the weather. If the
seat should tear, apply vihyl repair tape to the damaged
area.
BATTERY SERVICE
NOTE:
REFER
TO
"BATTERY
SET-UP
AND
MAINTENANCE” SECTION, PAGE 36.
1.
Check
the battery electrolyte
level once each
week or every 25 hours of operation. Check it
monthly if the tractor is idle or is in storage. Add
distilled water to bring the level to the bottom of
the split ring in the filler tube of each cell.
2.
Each spring and fall clean the battery and ter
minals with ammonia or bicarbonate of soda solu
tion followed by flushing with clean water. Keep
ing
the
battery
clean
will
prolong
battery
life.
After cleaning, apply a light coat of grease to the
terminal and cable ends.
3.
Keep cable clamps securely tightened to terminals
and keep battery hold-down clamps tight to pre
vent vibration. Do not overtighten clamps. This
could warp the case.
WARNING;
STORAGE
BATTERIES
GIVE
OFF
HIGHLY
INFLAMMABLE
HYDROGEN
GAS.
DO
NOT
ALLOW
SPARKS OR FLAME NEAR BATTERY. DO NOT LAY
TOOLS
ACROSS
BATTERY
TERMINALS
WHICH
MAY
CAUSE A SPARK RESULTING IN AN EXPLOSION.
4.
Maintain the battery at full charge during storage
and during the winter months to prevent freezing.
When water is added during freezing weather, run
the engine at least on hour to bring the battery up
to a full state of charge.
5.
When
installing
the
battery,
make
certain
the
ground cable is connected to the negative(-) ter
minal on battery. See Figure 22. Be sure positive
cable is connected to positive
{+)
terminal.
TIRES PRESSURES - TABLE 1
Check tires pressures at least once each month. Inflate
tires to pressures shown using a low pressure tire
gauge for accurate readings. Keep tires properly in
flated at all times. Over-inflation will cause operator
discomfort.
Under-inflation
will
cause
short
tire
life.
Make sure the tire valve caps are in place.
TIRE SIZE
LOADING
Ught
Medium
Heavy
Front
(Lawn Work)
(Sno-Thro)
13
X
5.00 - 6
8 psi
12 psi
16 psi
Rear
18
X
8.50 - 8
(Lawn Work)
6 psi
(Sno-Thro)
8 psi
10 psi
TABLE 1
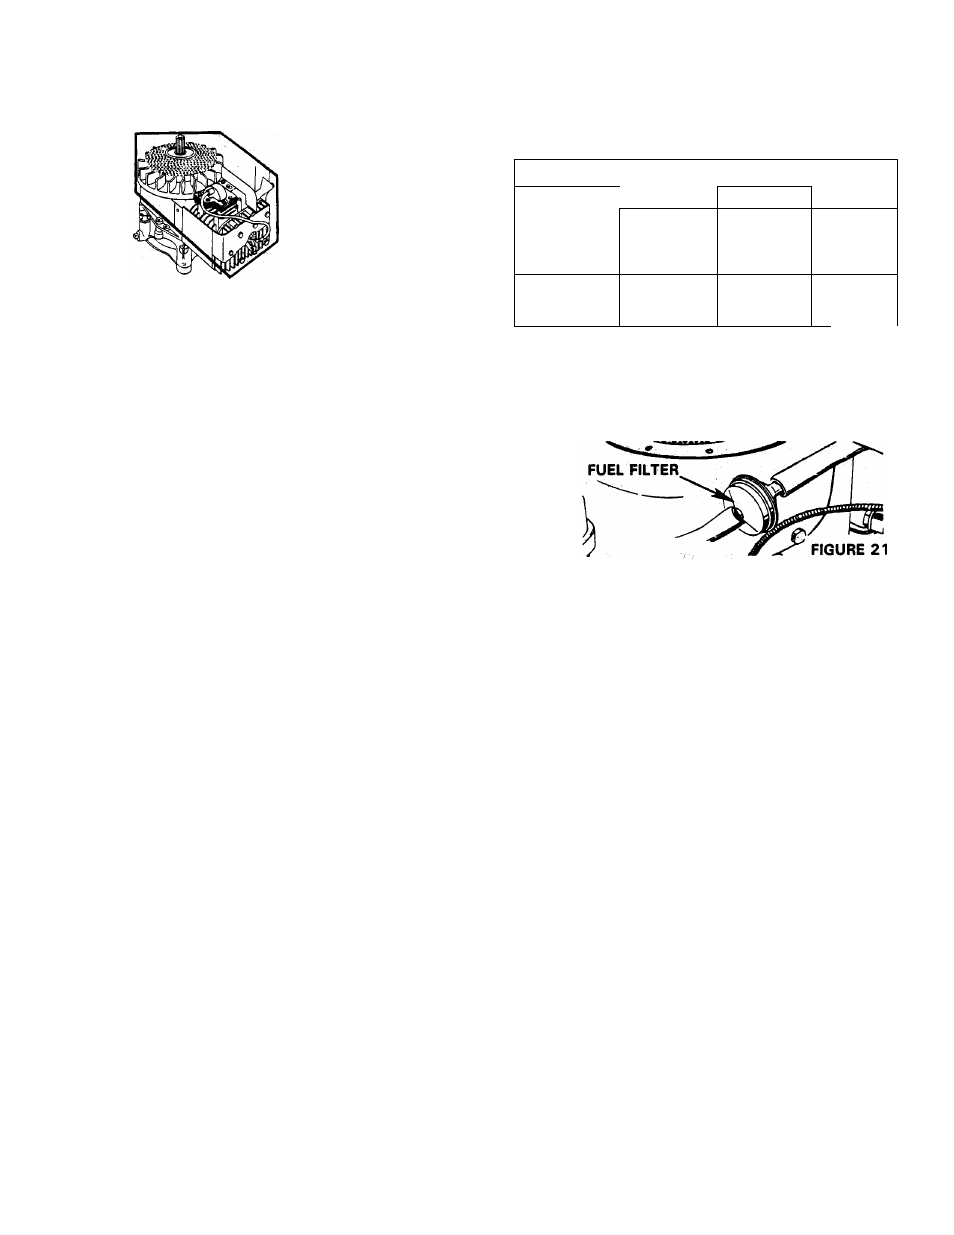
FUEL FILTER SERVICE - IFIGURE 21
Wheri dirt or other foreign material is allowed to enter
the fubi tank it will collect in the fuel filter eventually
causing fuel stoppage. If this occufs, replace filter.
MOWER BLADE AND VANES MAINTENANCE
Check tire pressure. Uneven tire pressure may cause
uneven grass cutting.
Models with 32” mowers are equipped with high lift
blades
standard.
Vanes
(Service
Part
No.
527011)
may be bolted to the blades to improve discharge and
bagging or collecting of grass. These vanes may or may
not be helpful depending on your type of grass and
cutting conditions.
Ariens
recommends
that
the
user
try
the
mower
without vanes first and if the performance is satisfac
tory, use without vanes since the vanes use more
power and generate more noise. Use vanes (Service
Part No. 52701 1) only if satisfactory performance can
not
be
obtained
without
them.
Generally,
broadleaf
grasses can be cut and bagged without vanes. The
finer grasses may require vanes. In extremely wet con
ditions, vanes may also be of help.
Routinely check for wear on the mower blade and
vanes, if used. This is especially true in sandy soil con
ditions.
CAUTION:
WEAR
OF
THE
MOWER
BLADE
CAN
CAUSE
STRUCTURAL
WEAKNESS.
DO
NOT
INSTALL
NEW OR REPLACEMENT VANES ON WORN BLADES.
THIS IS A POTENTIAL HAZARD.
Replace
worn
parts
with
Ariens
original
equipment,
blades, vanes, and Grade 8 hardware as specified. Cap
screws must be installed with heads on top of the
vanes and vanes on top of the blade.
13 -