A warning, Installing the forward drive belt, Removing and installing forward drive belt – Troy-Bilt 15009 User Manual
Page 43: Warning, Removing the forward drive belt
Attention! The text in this document has been recognized automatically. To view the original document, you can use the "Original mode".
IMPORTANT:
The Econo-Horse Model tiller has
two forward speeds and one reverse speed, so
its engine-driven forward pulley has two belt
grooves and its lower transmission pulley has 3
belt grooves; the Pony and Junior Models have
one forward speed and one reverse speed, so
their engine-driven forward pulley has one belt
groove instead of two, and their transmission
pulley has two grooves instead of three.
REMOVING THE
FORWARD DRIVE BELT
A
WARNING
Stop the engine, allow it to cool, disconnect
the spark plug wire and prevent it from
touching the spark plug, then remove the
Engine Ignition key before performing any
maintenance on your tiller.
Failure to follow these instructions could re
sult in personal injury or property damage.
1. Thread the new forward drive belt downward,
down between the rear of the engine-driven pul
ley and the forward drive idler arm.
1. Remove the reverse belt by following the in
structions in “Removing the Reverse Drive Belt”
given later in this section.
2. Move the forward drive belt completely off the
forward engine pulley (this is the belt that’s on
the upper pulley furthest from the engine). Then,
reach underneath the tiller and move the forward
drive belt fully off the transmission pulley.
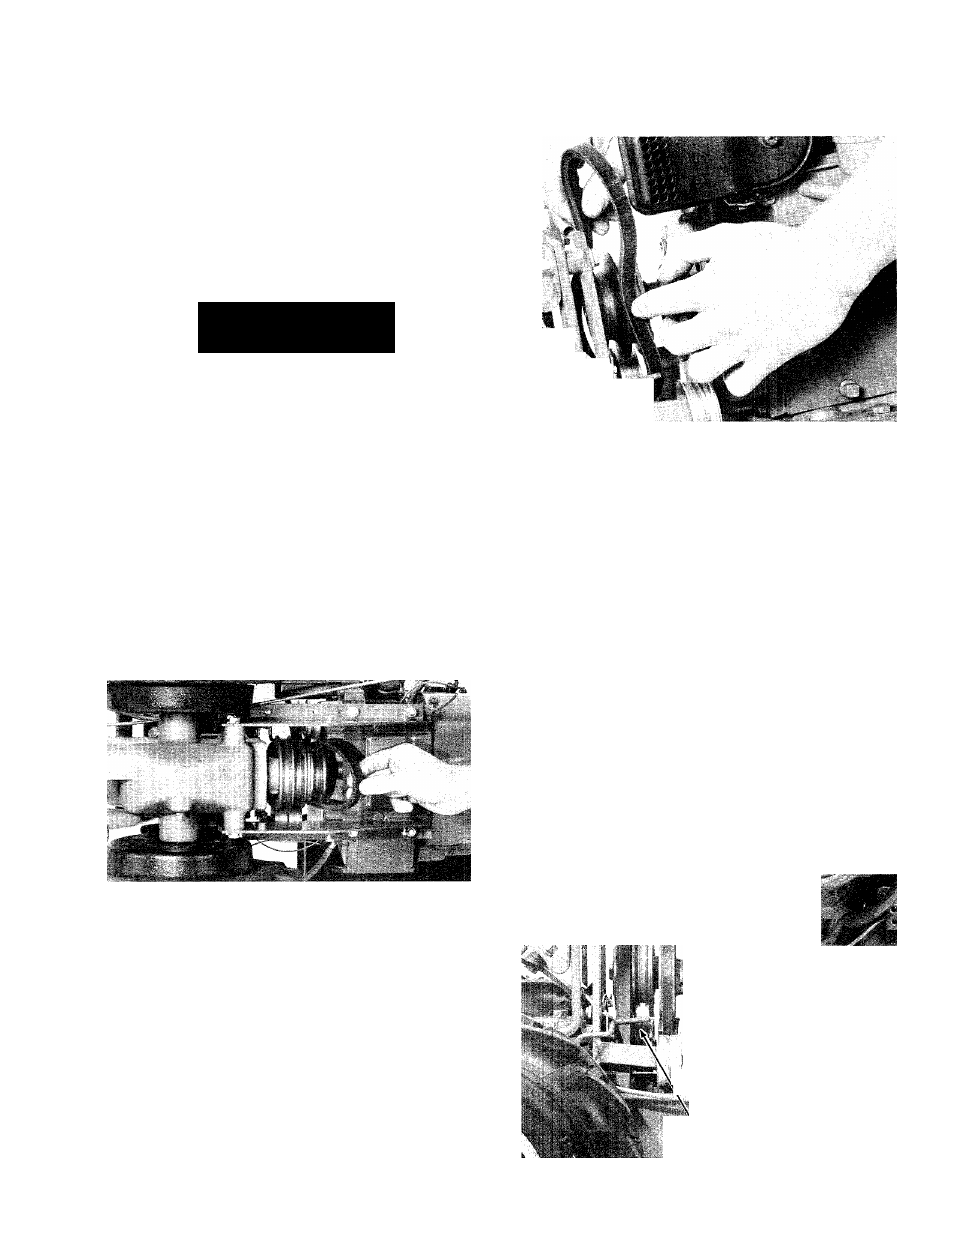
Photo 5-18: Moving the Forward Drive Belt off the
transmission puliey. The triple-groove Econo-Horse
transmission pulley is shown. The Pony and Junior
have a double-groove pulley.
3. From the top of the tiller, grab the top of the
forward drive belt and pull up on it to remove it.
Guide it so that it doesn’t hang up on anything.
INSTALLING THE
FORWARD DRIVE BELT
NOTE:
If you are installing both belts, you
must install the forward drive belt first.
S -
Photo 5-19: Installing the Forward Drive Belt.
2. Push the forward drive belt down and over the
front of the transmission pulley. If you need more
working room, use a 3/8" wrench to loosen the
belt guide on the left-hand side of the tiller and
twist the belt guide out of the way.
3. Place the forward drive belt on the Econo-
Horse in either the center groove or the rear
groove on the transmission pulley (put belt in
rear groove on Pony and Junior models). Then
work the forward drive belt onto the correspond
ing groove in the engine-driven pulley(upper pul
ley). Make sure that the forward drive belt is to
the inside of the wire belt guide (on the right
hand side of the tiller).
4. If you previously loosened the belt guide, wait
until you reinstall the reverse drive belt before
securing the belt guide. This is so you can center
the belt guide on the reverse drive belt.
5. Reinstall the reverse drive belt.
6. If you’ve installed a brand new belt, check the
tension and adjust it after two hours of tilling.
WIRE BELT GUIDE
Photo 5-20: The Installed Forward Drive Beit.
41