Removing the bolo tine assembly, A warning, Checking drive belt tension – Troy-Bilt 15009 User Manual
Page 40: Warning
Attention! The text in this document has been recognized automatically. To view the original document, you can use the "Original mode".
Removing the Bolo Tine Assembly
A
WARNING
Stop the engine, allow it to cool, disconnect
the spark plug wire and prevent it from
touching the spark plug, then remove the
Engine Ignition key before performing any
maintenance on your tiller.
Failure to follow these instructions could re
sult in personal injury or property damage.
1. Use a 3/8" wrench to remove the two rear
bolts that hold the hood to the rear hood support.
2. Use a 7/16" wrench to remove the two forward
bolts that hold the hood to the front hood sup
port. Remove the hood.
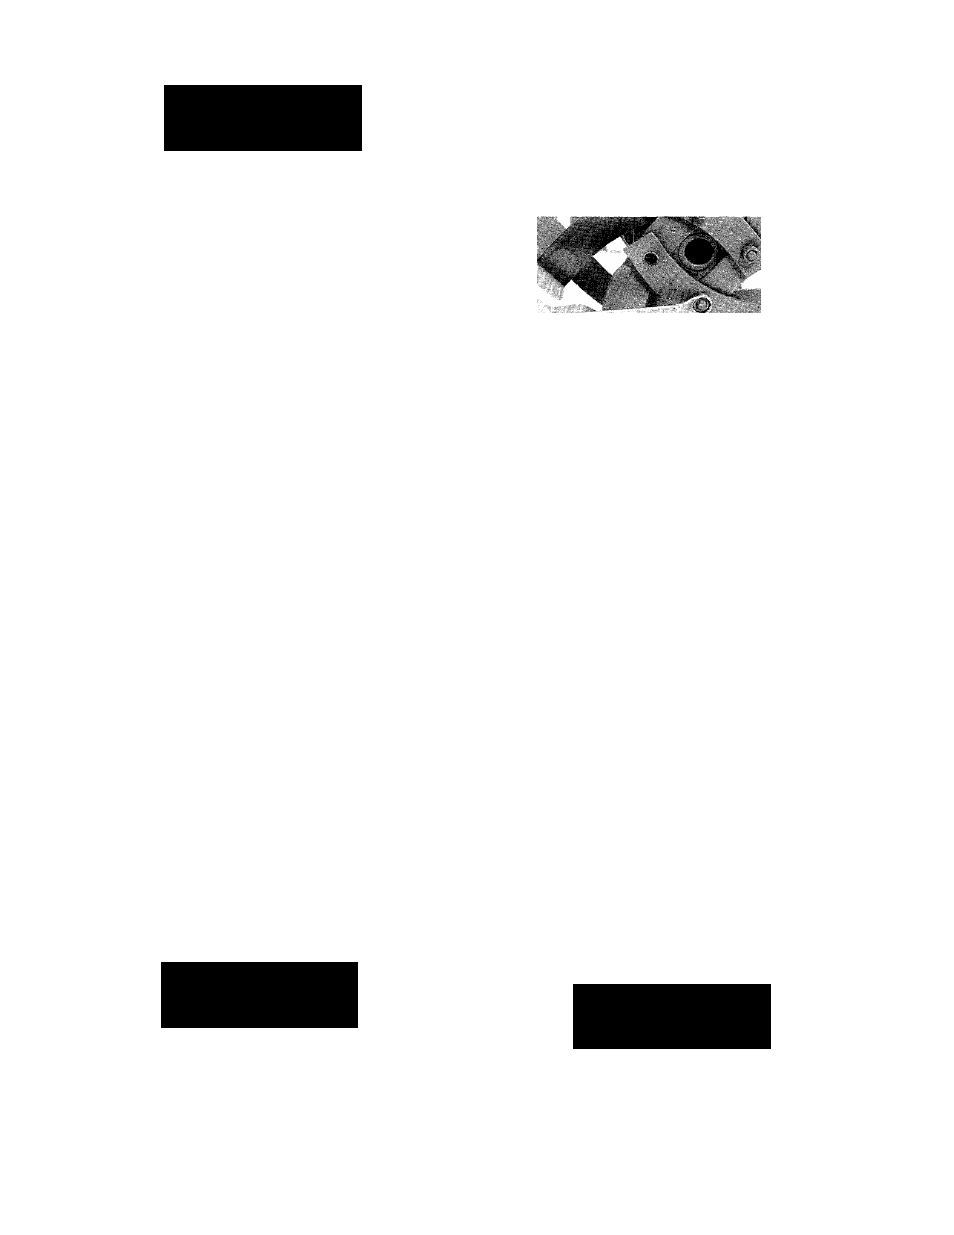
3. Remove the bolt and locknut that secure the
tine assembly to the tine shaft. See Photo 5-11.
v;-
Photo 5-11: Removing the Bolo Tine assembly. The
Econo-Horse model is shown. The Pony and Junior
tine assemblies remove similarly.
4. Use a rubber mallet to tap the tine assembly
outward to loosen it from the tine shaft.
5. Slide the tine assembly off the tine shaft.
6. Repeat steps 3, 4, and 5 for the other tine as
sembly.
Removing Individual Bolo Tines
You can either remove the bolo tine assembly
and then remove individual tines from the as
sembly, or you can remove individual bolo tines
from the tine assembly while it’s still mounted on
the tine shaft.
A
WARNING
Stop the engine, allow it to cool, disconnect
the spark plug wire and prevent it from
touching the spark plug, then remove the
Engine Ignition key before performing any
maintenance on your tiller.
Failure to follow these Instructions could re
sult in personal injury or property damage.
Use two 9/16" wrenches to remove both bolts
that hold an individual tine to the tine holder.
NOTE:
You may have to use penetrating oil on
the nut to loosen it. Remember to always turn
the nut, not the bolt head.
Photo 5-12: Removing an Individual Bolo Tine.
Follow same procedure for all models.
CHECKING DRIVE BELT TENSION
On a new tiller (or if you’ve installed a new belt
on an older tiller), you’ll have to check and prob
ably adjust the tension on the forward drive belt
after the first two (2) hours of operation. This is
due to the new belt seating in place.
The reverse drive belt, because it is used
more sparingly, will probably not require an initial
tension adjustment until a significant number of
operating hours has passed.
After this initial adjustment, check the belts’
tension every ten (10) hours of operation.
Maintaining the correct tension on the drive
belts is important to good tilling performance and
long belt life. If a belt is too loose, it will slip on
the engine and transmission pulleys. This will
cause the tines and wheels to slow down—or
stop completely—even though the engine is run
ning at full speed.
A loose belt will also result in uneven wear
and overheating of the belt sidewalls. This re
duces its driving capability and shortens its life.
When checking the belts for proper tension,
also look for obvious signs of wear such as
cracks, cuts, or fraying. If a belt is in poor condi
tion, it should be replaced immediately.
A
WARNING
Follow the belt adjustment instructions care
fully. An incorrect adjustment could result in
the Forward Clutch mechanism engaging
too soon.
This could result in loss of tiller control and
personal injury or property damage.
38