Testing stitch – SINGER WSL2000 ATS (Part 1) User Manual
Page 21
Attention! The text in this document has been recognized automatically. To view the original document, you can use the "Original mode".
TESTING STITCH
After threading is completed, test your Superlock stitch in the following order:
1. Be sure both front cover and side cover are closed.
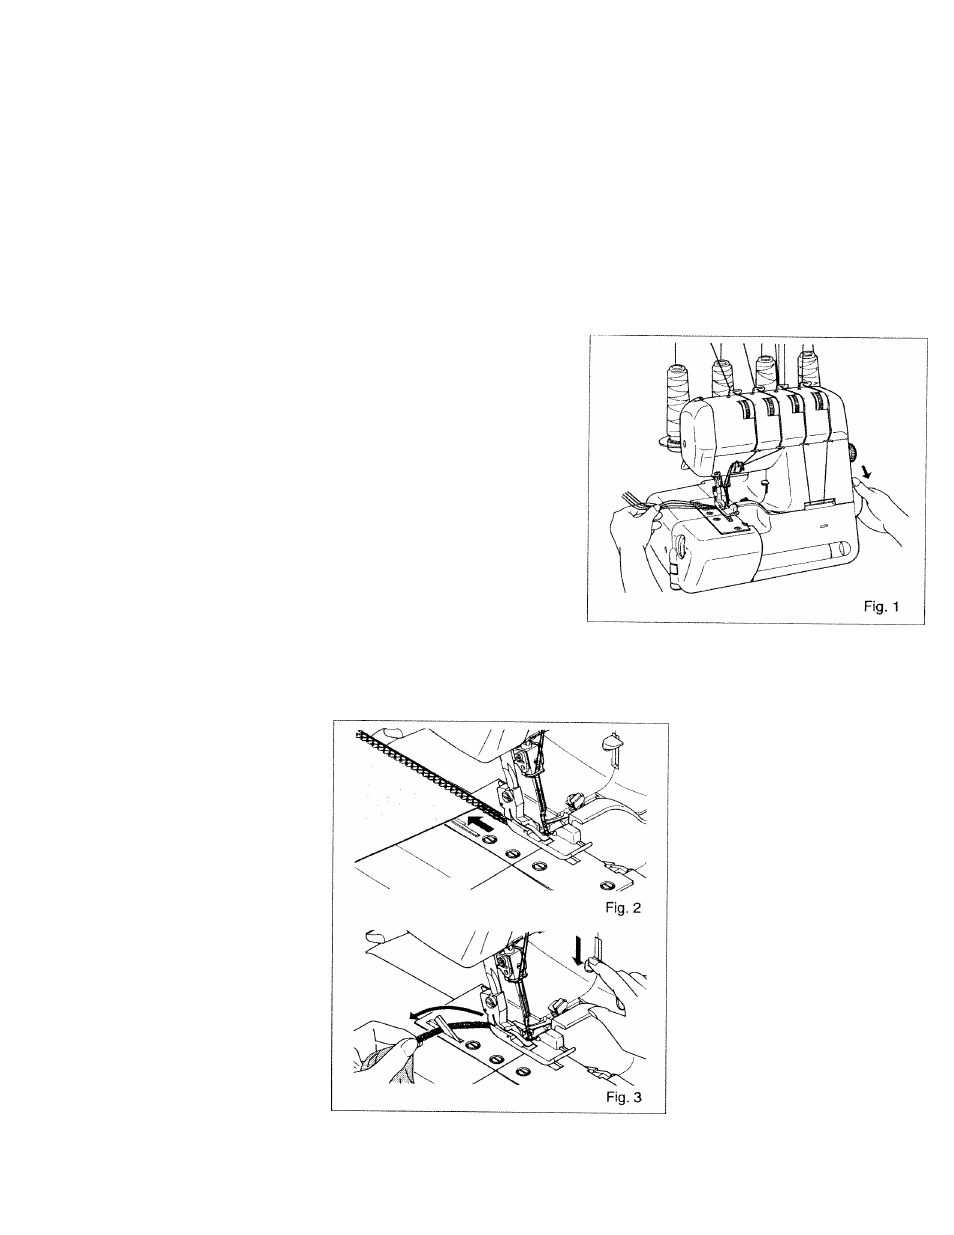
2. Without fabric under the presser foot, lower
presser foot. Pull the ends of the threads
gently with your left hand toward the rear
of the machine, turning the handwheel toward
you a few times to make sure the stitch forms
on the stitch finger (figure 1).
. Sew on scrap fabric. When you reach the end
of the fabric, raise the presser foot and remove
fabric from your Superlock. Use the handy
thread cutter (figure 3) on your Superlock to cut
your threads. Use the illustrations on the
following pages to check the stitch formation
produced to see if it is uniform. If not, you will
need to adjust tensions and/or recheck threading.
19