Adjusting the thread tension for whip stitch – SINGER 1371A2 User Manual
Page 24
Attention! The text in this document has been recognized automatically. To view the original document, you can use the "Original mode".
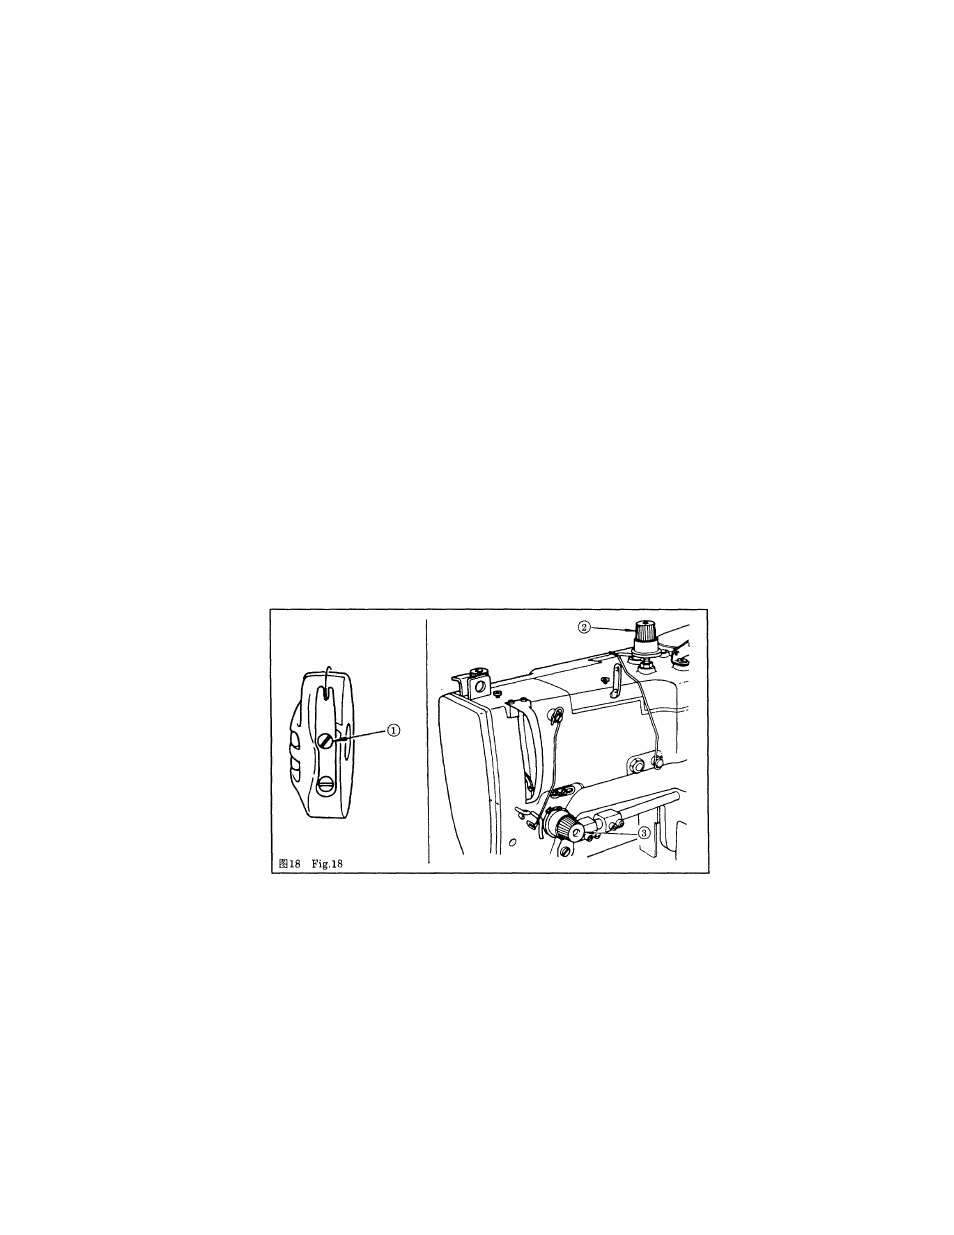
3) Adjust tension controller No. 2
®
for proper tension of the pallarel side seams by
judging from the stitch formation.
* Adjusting the thread tension for whip stitch:
1) Adjust the bobbin thread tension to approx. 40 to 50g by adjusting screw © of the
bobbin case.
2) Exchange the adjusting springs of tension controllers No. 1© and No.2
®
each other
(the tension controller No.2 will have a weak spring).
3) Adjust tension controller No.2
®
to prevent ravelling off at the end of a seam.
4) The stitches of the parallel sides or bar-tack can be adjusted by tension controller No. 1
®.
* Adjusting the thread take-up spring (for purl stitch)
The suitable range of the stroke of thread take-up spring © is from 6 to 8mm with a
starting tension of 20 to 50g.
For adjusting the stroke of the thread take-up spring, loose screw ©, and insert a thin
screwdriver into the slit of tension post © to turn the tension post.
To adjust the tension of the thread take-up spring, insert a thin screwdriver into the slit
of tension post ® to turn it, with screw © tightened. The tension of the thread tade-up
spring increases when the tension post is turned clockwise, and decreases when turned
counterclockwise.
21