Pressure, Zig-zag foot, Under – SINGER 717 Scholastic User Manual
Page 39: Gently, Lower presser bar to engage ten sion, Thread, Turn hand v/neel, Running, Under needle-ax, Angle
Attention! The text in this document has been recognized automatically. To view the original document, you can use the "Original mode".
OARNIMQ
Worn or torn spots on children’s clothes, knits,
and household nnens can be darned effort
lessly and quickly with little practice. You may
choose to darn either with or without an em
broidery hoop. When greatercontrol is needed,
an embroidery hoop is usually best.
Without Embroidery Hoop
♦ Needle Position: A
♦ Stitch Width; A
♦ Stitch Control: 10 to 15
♦
Pressure:
DABN
♦ Zig-Zag Throat Plate
♦
Zig-Zag foot
With Embroidery Hoop
1. If area to be darned is open, baste an under
lay in place.
2. Place area to be darned
under
presser foot;
lower presser foot and start stitching, al
ternately drawing fabric toward you and
pulling it
gently
away from you.
3. Continue this forward and backward motion
as you fill the area with parallel lines of
stitching. For additional strength, cover
area with crosswise lines of stitching.
• Needle Position: A
• Stitch Width: A
* Stitch Control: In FINE area
« Feed Cover Throat Plate
♦ No presser foot
1. Trim ragged edges from area to be darned,
2. Center v^orn section in embroidery hoop.
3. Position work under needle over feed cover
plate and
lower presser bar to engage ten
sion,
4. Hold needle
thread
loosely with left hand,
turn hand v/neel
over and draw bobbin
thread
up through fabric. Hold both
thread
ends and lower needle into fabric.
5. Outline area to be darned with
running
stitches for reinforcement.
6. Stitch across opening, moving hoop
under
needle-ax
a slight
angle
from lower left to
upper right. Keep lines of stitching closely
spaced and even in
ler^gth,
7. When opening is filled, cover area with
crosswise lines of stitchino.
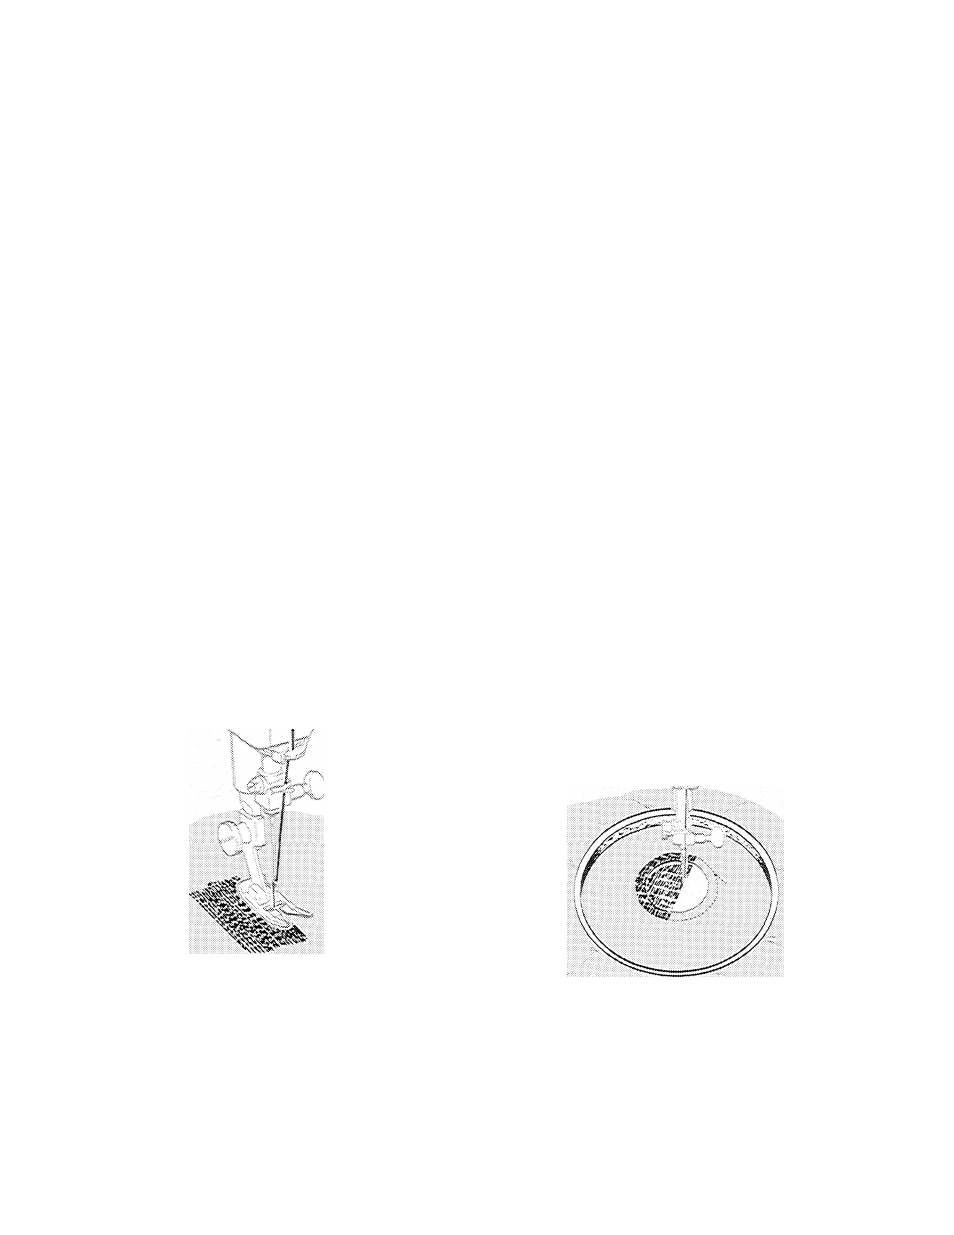
Darning without Embroidery Hoop
Darning with Embroidery Hoop
37