SINGER 717 Scholastic User Manual
Page 35
Attention! The text in this document has been recognized automatically. To view the original document, you can use the "Original mode".
SEAM FINISHES
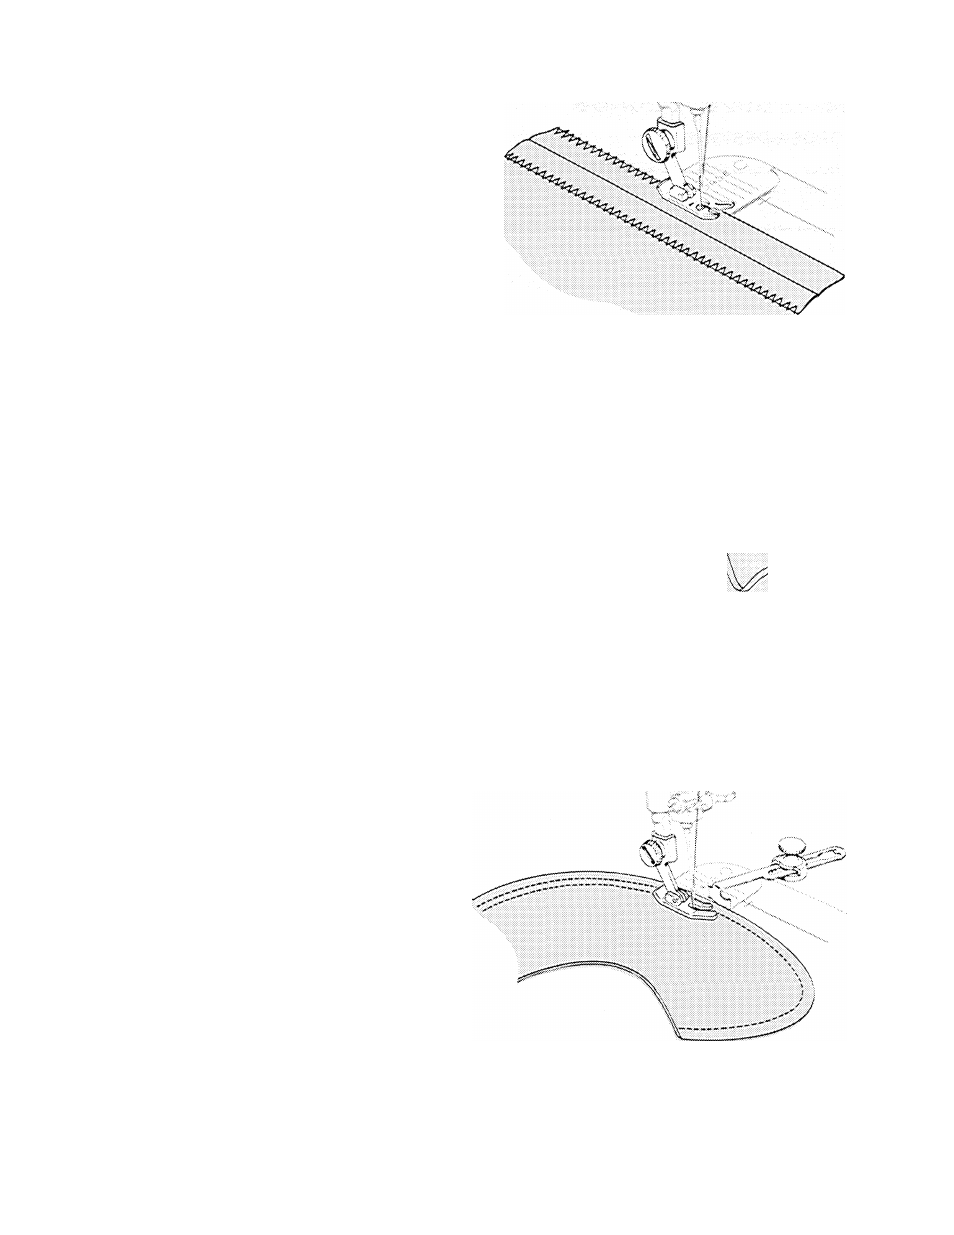
Meedle Position: A
Stitch Width: 4 or 5
Stitch Control: 8 to 20, depending on fabrio
Zig-Zag Throat Plate
Zig-Zag Foot
Seam edges support the garment and should
be given a durable finish If the fabric is likely
to ravel
1. Make a test sample and adjust stitch length
and stitch width to suit fabric. Choose the
settings that will give you the most ‘‘open"
stitch that will secure the fabric edges;
avoid harsh, over-stitched edges.
2. Trim seam edges evenly.
3. Place stitching near the edge of the seam
allowance or over the raw edge as illus
trated.
4. If stitching Is placed near the edge of the
seam allowance, trim away the excess fab
ric after stitching.
Overedged Seam Fmish
Trimming Seam Edges
TOP STITCHING
A practical simple way to accent the lines of a
dress or coat is to place one or more rows of
stitching along collars, lapels, facing edges,
pockets, seams, etc.
♦ For a tailored look, use lines of regular
straight sthching (using the straight stitch
throat plate and foot): sew them with button
hole twist for added emphasis.
• For decorative Interest, use a zig-zag pattern
(using the zig-zag throat plate and zig-zag
foot).
To add fkirmess to hems and seams in knit and
stretch garments, top-stitch with the straight
stretch stitch (stitch width A and stitch con
trol on STRETCH).
The seam guide will help you place rows of
stitching accurately.
Top Stitchmg
33