2 running software, 3 software setup – YSI PC6000 User Manual
Page 7
Getting Started
Section 2
YSI Incorporated
PC6000 Software Operations Manual
3
2.2
RUNNING SOFTWARE
To start the software, make your current drive C:\PC6000 (or another directory where you have
installed PC6000). Then type “PC6000” and press Enter. The PC6000 software will load and
the menu bar will appear at the top of the computer screen.
Use the arrow keys to move the cursor and to highlight different menu options. Press Enter to
select a highlighted option. Press Esc
to cancel an entry.
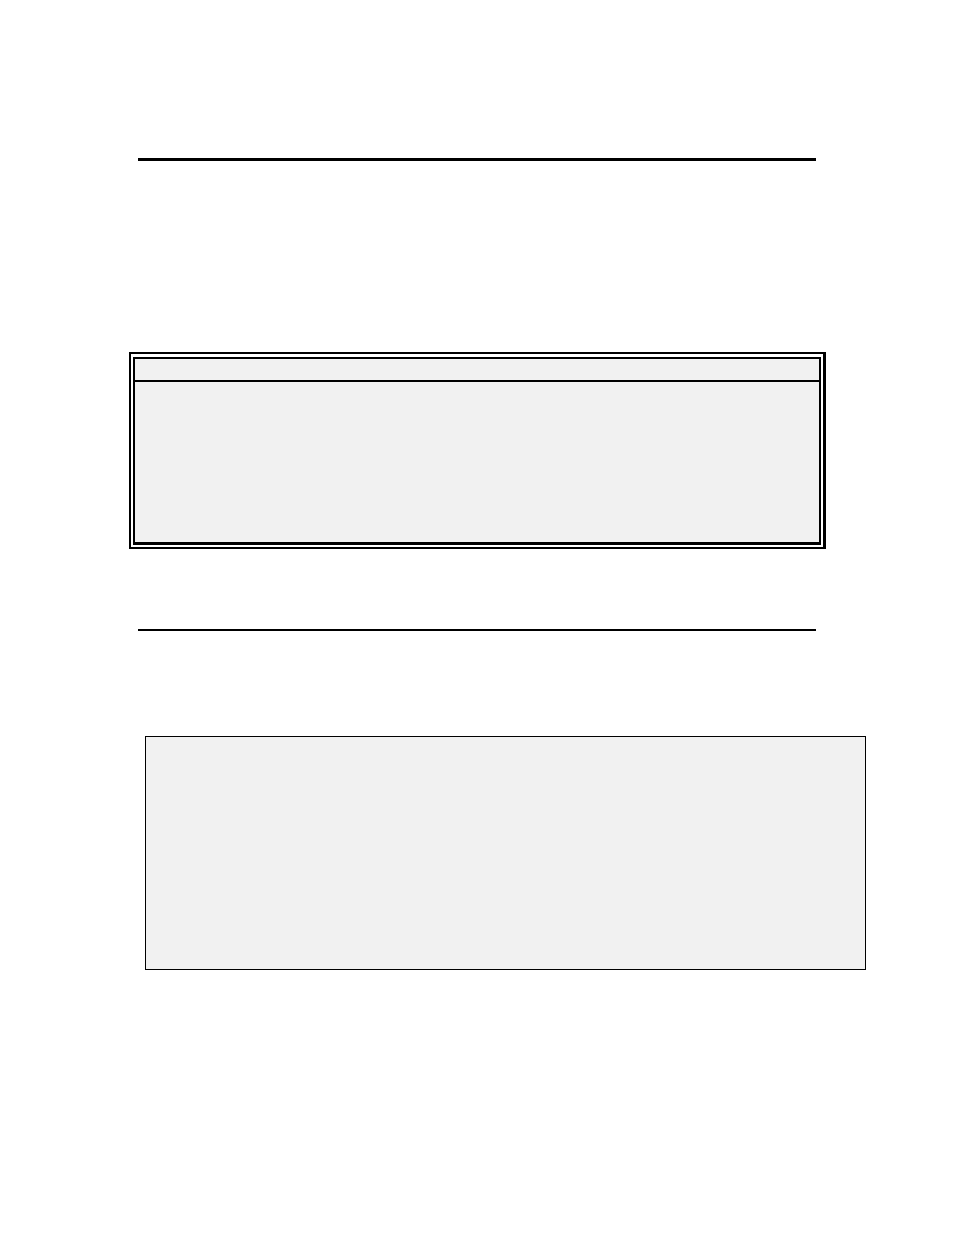
PC6000 Main Menu Bar
Sonde
File
Setup
Real-Time
Exit
PC6000
2.3
SOFTWARE SETUP
To begin setting up your computer to communicate with a sonde, highlight Setup and then press
Enter. Check the default setup values by referring to the following instructions and/or the
PC6000 Setup Screen below.
Select the Comm option to enter the number of the Com port (1 or 2) to which your sonde is
connected. Press Enter to confirm a new entry. If the default setting is correct, it does not need
to be changed.
---DISPLAY -FORMATS---------COMPUTER-CONNECTIONS-------------------
Date format:
MDY
Comm port:
1
Date separator:
/
Baud rate
9600
Time separator: :
Printer Port
1
Radix mark:
. Printer type
HP LaserJet laser
-------MORE-SETUP-------------COMPUTER-DISPLAY---------------------
Data capture setup...
Menu colors:
User-defined menu colors
Advanced Setup...
Plot colors:
User-defined plot colors
Graphics mode:
Automatic selection hi-res