VACUUBRAND PC 3001 VARIO emission condenser Peltronic User Manual
Page 102
+
Service only one side of the pump at a time to avoid the mixing of
parts.
PC 3001 VARIO IK
Disassemble the inlet condenser.
➨
Loosen the union nut at the inlet of the
pump.
➨
Remove the 4 screws affixing the counter
holder of the exhaust vapor condenser with
a Torx driver T10.
➨
Remove the inlet condenser. In doing so pull
the PTFE hose out of the inlet of the inlet
condenser.
PC 3001 VARIO TE
Disassemble the emission condenser TE.
➨
Loosen the union nut at the inlet of the emis-
sion condenser TE.
➨
Remove the 2 screws affixing the mounting
plate of the emission condenser TE with a
Phillips screw driver size 2.
➨
Remove the emission condenser TE. In do-
ing so pull the PTFE hose out of the inlet of
the emission condenser TE.
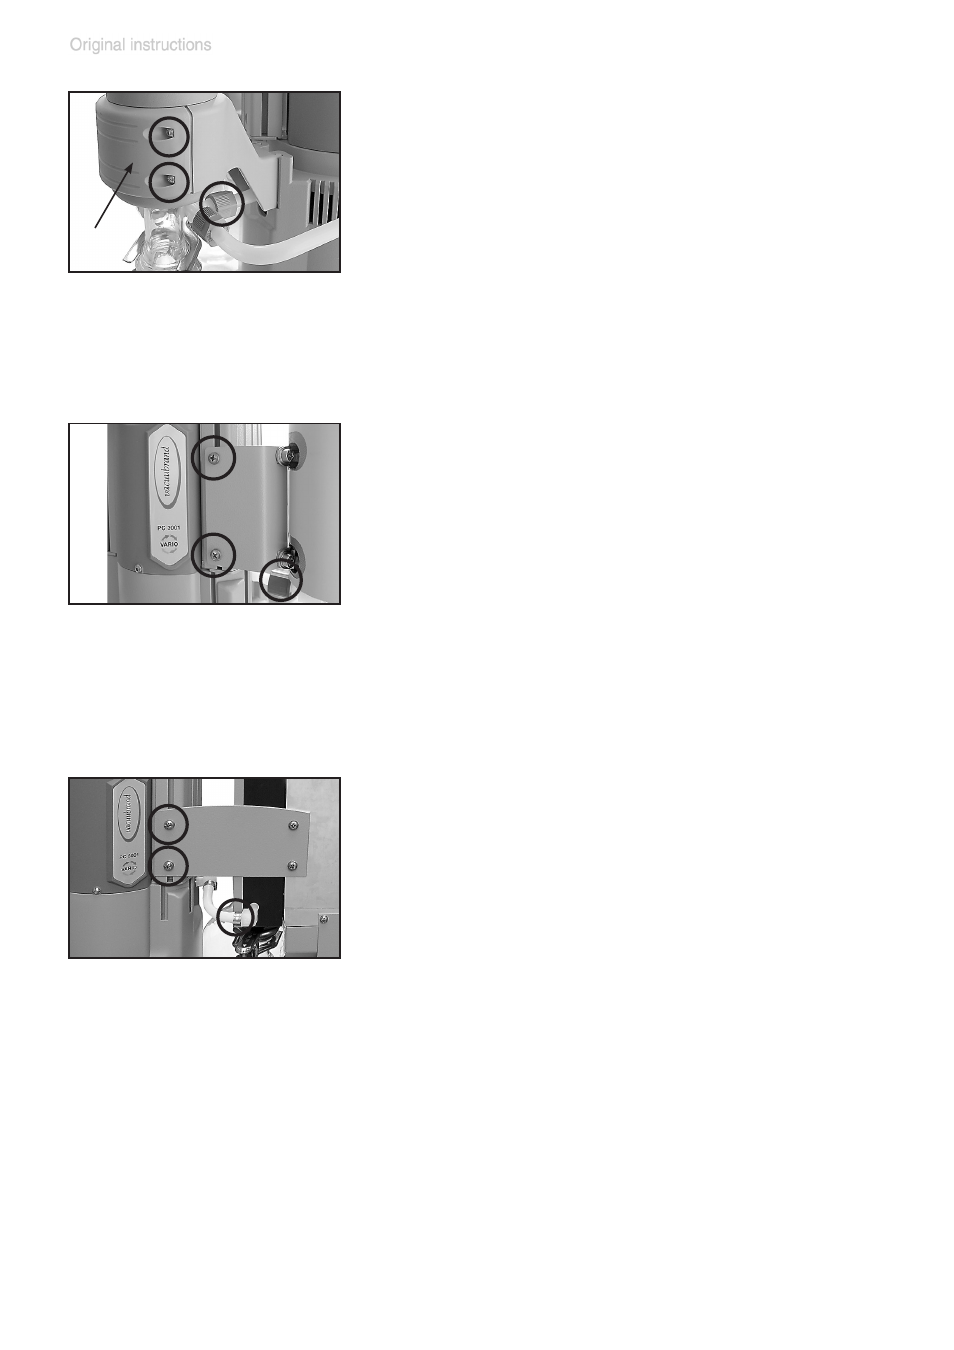
PC 3001 VARIO EK Peltronic
Disassemble the Peltronic emission condenser.
Detach the coupling of the hose connection at
the Peltronic emission condenser.
➨
Open the hose clip with a slotted screw-
driver.
➨
Pull the tubing off the hose connector.
➨
Remove the 2 screws affixing the mounting
plate of the Peltronic emission condenser
with a Phillips screw driver size 2.
➨
Remove the Peltronic emission condenser.
In doing so pull the PTFE hose out of the
inlet of the Peltronic emission condenser.
O