Top Flite TOPA0290 User Manual
Page 11
❏
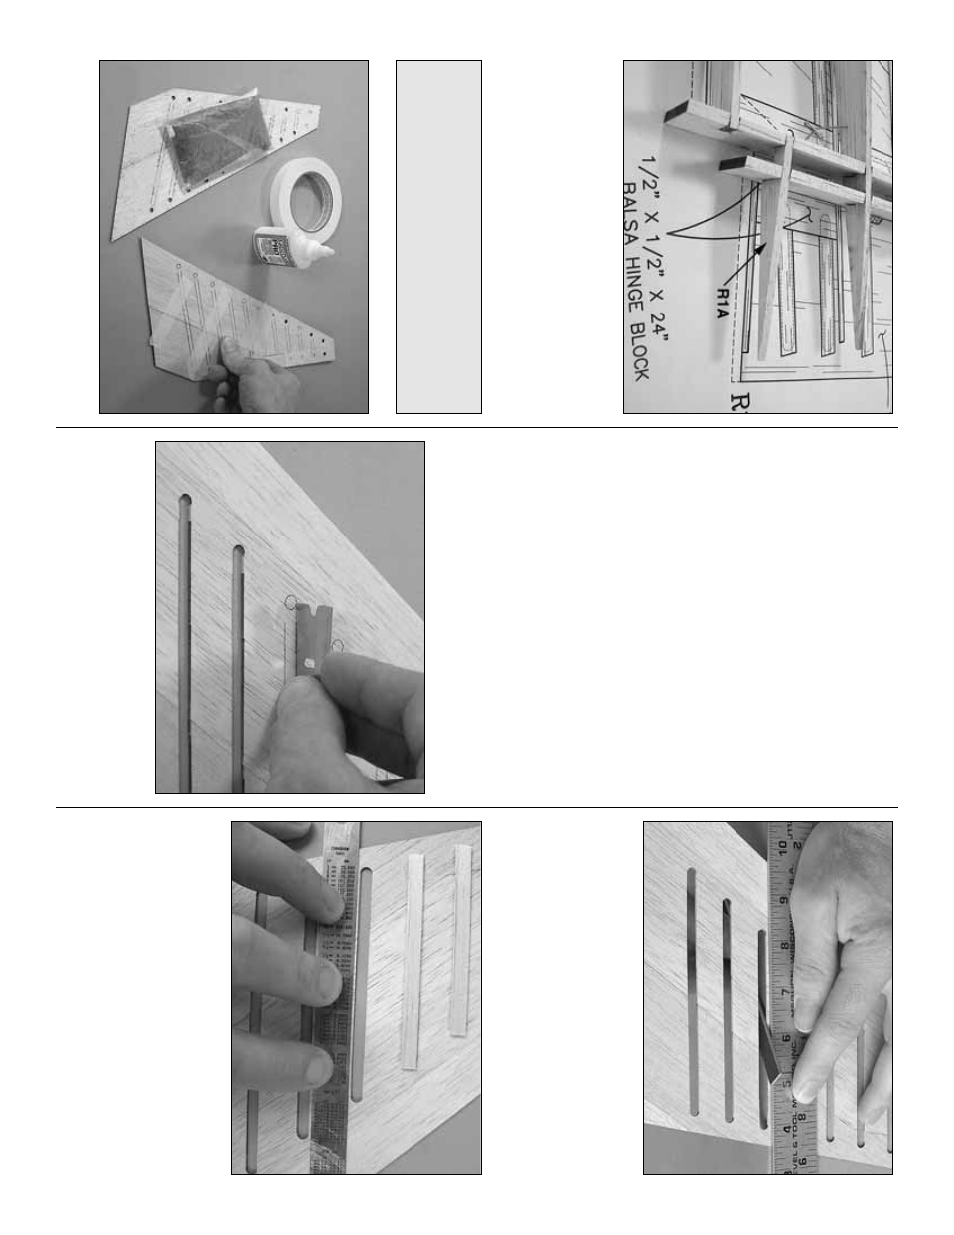
7.
Glue the die-cut 3/32
”
[2.4mm] balsa
rud
der
rib R1A
into position.
If necessar
y,
sand R1A to
b
lend with the rest of the str
ucture
.
No
w it
’s time to mak
e
the balsa skins f
or sheeting the
fin and r
u
dder
.
❏
8.
Glue together both sets of die-cut 1/16"[1.6mm]
balsa par
ts that mak
e
up the
fin skins
.
CA could be
used, b
ut aliphatic resin (white glue) is pref
erred as it
allo
ws time f
or positioning and is easier to sand.
Use
masking tape and w
eights to hold the par
ts together
while the glue dr
ies and press do
wn along the glue
joint to mak
e
sure the seams are flat.
❏
9.
Cut the tw
o cor
ner pieces and the leading edge
pieces as sho
wn on the plan from a 1/16"x 3"x 30"[1.6 x
75 x 760mm] balsa sheet to complete the skins and glue
them into position.
❏
10.
After the glue dr
ies e
xamine both skins to see
which side will be the r
ight and which side will be the
left.
Arr
ange the skins so the best sides will be on the
outside
.
Use 180-g
rit sandpaper to
carefull
y
sand
both sides of the skins flat.
Note:
The insides don
’t
ha
v
e
to be as
“flat
”
as the outsides
—
use care not to
o
v
er thin the skins b
y
sanding too m
uch.
❏
11.
Carefull
y
cut out the corr
ugations
.
A
single-
edge r
a
z
or b
lade w
o
rks w
ell until y
ou get to the
smaller ones near the top of the skin where a #11
b
lade will ha
v
e
to be used.
❏
12.
Mak
e
a thin sanding tool b
y
using spr
a
y
adhesiv
e to bond a piece of medium-g
rit sandpaper
to a str
ip of lefto
v
er 1/16"[1.6mm] plyw
ood.
Use the
sanding tool to tr
ue the edges of the corr
ugations
.
Hold the skin do
wn near the edges of the
corr
ugations with a r
uler or something similar so y
o
u
do not damage the skin while sanding.
❏
13.
Cut the
corrugation filler strips
from 1/16"x
1/4"x 30"[1.6 x 6.4 x 760mm] balsa stic
ks and glue
them to the
inside
of the fin skins
.
The best w
a
y to
align the str
ips is with a str
aightedge
—
star
t at the top
and w
o
rk
y
our w
a
y do
wn.
Once a filler str
ip has been
positioned, use medium CA to glue it into position.
Using thin CA is not recommended because it ma
y
not create a strong enough bond to hold the filler
str
ips to the skin when bending it to the r
ibs
.
Note:
Should y
ou decide to b
uild y
our Arro
w
without the corr
ugations
, replace the die-cut skins
supplied with this kit with soft to medium density
1/16"[1.6mm] balsa sheeting (not supplied).
- 11
-